Mike McCallow shows how to set up a professional-looking Zoom call on a budget. Start with audio: the Audio-Technica ATR2100X microphone matters more than anything else. Then add the Logitech C930e webcam, three LED lights for depth, and frame your eyes in the top third of the screen.
Chapters
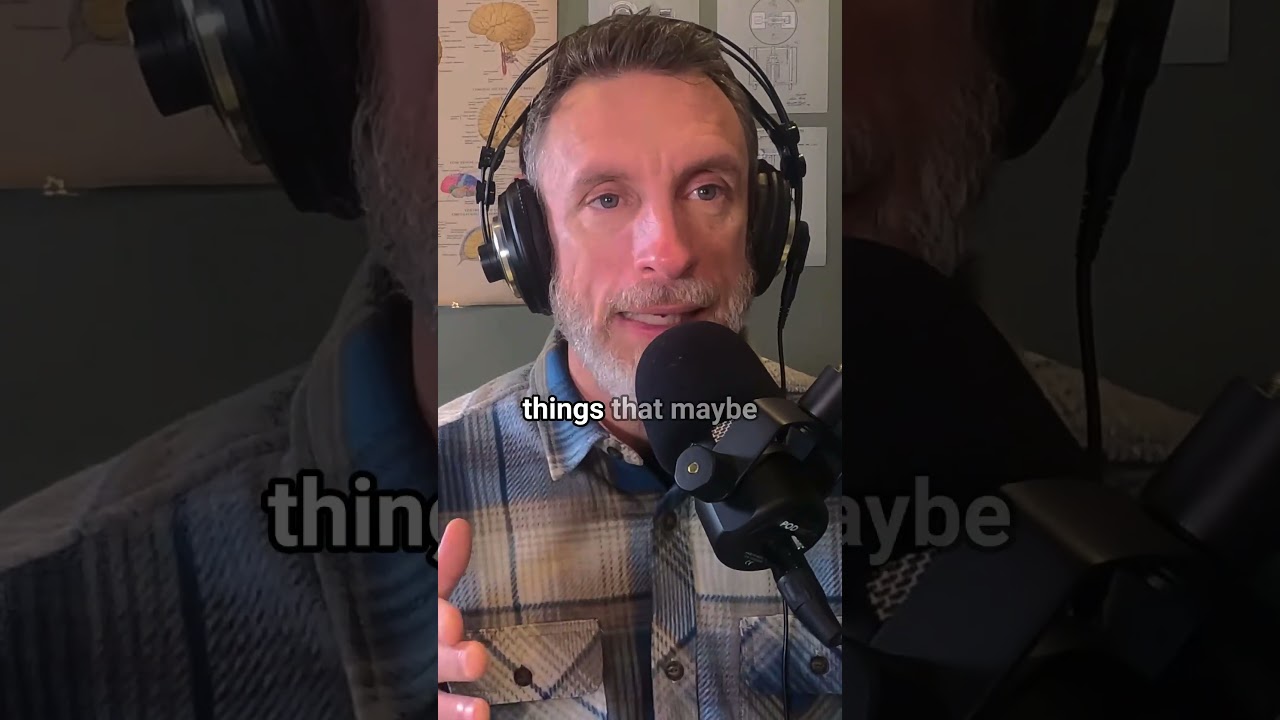
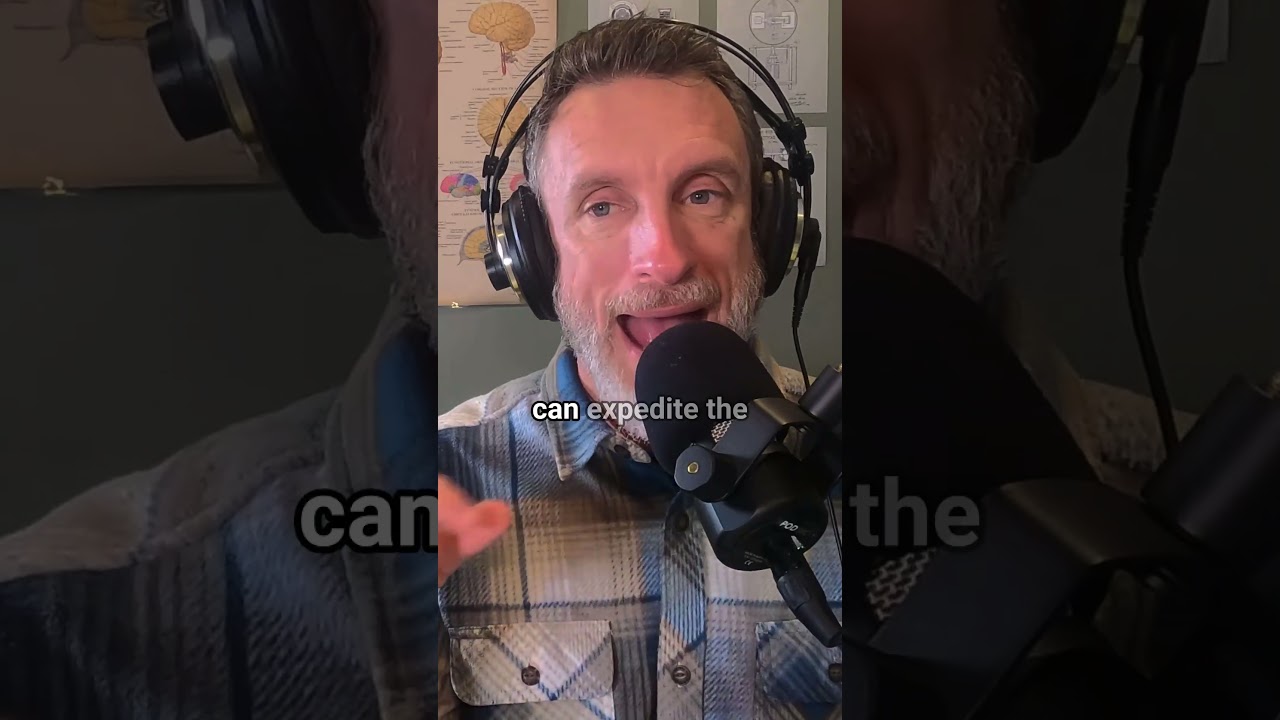
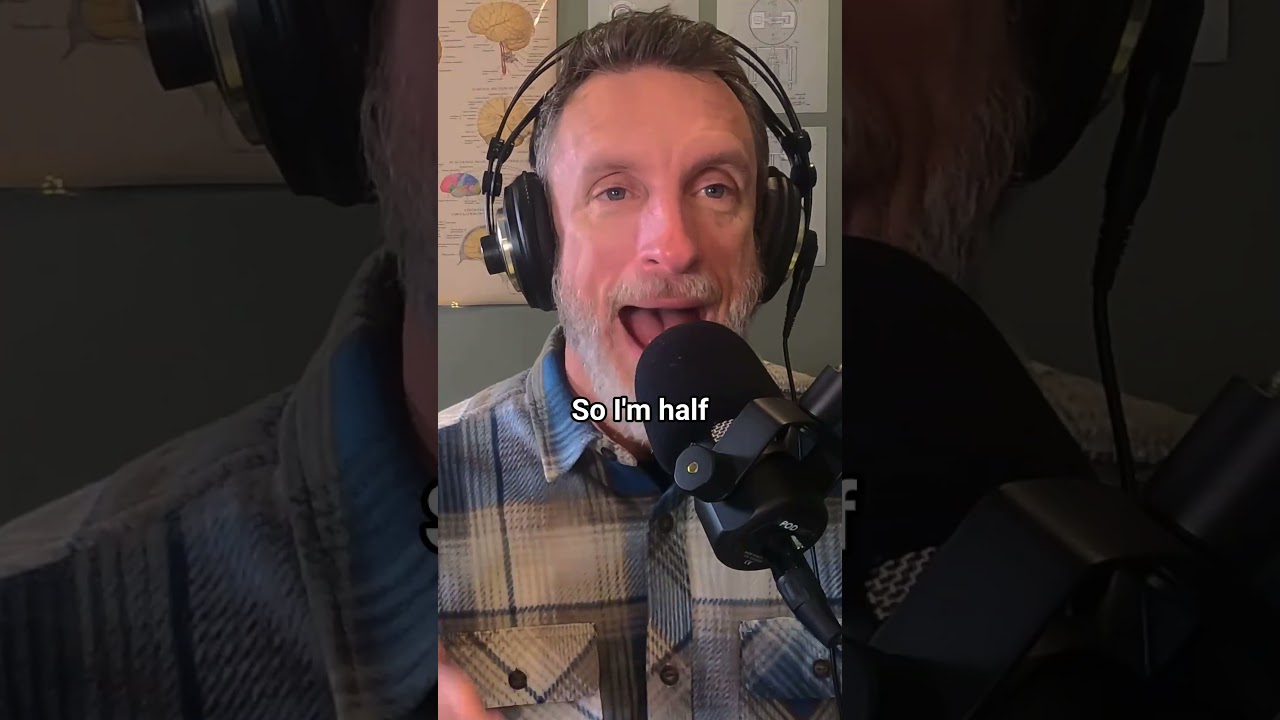
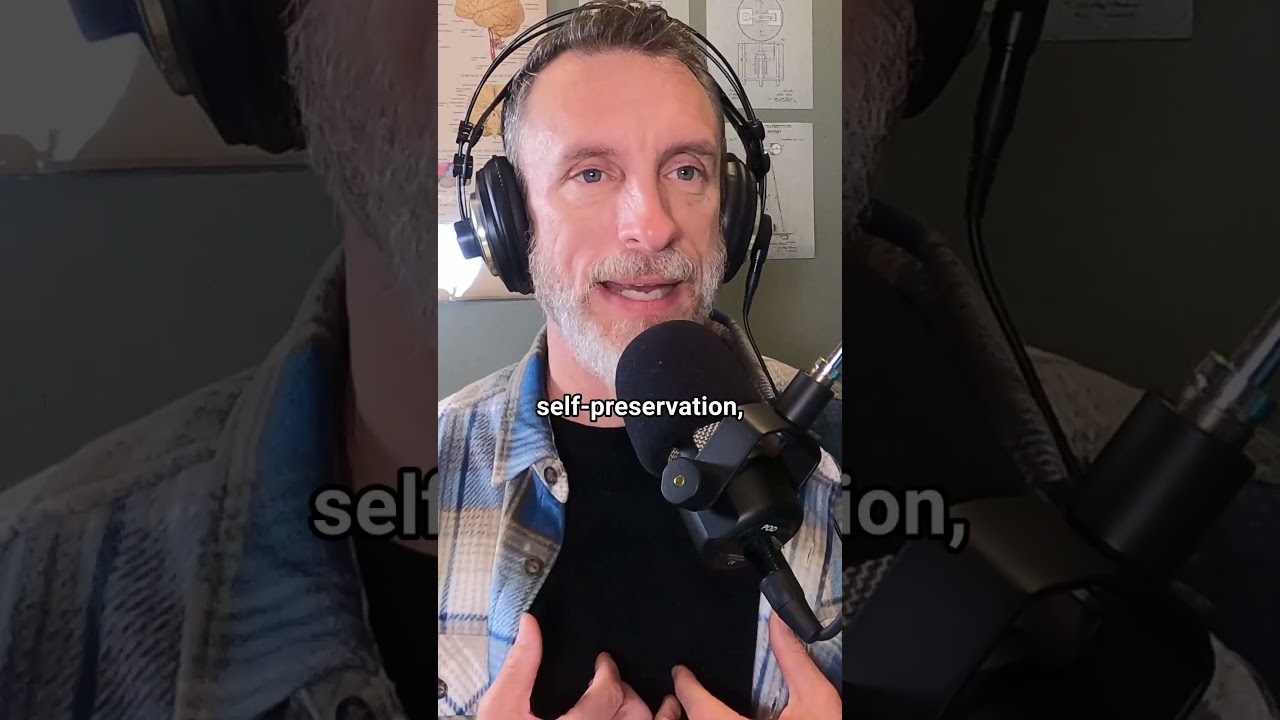
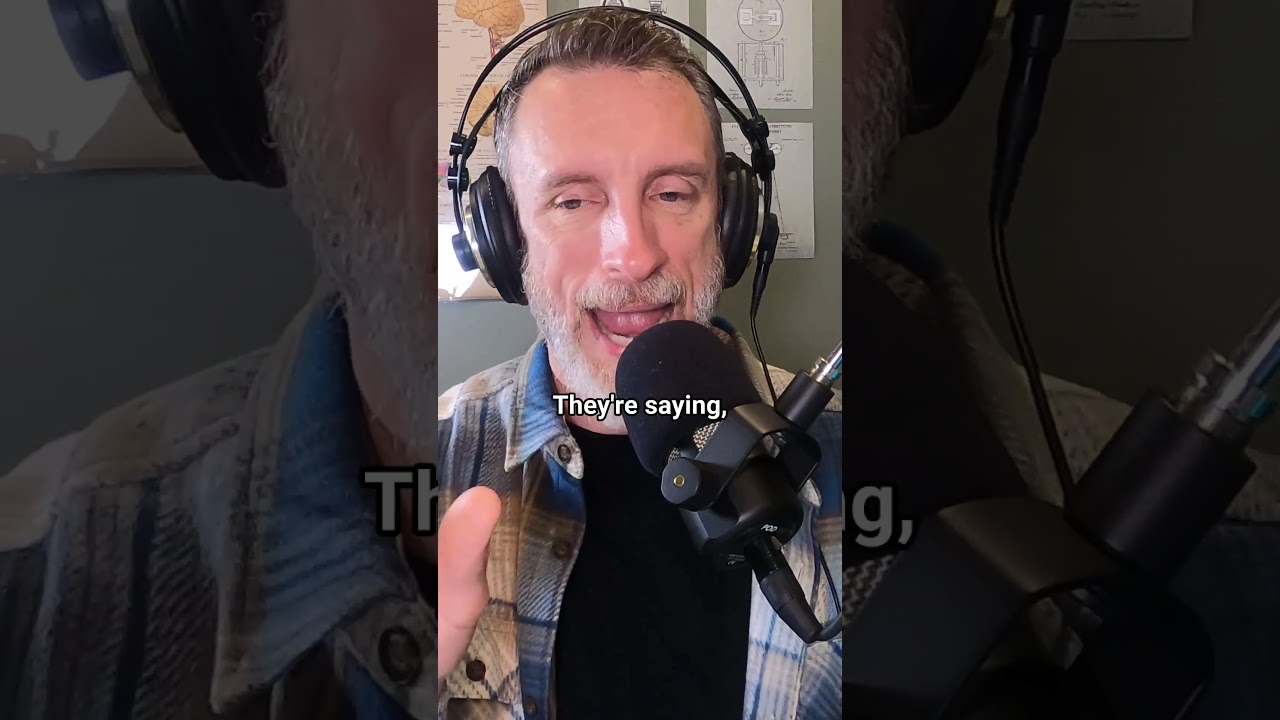
With more people going online than ever before, obviously setting up how you do your online stuff is important. Just a couple tips, some pretty basic stuff, but maybe some new equipment you can get. So this is my desk in my office. There's the setup, and I just want to show you a couple key elements. First of all, the microphone you get is critical, and you can get microphones that are pretty sophisticated at a high price point. But this microphone was about $75 to $100. It's Audio-Technica, has built-in compression, and is omnidirectional, which means it doesn't pick up all the room noise. It picks up in one direction. So for broadcasting stuff, a microphone like this is perfect. You can see the details right there. Actually, I'm trying to look for the part number. Here it is in the back. It's an ATR2100X USB, and I did use the USB connection. Get also an arm. This is just a cheapo one that's perfect, but you can hear it's pretty quiet, and that's the key. So if you're moving it around and it makes rubbing or screeching noises, that's gonna be an issue. So this was about $15-20. I got it on Amazon. I'm not even sure of the brand. The next key, key element is your— once you have sound, and by the way, the most important thing for audio is sound. People will forgive grainy and jumpy video. It's very difficult, impossible to listen to if you don't have good sound. So if you don't put money down for anything else, put it down for an external microphone. This is a C930e Logitech cam. High-def, has actually a broader view. It also comes with this software right here, and if you can see as I'm filming it on the side here, if I zoom, I can zoom in and zoom out. You can see it in the camera shot here. So I can use this to zoom in and, and do things like that. It also allows you to control the coloring, so I can go dark to super bright, but it allows that flexibility and some other functions too with contrast. Which is just a very helpful technology when you want to make sure that the way it looks is correct. Okay, now I should restore this to default so we can really see it. Okay, the other thing is to stage the background. This is the thing I see people talking about the least. That's important. So staging the background is having something that just has compelling and intriguing elements. So when I do a video, that's the broad shot. I'm gonna zoom in and what I'm trying to do is bring balance to it. And that's usually the shot right about there. And I'll adjust my camera. I can swivel here too. And there's probably the background I want. So when I'm filming, I'm right here and you can see I got a little bit, uh, of the, of the tree displaying some stuff in the background. And, uh, I have a camera, I got some pictures and I'm centered on the blue background, which is a window. Block out any natural light from behind you because that will darken your face. Other thing is get lights. These are LED lights. You'll see they're positioned in two directions. There's one down. This acts as a key light. It lights my face so you can see it. And this one is a room light, a splashing light off the ceiling, just so you can get the background and some context. I also positioned a light here because you can see it throws up shadow and effect there. And that light too is designed I mean, it's a, it's just a display piece, but also throws shadow, which just when you look at the screen here and you look at the different pieces, um, if you can see us broadcasting right there, you look at the different pieces in the background, you can see the shadow that it causes. Um, it just gives context to the, the look. Um, and that's the key elements. So the LED panels, I don't know what they are. I got them on Amazon. Let me just see if I can find the brand. I'll stick you back behind them here. They're called, uh, it's like Dazzine or Jazzine. Looks like it says, uh, D-A-Z-Z-N-E, and it's a D50 series. They were about $200, but what I liked about them is they had the mounts right on the back of the desk. I could mount them right behind my desk. I like to stand, um, and that's one last thing I want to show you is I have an adjustable desk. Here and I'll unlock it. What this does is allow me to do two shooting scenarios. So if I set setting 2, which is floor, the whole desk now is going down and allows me to do sitting shots also. When you film, let me bring this back up. When you film, always have your positioning in the top third. So on the camera here, my eyes, when it sets, will be along the top third here. I'm filming, and that leaves room in the middle or the base if you want to add graphics and stuff like that. But for just general webcasting, it's all about you being up here. People make that mistake when they're way down low like this. Have you seen that before, right, where people are talking? It's very difficult to pay attention. So make sure that the top of your head is on that section. Okay, I think we got it all. I hope that's helpful in, uh, your video broadcasting, because You're gonna do a lot of it and a lot more of it as we move forward. For more tips like this, go to mikemotorbike.com. That's my nickname from high school. Even though it's Mike McCallow, it's mikemotorbike.com.