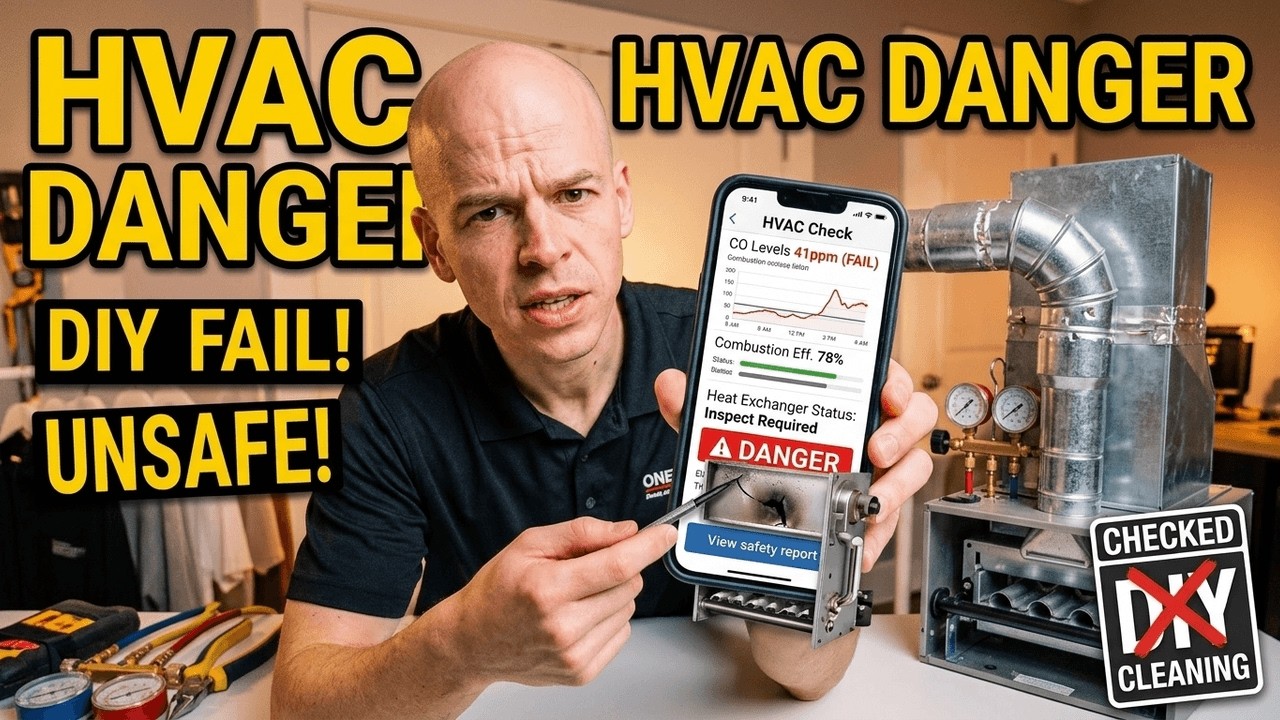
In this reaction video, HVAC professional Derek Cole critiques a DIY furnace tune‑up walkthrough presented by two demonstrators. The demonstrators outline a four‑step maintenance routine for a Goodman upflow furnace: (1) safety – shutting off electricity and gas, (2) checking and replacing the air filter, (3) cleaning the furnace (including flame sensor, blower wheel, cabinet, and electronics), and (4) running a full heat cycle to verify operation. Cole interjects with professional safety reminders, emphasizes the importance of proper filter placement and MERV rating, and warns against common DIY oversights such as mixing gas and electricity, neglecting filter direction arrows, and misidentifying the flame sensor versus the hot‑surface igniter. He highlights the most frequent failure – a dirty flame sensor – and demonstrates low‑cost cleaning methods (wire brush, sandpaper, even a dollar bill). The video also covers diagnostic cues during the test cycle, such as ensuring the inducer motor runs, the igniter glows red, the flame is blue, and listening for unusual noises, while noting that orange flames may signal a cracked heat exchanger. Additional tips include checking thermostat batteries each fall and using a dedicated CO detector rather than a combo smoke/CO unit. Throughout, Cole stresses that while DIY can be educational, many components are easily missed; homeowners should schedule professional preventative maintenance, especially given his company’s long‑standing experience since 1953.
Chapters
There's a whole number of things that I recommend you continue to check out, not just a few things he highlighted. Uh, anytime you mess with your furnace or heat pump HVAC system, there is the multiple checks that need to be verified so you can have a nice warm winter in the house. Now, things are going to break, they're always going to break, but you can do what you can do And get a pro out there and get preventative maintenance and get these things checked out by a professional. I would never recommend for a homeowner to go check their furnace or do a tune-up on their furnace or heating system because so many things can be missed.
So regardless of where your furnace is, the general layout is going to be the same. This is a Goodman upflow furnace. The evaporator coil might be down below or up above like this one. If it's in an attic, this whole furnace might be going horizontally. But don't be intimidated when you get to your furnace and you see a lot of mechanical things. The guts of these furnaces are all pretty much the same. So the only tool that we're going to need to do this furnace maintenance is a 5/16 and a 1/4-inch nut driver.
So Not very complicated at all.
This particular one just has these hand-tightened fasteners, so we're just going to remove the front cover here. So for all of my customers, I do a core 4-step process with all of my furnace maintenances, and the first is safety. So we want to shut off our electricity and our gas. Now your electric box This one is attached to the furnace. Yours might be a couple feet away on another—
Very good advice. You never want gas or electricity in your hands in that unit at the same time.
On another wall, but just make sure you cut off the power to keep yourself safe. So step number 2 is very quick and simple. It's just checking the air filter. and seeing if we need to replace that. So your air filters can be in various locations depending on your home. This one is very easy, located right on the side. This could be in a ceiling register.
Some of the furnaces or heat pumps you go to, they're filtered at the unit. That's what that is. As you can see, that's a 16 by 25 by 1 MERV Yeah, that might be a MERV, like, you know, 1, 2, 3, or whatever filter. It's not very good. You see how you can see right through it? Uh, that is definitely, uh, not the best filter you want. It could be filtered in multiple places, filtered at the, at the furnace and filtered in the house. You don't want that to happen. You want it to be filtered at one spot. Pick one. Either in the house, at the furnace. You don't want them in both.
So just locate your air filter, make sure you know where it's at. And my recommendation as far as when to replace the filter is generally every 3 months. Now this varies depending on if you have a pet that sheds, if you have allergies, things of that nature. But if you're not going to extremes with that, 3 months is a good gauge for when to replace your air filter.
You know what the problem is? Going to extremes. You know, what is extreme? What is extreme for you is not extreme for me. So a good rule of thumb I tell people, check your filter every 30 days. If it needs to be changed, change it. If it's been over 3 months, change it. And you check it every 30 days, but check it every 30 days. That way it doesn't sneak up on you as a problem because airflow is one of the challenges when it comes to your heating and air. system. So make sure the filter is clean and good to go. Check it every 30 days to make sure you don't need to change it sooner than that 3 months he's talking about.
So another thing to note is that your air filter is going to have an arrow on, and a lot of my customers don't know what that arrow means and how to properly put in this air filter. So a couple of things here. When you look at your furnace, You will notice with your air conditioner that you'll have copper lines going into the evaporator coil, and that is the direction that the air is going to be flowing. So with this one, our air comes through the side of the cabinet and it blows up through the evaporator coil. So with that in mind, we know that the arrow should be pointing this way. So another thing that I do to help my customers out is I'll just take a Sharpie And I'll mark on the duct an arrow right here pointing to the correct direction. And that way there's never any concern as to which direction it goes. Step number 3 is going to be cleaning the furnace. And part of that is the number 1 most common failure that I see on a regular basis on a furnace. And it is this flame sensor. So we don't want to mistake our hot surface igniter For the flame sensor. Now, the way we can tell that the hot surface igniter, which component that is, is the hot surface igniter or the spark igniter will have multiple wires coming off of it. And this is what's actually going to ignite the flames. The flame sensor, on the other hand, is a very simple metal rod and it goes right in front of the burner here and it just senses a flame. Now, the problem arises when this flame sensor gets dirty over the years and it thinks that there is no flame, so it will turn the system off. So for this particular one, we're going to remove the flame sensor. So here on our flame sensor, we notice this white buildup. That's what we're looking for with a dirty flame sensor. Now what we're going to be using is just a regular wire brush. A lot of people are concerned about being too aggressive with the flame sensor, and that's really not something that you have to worry about. You can use pretty much any grit sandpaper. As a matter of fact, you can actually use a dollar bill. It's abrasive enough to where it'll just remove that white buildup, and that's all you have to do. So we'll go ahead and put this back in. And that part will be complete. So there's a lot of different specialty tools that you can use for the flame sensor. As you just saw, this one is one that's a little bit tighter area, it's harder to get to. And so one other thing is be very cautious with raw edges like this. I actually cut myself on this furnace. So if you don't have access to a tool to get to the flame sensor, another option is a simple pipe brush. These will be in the link— these will be in the description below as well. And what you can do is just feed this through, just taking your time and working it up and down on the flame sensor. So the last part of step 3 is good old-fashioned cleaning. We're gonna, we're gonna take out a vacuum cleaner and clean out the inside of the cabinet, wipe it down with a wet rag. And something you can do also is get a can of compressed air and you can spray off the circuit board and make sure that that's nice and clean as well. So one last thing with the cleaning is the blower wheel can also get buildup on it, as you can see on these fins that I'm moving. Uh, in order to clean this properly, you have to pull the blower assembly out to clean it. Uh, if you'd like to get more information on this, hop over to my channel, The DIY HVAC Guy, and we have some specific videos on how to clean the blower wheel. Step number 4 is we're going to be running through a complete cycle on the furnace just to make sure that everything is working like it should. So the first thing we're gonna do is flip our power back on. Turn our gas on and make sure that the thermostat is calling for heat. So just bump it up a few degrees.
Now the first thing you'll notice is your inducer draft motor will come on, and this is just pulling all of the exhaust fumes out of the heat exchanger and out of your exhaust flue. The pressure switches will say, okay, everything is good to go, and the next thing you'll notice is the glow— is the hot surface igniter will glow red, after which we will hear the gas valve turn on, and that will send gas across that hot surface igniter, and then we will have ignition. So there we go, we've got our flames. Now the flame sensor is sensing that flame and telling the board Okay, continue. And the next thing that will come on after about 30 seconds is the fan will blow that air over the hot heat exchanger, allowing you to have warm air coming out of your vents. So during this stage, we'll just make sure that there's no strange noises coming from the inducer. And a major thing that we want to keep in mind here is that the flames are Blue. Now, if you see orange flames when you look in here, you see a lot of orange, that's a good indicator that the heat exchanger could possibly have a crack, or there's an issue with exhaust— not enough exhaust being pulled out of the flue.
Now, if you have a little bit older furnace, I would always recommend getting an eye on the heat exchanger. That's a little bit more in-depth, but it's always a good practice to keep you and your family safe during a long winter season. Another thing to keep in mind every fall, and this might sound funny, but a lot of customers, they see a blank thermostat and they don't realize that there's batteries in the back. So it's a good practice to just swap the batteries out every fall, and that way you don't have to worry about it. Most importantly, a combo smoke and carbon monoxide detector like this one is not what I would recommend for your home. Check out this video right here, and I'm going to show you the CO detector that I recommend, that I use in my home, and why it's a safer option for you and your family.
You want to Pro to look at it. They look at it all day, all the time. They're used to it. They know what to look for. They know what the pitfalls are. Have a pro come out, check your system, get that tune-up done before the season starts to make sure you're good to go. Videos like these are good kind of overall, you know, what are they doing kind of deal. Uh, he hits a few, you know, simple highlights, um, but definitely not as in-depth as it needs to be. And it's something that, uh, again, we've been in business since 1953. We have seen these units, we have worked on them. Get your family protected, make sure you have a nice warm winter, get it checked by a professional. Again, it doesn't have to be us, but it should be a professional with great reviews, a long history of service, and they have a long track record of doing the right things.