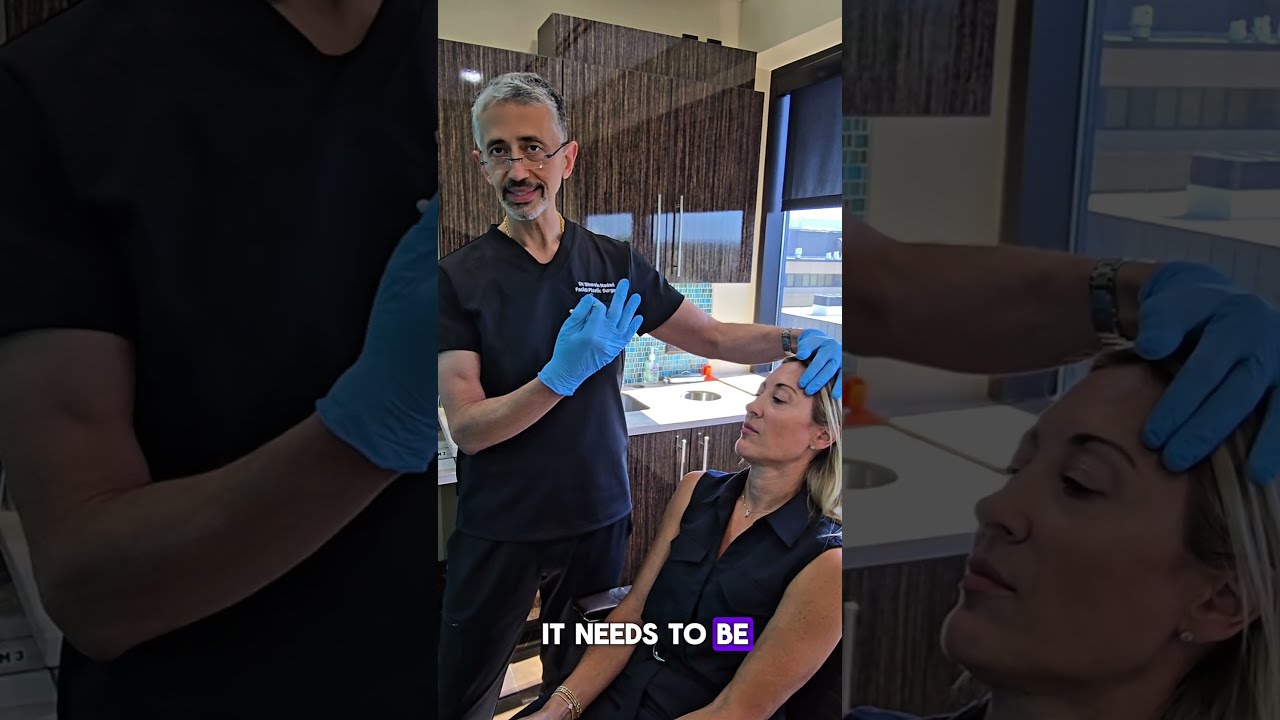
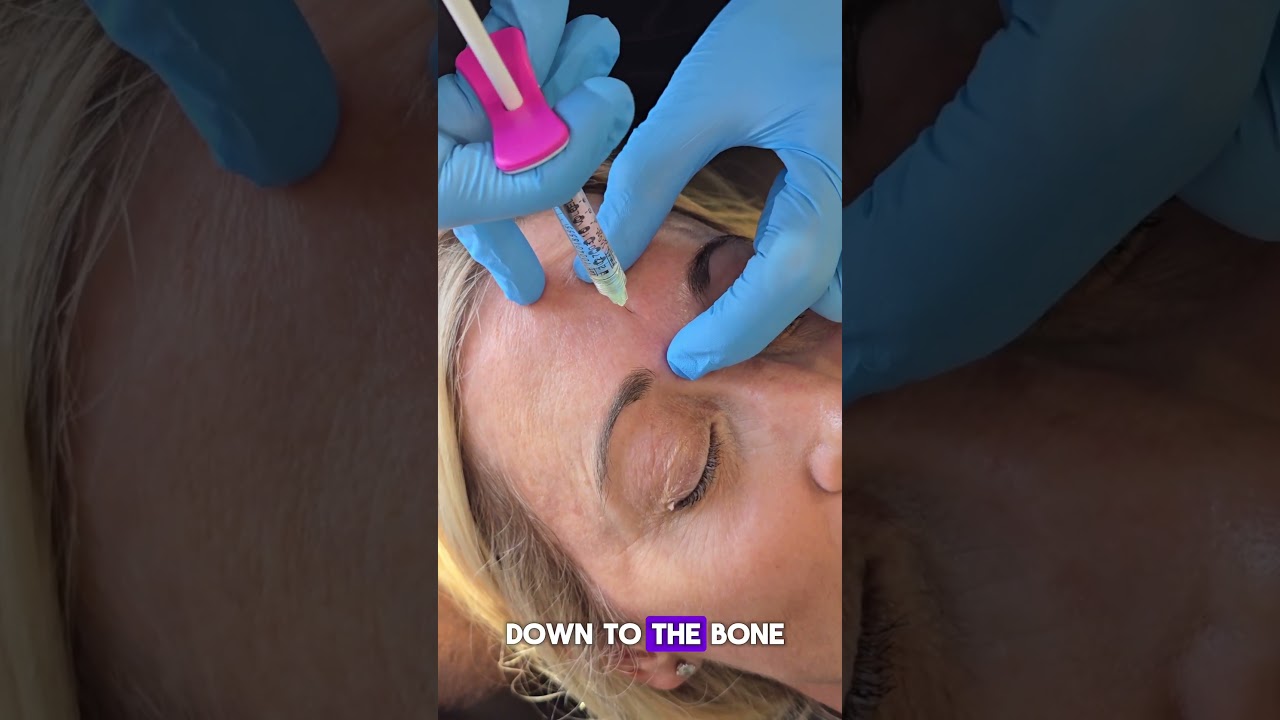
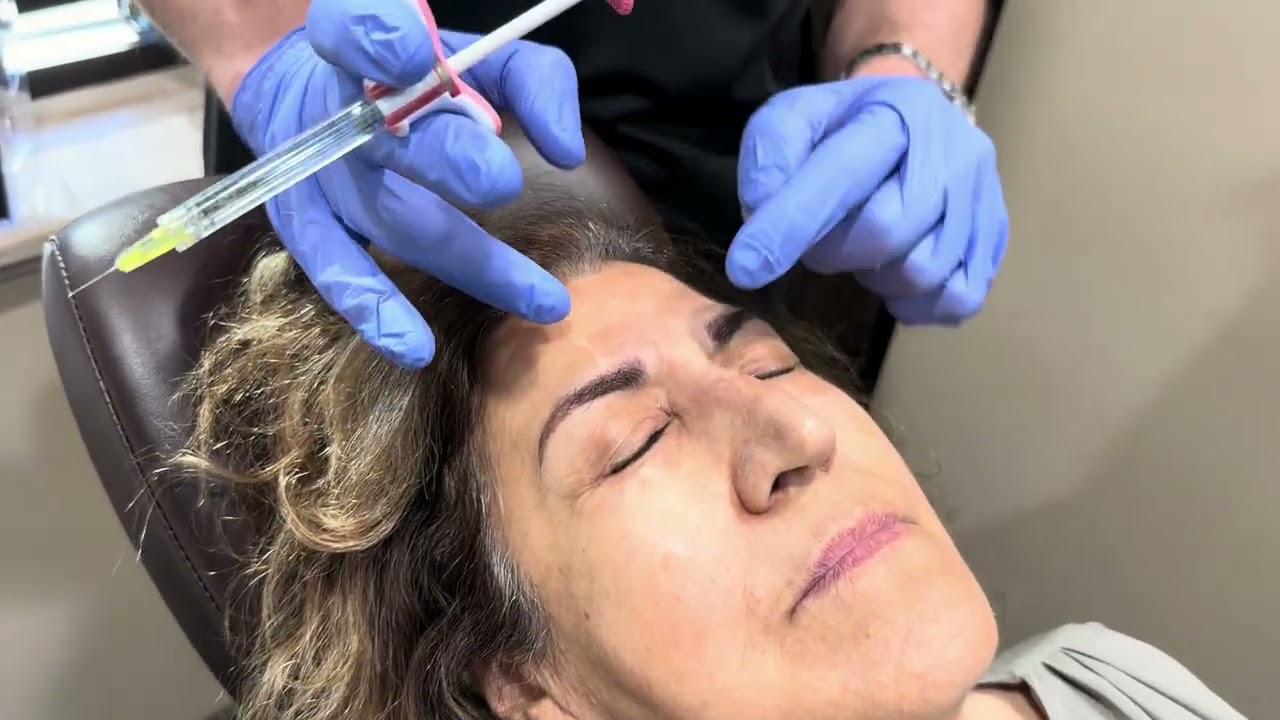
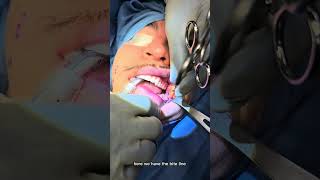
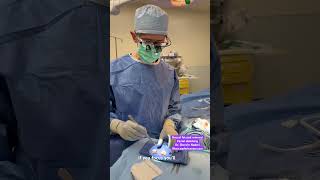
Dr. Shervin Naderi demonstrates a blunt-tip cannula technique for under-eye filler that reduces bruising compared to traditional needles. He uses a single sharp entry point, then switches to a blunt cannula for micro-droplet placement along the tear trough, keeping the needle moving to minimize trauma and pain.
Chapters
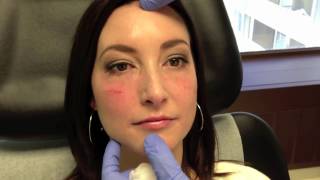
Hi. We're going to do an injection technique using the blunt cannula. You've actually seen me do injections to the tear troughs with traditional needles. Actually, you've actually seen the same patient be injected with blunt, with the sharp needle technique. And today we're going to do the blunt technique. So same exact patient, same issue. But today we're doing a touch up with the blunt technique. Now the blunt technique is actually not a needle, looks like a needle, but it's not a needle because it's a cannula. It's actually blunt at the end. So to start the procedure, I have to make an entry point on the skin and I do that with a sharp needle, one little entry point, and instead of 20 to 30 small sharp needle entry points, you have one sharp needle entry point and the chance of bruising is much less. So somebody who has had the actual volume replaced with the traditional technique that I've shown before and just wants a little touch up but doesn't want to risk a significant bruise, this works very nicely for it. Now I'm using Beloterra. You could use Juvederm, you could use Restylane, but I prefer Belotera for this technique. I'm going to demonstrate it today. So basically I've made two small puncture sites down here in the traditional technique. I actually walk the needle down in the tear trough area and, and place it supraperiosteal. Wherever I want to go with this technique, I have one entry point. You could have a second one. It's more like a fat injection. Those surgeons that are more familiar with fat injections, this technique will be secondary to them. Those doctors who are not used to the fat injection techniques, basically you have to understand that you've got one entry point and you can fan the needle through different directions. Be very careful. If you've not done this before, be conservative. But there's essentially two or three manufacturers of the blunt cannulas out there. And what I use is my preference here for these various forms. So we're going to start on this side and I've already made this small little entry point and with this technique, actually the toughest part of this whole technique is getting the needle in to through the skin. Because it's blunt, it's not sharp, it takes a little pressure. Now the patient feels the pressure, but it's not terribly painful or sharp. You can actually see my needle as I'm taking it up and you can see its entry point, you can see it slide right up there. You can see I can go right up to the canthus and I can start filling. You see that area? Just fill up right up. As I'm doing that, you can see the fullness without pulling it up. I can mold it a little bit and go to a different side. Now she's got beautiful long lashes. I'm gonna have her open her eyes because they're in my way. And I'm gonna have you keep looking up like you are. You can see where I'm filling. I'm filling right here. You can actually see the bulge right there. Wherever I need it. Place a few drops and it's very small drops. It's just like fat injection. You're not putting a big clump anywhere in one place. I'm constantly moving. The needle is constantly moving. You can see my hands move in and out. This movement with my fingers on the plunger disperses the fillers exactly where I need it to go. Beautiful. You can start seeing a fill up. I mean, just look at the other side. Look at the depth here and look at this side. You can see that it's already filled up. Now I want you to look straight for me. And when you look up the tier, trovsky warts will look straight. And as you look straight, you can see this side is hollow. This side is filled up. And I actually just slightly overfill because there is going to be some swelling. And I do mix lidocaine in with this. So I want it just slightly fuller. Great. You can see that quickly how the tear troughs. If you look at both sides, you've got the depth here and this side. If you just keep looking straight, it's definitely fuller right in that area. Now I'm going to go and do the other side right on the lateral aspect. How do you feel? You can't feel a thing. Not a thing. Not a thing. How about the pressure of this part? No, like I said, this is the part that just takes a little effort to get it in. Once you're in, it slides nicely. You can see my cannula tip right there. This is actually a tender area. Had patients grimace a little bit in that area, but you can actually get up even above that. Place a few drops of filler. Again, it's all done with the same entry point. I don't need to go to several puncture sites. Again, constant moving in and out. You can see these blood vessels. I'm avoiding all these blood vessels. With the traditional technique. The are all on the way. And if you have seen the previous video of me Doing this exact patient, you'll see that she did bleed quite a bit and then she had some bruises for some time. This technique, I've got zero bruises right now, not a drop of bruise. The only bleeding is out of this side, which will close up nicely. Close your eyes for a second. So the tear troughs and the fat pads are dynamic. It depends on eye position and movement. It's important to check them with eyes in different positions. Eyes closed, eyes open, hold a little pressure. And you can see. Just compare. What I want you to do is compare her right and left eye. And actually if you camera pan back a little bit, you can see that better. You can see how this eye nice and smooth and full. If you look at the other side, there is more of that darkness. On this side, there's more of a teardrop. Now, the skin thinness needs to be covered with makeup, but you can see the fullness if you move the camera up and down. Actually, really see that. If you actually hold it up there, it's one of the best positions to be able to see that. Compare the tear trough on this side, the depth right there, and the fullness that she's achieved. And the eyes blend better with the cheeks. But I'm going to continue working on this. It's going to get better and better. So we're going to go to the other side. Okay, so we're doing the other side. And again you can see we're comparing side to side. You can see the smoothness on the right side. And if you just hold it right there, you can actually see the tear trough that she has on this side and the fullness that's here. And that's achieved with just a quick little injection. And there's not a single bruise. And this little entry point was right there, but there's not a single little bruise. You can see the cheek is fuller. The entire cheek blends beautifully with the eyes. There's really no teardrop on that side per se. When you compare it to this side, you can see the hull instead of exists. And we're going to fill that up. You can see the separation between the eyelids and the cheek, whereas on the other side, it blends nicely. So let's continue. Again, remember, the entry point is the toughest part. When this gets through, the rest goes in easily. And you can see the needle right there. You can see my needle right there. Remember, we're doing these micro, micro droplets. It's a micro droplet technique, constantly moving. Same technique as fat injection. Open your eyes for me. And look up for me, I'm just basically placing tiny little drops all throughout here, massaging it, smoothing it out, moving on again. If this is something that you haven't done before, be conservative. Don't overfill. You can always do more. Don't assume just because there's hyaluronidase or high days or Y days as enzymes that you can just simply melt it away. That's not something that is advisable. There's not a single bruise. That's the beauty of this technique. I have various dermatologists from around the Washington D.C. area that refer patients to me for these tear trough injections. And it's a big part of my practice. Open your eyes. There we go. You can see the needle again. Move me. You can see my hand, you can see my other hand is actually helping me out. That's really important. This is something we teach our surgical residents and I always tell them, your other hand, your non dominant hand, the hand that's not injecting or not cutting is just as important as the one that's cutting and injecting because that's the one that's going to make things prepare them for you. Close your eyes for me for a second. So our patient is getting this done before a big event and she could go to it this weekend with zero bruises. And that's the beauty of it. The traditional technique. I would tell people you need at least a month of no major events just in case you get any bruises. Look how good that looks. When you're that close, it'll be from a little farther back because when your hand is there, it creates shadows. Take a look. Awesome. I cannot believe there's no bruising. You see, it's really interesting. Roll back and just bring a little bit right here on this lateral malar area. Your eyes are heavy because they're numb. I've put numbing medicine in it. This feels very weird. Looks really, really good. Open your eyes and look up. Done. That's done. Not a single bruise. She's ready to go out. This was the blunt kindle technique. I'm Dr. Mederi in the Washington D.C. area. Happy to show these techniques and if there's any comments, please post it and I'll try to answer them as I get them. Thank you.