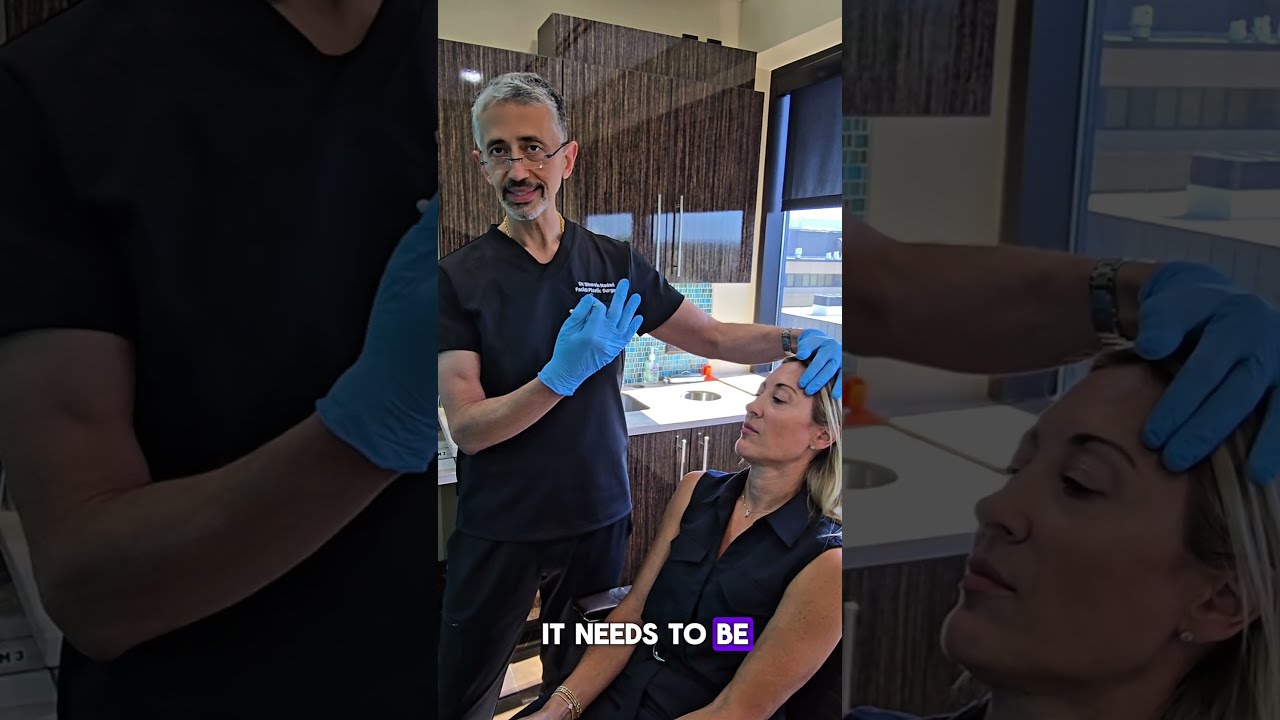
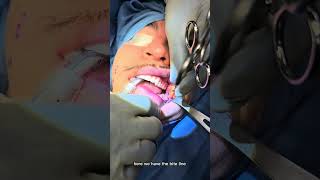
A practical instructional video by Dr. Shervin Naderi demonstrating preventive Botox and Juvederm Voluma injections for a young woman to enhance the midface and prevent early forehead/glabellar lines. He administers a low-dose Botox treatment (about 20 units total) targeting the procerus, medial and lateral corrugators and a small mid-frontalis dose to soften lines while preserving natural movement. He then demonstrates Juvederm Voluma placement in the submalar/malar midface (total used in this case ~2 cc, placed to restore cheek fullness and lift), highlighting technique (deep/submalar placement near bone, low pressure, side-to-side symmetry checks), immediate visible improvement, and aftercare (avoid pressure, icing with soft pack, avoid strenuous exercise; bruising risk explained).
Chapters
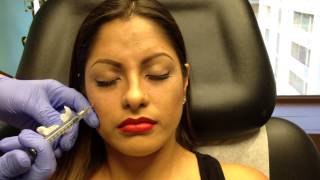
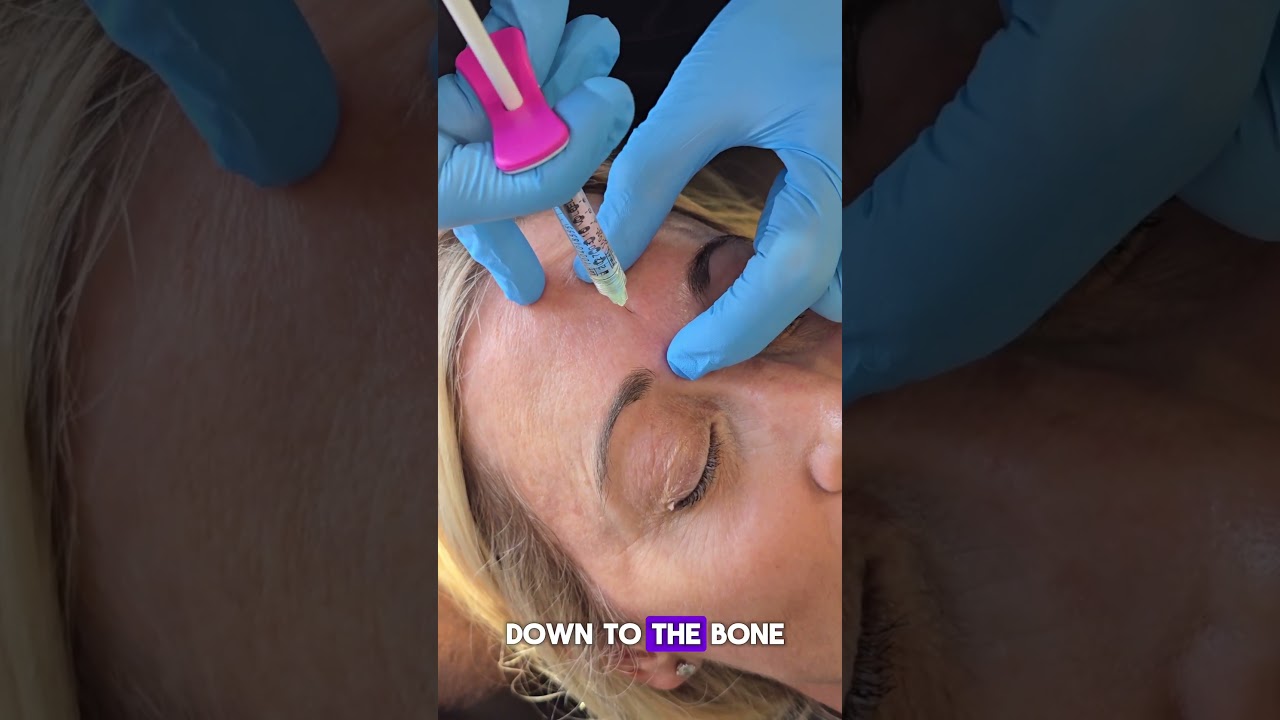
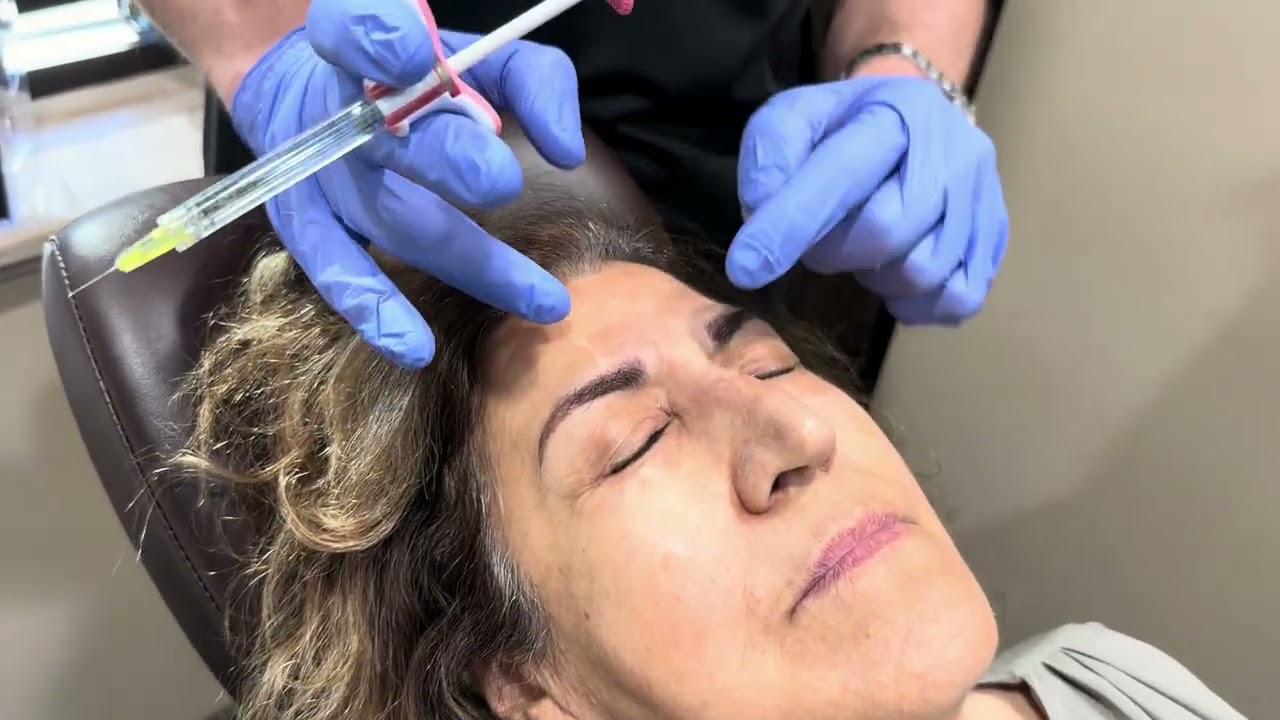
Hi everybody. We got a new video in our instructional series today. We're going to do voluma to the midface, a little bit sneaking up to the cheek trough junction and a little bit of Botox. It's been a while since I've done a Botox video. I've got tons of Botox videos online. But we're just going to do a quick little Botox for prevention of lines and I'll show you how. So we have a beautiful young woman who really is in the early stages of needing Botox. We don't want to wait till it's too late. We don't want to wait till lines are fully developed. We want to get them before they go deep to the very nice arch that's enhanced on the eyebrows. We want to maintain this. And the Botox will be centrally. I'm going to do the corrugator, I'm going to do the procerus and a little bit to the mid frontalis. We're not going to go too heavy because if you go heavy, the eyebrows start drooping and looking heavy, the brows start looking heavy. That's not an attractive look. We also don't want to get too arched because it starts looking spot kiss and a little bit too aggressive. So somewhere in between. And that depends on the corrugator injection. More importantly though, the reason we is to show the mid face. You can start seeing the cheekbones in this area and a little bit of hollowness below it. We've got pictures to show this better. The mid face injection will be here in the sub malar area, maybe a little bit to the malar area, just to get the cheek to lift up a little bit and make it look more youthful. The whole goal of this is to have a perpetual smiling look when you're not smiling. The reason we smile and we look better is not because the corner of the mouth elevates. The joker has that and doesn't look any better. But the reason people look better when they smile is that the midface fills up. We don't want to have gigantic cheeks, but we do want to have more enhancement of the mid face. And I'll show you how. So we're going to do 20 units of botan. It's a low dose. I don't like a very high dose from botan. I still want some movement. I want it to look natural. Perfectly frozen forehead and never looks right, doesn't feel right. Some people prefer that. But most of the time I want a natural look as we go. I'm going to start with the pros eris and I'm taking it between my fingers, lifting it up a little bit, putting in a little drop right there. Just a little drop will probably about three or four units right there. That's the first axis which helps with these lines. Then we got these downturned corrugator which is basically pulling the medial head down. And I want to reverse that by getting the depressor, putting in about two to three drops there on each side. That just helps reduce that so it opens up the eyebrows a little bit. I'm going to continue with the corrugator. Medial corrugator, lateral corrugator. If I wanted to really flatten the arch, I would go for further laterally, but we don't want to do that. She likes having a nice arch and I like it on her as well. Medial corrugator and we're going to do lateral corrugator. So that's that. But then there's a couple lines that are forming up in the forehead area here and I want to relax that. So I go to the midline forehead and get a little bit of the frontalis. Nothing significant. If I get more of this again, it's going to drop down, look heavy. Then there's a little bit extra lift. I come back, finish it up to the junction of the procerus with the corrugator. There's no bruises, hardly any bleeding. It takes about a week or two weeks for the Botox to fully kick in. These little bulges, which are little bubbles of Botox, will dissolve in a few minutes. By the time she gets out of here, this will be nice and flat. By next week, two weeks from now, it'll start working and she'll have less of the ability to do this. And the eyebrows will look more open like this. So that's the Botox. Now we're going to go to the filler. Botox is done. Now we're going to go to Julian Vulnerable Voluma. Everybody knows this is Voluma, but it's actually Juveder Voluma made by Allergan. I'm one of the instructors of the company. I go around teaching other doctors how to do this. Just yesterday I was at a very prominent dermatologist office showing her how to use Voluma. It's a little bit different. You can look at Perlene, you can look at Radiesse, you can look at a variety of fillers. This has its own niche. It's the only FDA approved filler for the mid face. It Works beautifully to elevate and enhance the mid face. This should not be put into the lips or anywhere where you would need a finer, thinner type filler. CC filler. It takes about 2, 3, 4, 5, 6, 7 cc's to volumize the face. Everybody's different. Somebody very young, very tight skin, one or two cc's may do the trick. Somebody. As we get older and the skin starts losing elasticity, it may take 3, 4, 5, 6 cc's or more to get the volume. And again in her. We're trying to get a subtle lift right there. So you'll watch my technique now. All right. I like to go in the sub malar area. This is down almost to the bone. How bad is that? Tolerable. Doing okay. That happens. You go, that was just a tissue. Keep going. You don't want to put too much pressure on these because you don't want to flatten it out. And tell patients for a few nights not to sleep on their face with gentle pressure. You don't want to be sitting there and massaging, pushing on it either, creating little nice columns which elevates and lifts it. And you can see immediately if you actually look at that flat depression that she had before, it's filling up. And I've used less than the full cc, so I'm going back. This is like instant youth in a syringe. And if you're young, then it's instant cheeks in a syringe. Gives a really nice result that you can enjoy immediately. You don't have to wait a week or two for this. Enjoyed that night. This was actually her deeper side, the side that needed more. So we're going to put one CC here and then probably put the remainder of the CC from the other side on this side. But you can see this was actually her better side. This was the deeper side. Now you can see nice fullness here. She's got a nice definition to the cheeks. You still want to have a little bit of shadow here with makeup application. We always want to have shadows here and highlights here. So you don't want to blunt this and create a big, chubby, fat cheek. That's not the goal. You just want to have a nice fullness up here. You can see flatness here, fullness here. There's no bruises that you see right now. It can bruise. I tell people, don't do this sooner than a few weeks from a major event in your life. But so far there's no bruises at all. So that's one side. It's amazing. Looks really good. And it was subtle. It's just one cc. One cc is less than a fifth of a teaspoon. One teaspoon is five cc's. So this was very subtle. But that subtle result actually gave her a nice little enhancement here, which lifts the cheeks up. So we'll go do the other side. This side's been done, but I'm gonna put a little bit more on this side. I'm gonna take a second cc, put probably half of it or third or two thirds on this side, depending on how it looks, then go back and finish up more on the right side. The two sides of the face are never completely symmetric. People usually need more on one side than the other. Some people are symmetric. 85% of us have significant facial asymmetries. And you can make things better with the fillers. You can also make them worse if you don't know what you're doing. So let's start here. You ready? You can see it fill up. And see it. Just volumize right there. These little bleeders are completely normal. Skin has blood vessels, blood vessels bleed. If you don't bleed, there's something not normal. But if there's a big blood vessel in the way, it'll bleed quite a bit and bruise significantly right then and there. These little tiny bleeders shouldn't bruise significantly. They'll be very light bruises. She can easily cover with makeup and go out tonight and be perfectly fine. Now, once I've done about half of the syringe on this side, I've already determined I'm going to check it out. So I'm going to go stand in front of her and compare for symmetry. Look straight at me. You're tilting your head a little bit. I want you like this. So right now she's actually perfectly symmetric. So what I'm going to do is split it between the two sides and give her nice symmetry. Stay right there. This is the sub malar area. Gives her a little bit more fullness and youth right there. There are more blood vessels in the submalar area. The mistake I've seen a lot of dermatologists and injectors make is they overfill the cheeks here, and you just create two big walnuts sitting on the cheek. That doesn't look good. Don't do that. You want to have a nice smooth transition from malar to sub malar area. Hold the low pressure for about 10, 15 seconds for this kind of bleeder to stop again. Luckily, these evolve into small bleeders. Nothing major. It really slows down Significantly. Diet's important. Supplements, things that patients take, seeds, nuts, oils can make you bleed more, and you want to avoid those before injection. Again, I'm going to compare side to side. Look for symmetry. I think she needs a little bit more on the other side. Back. I'm going to go back and forth until I end up with the results that I want. See her again. Good. Looks fantastic. She looks lifted. Let me see you again. Turn your head my way a little bit. Good. One more drop on this side. Are we done? Right here? Good. That's it. So a little bit of ice tonight. My favorite type of icing is frozen peas in a Ziploc bag. It's soft. It's not like an ice pack directly putting pressure on it. I tell patients to avoid the gym for a day or two. You don't want to be exercising and creating more swelling. It's very smooth when you feel it. There's no lumps or bumps, but when patients feel it, it's going to feel firmer than their natural fat. That's completely normal. That was subtle. Two cc's. Not a lot, but you can see what two cc's just did. If you compare the before. Right Immediately afterwards, even with some lumpy bumpiness from the swelling around the injection sites, where it kind of makes it look a little ripply. Even with that, it still looks nice. She can go out tonight, put some makeup, cover it up, and enjoy it. This was voluma. Thank you, Sam.