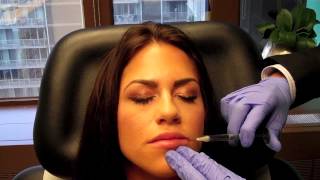
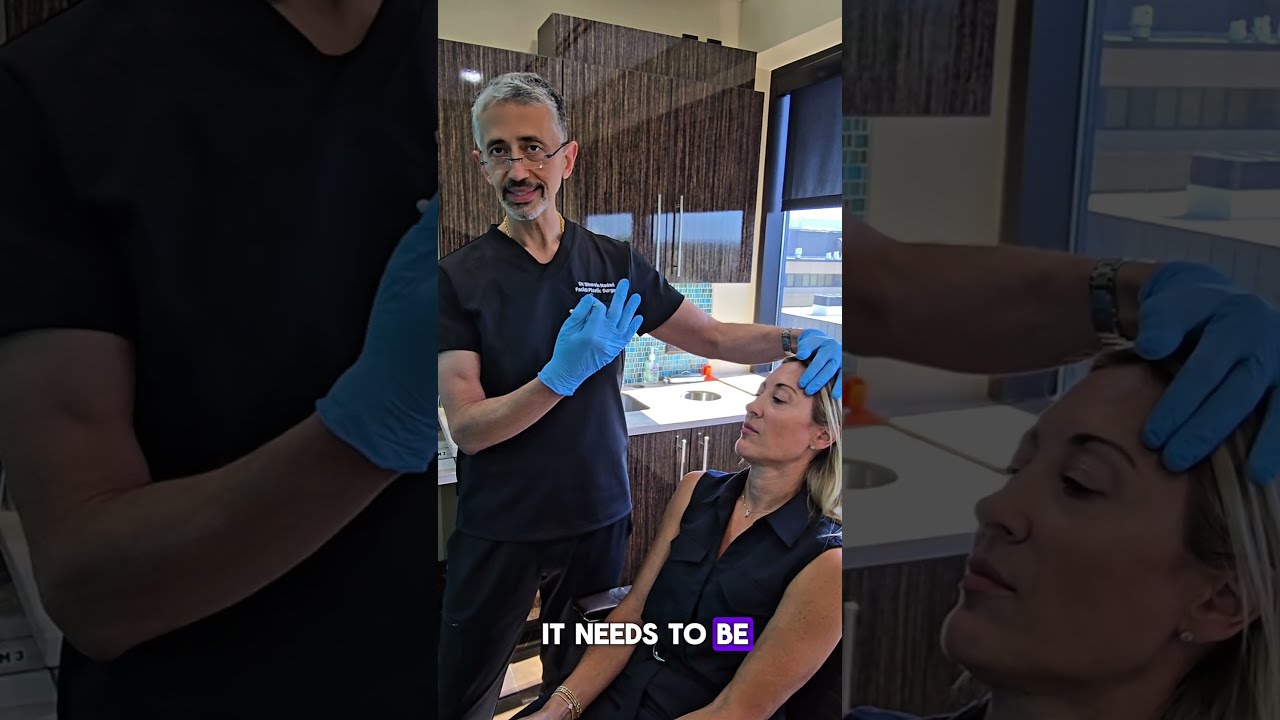
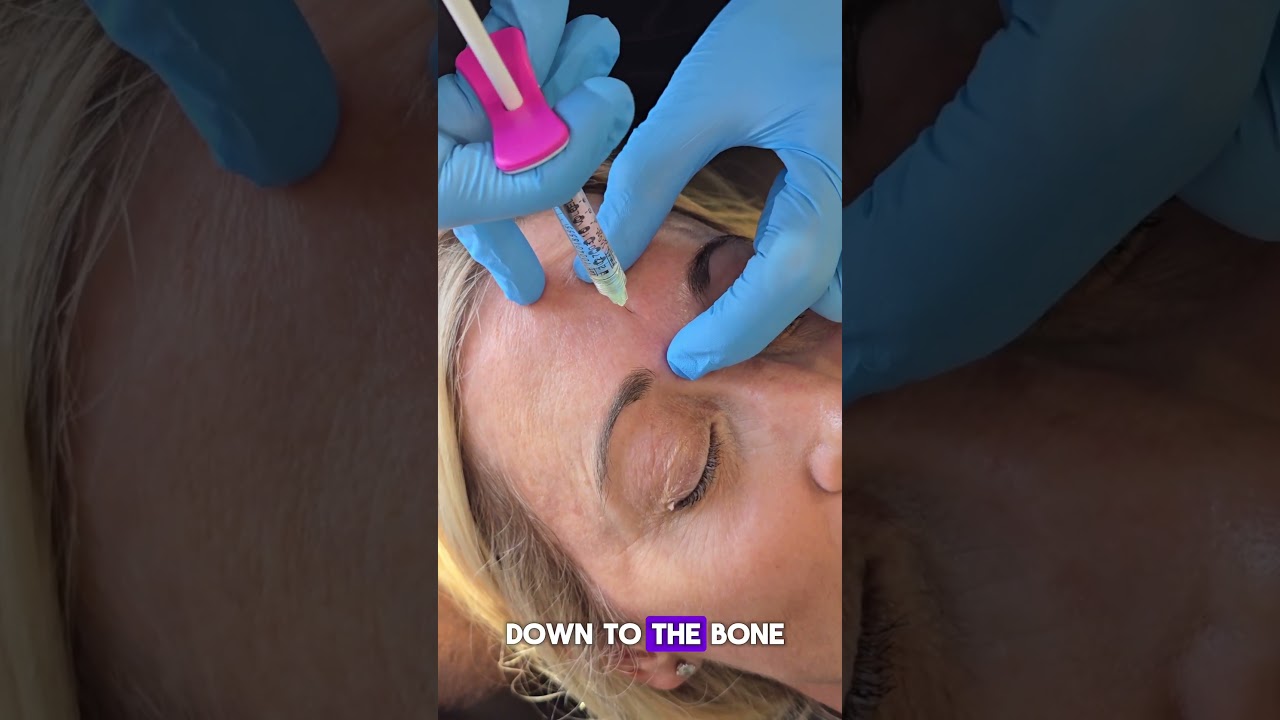
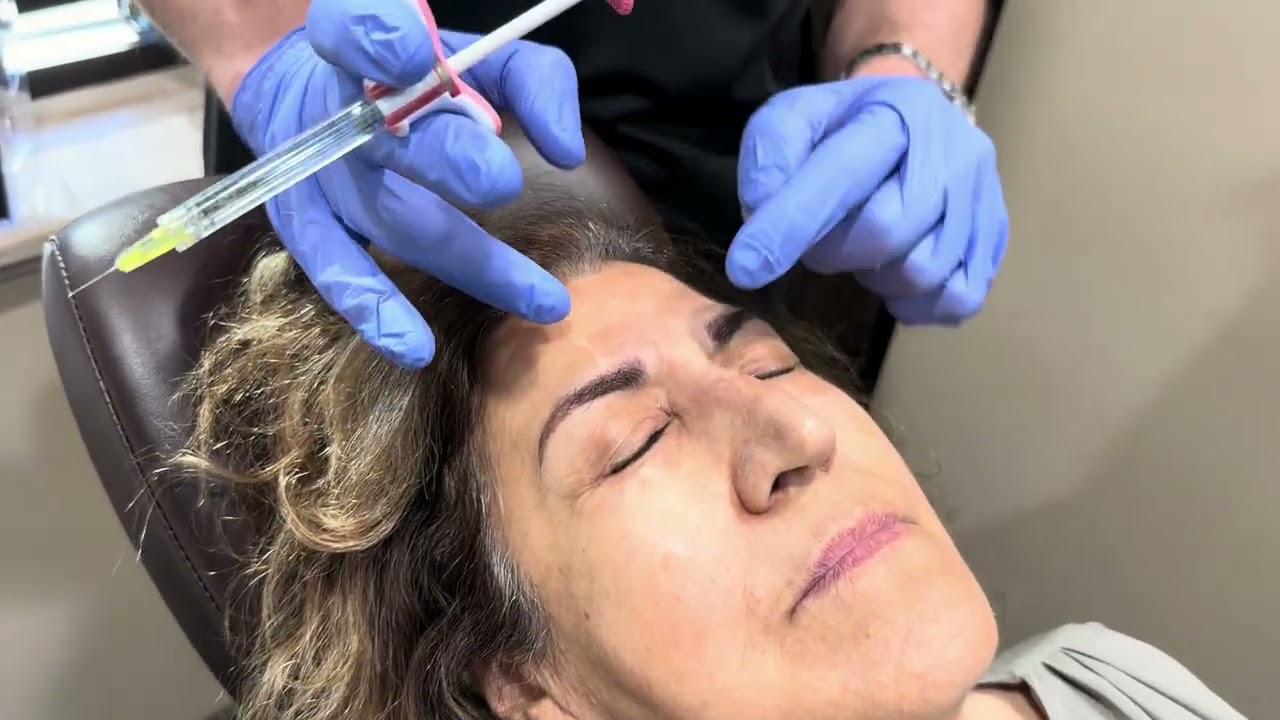
Dr. Shervin Naderi demonstrates a Juvederm Ultra XC lip injection procedure on a patient who previously received fillers. He explains product choices (Juvederm Ultra vs Ultra Plus and Restylane), notes that Juvederm Ultra XC contains lidocaine and is supplied in 1cc syringes with 30-gauge needles, and demonstrates technique: using a side-entry port, threading to the philtrum, retrograde filling with variable pressure to avoid sausage-shaped lips, shaping the vermilion border and cupid's bow with a smaller needle, and fine-tuning with small drops. He advises that initial treatments may require multiple sessions to build lasting volume, minimal bleeding/bruising is expected, and final results settle in about a week (4–5 days).
Chapters
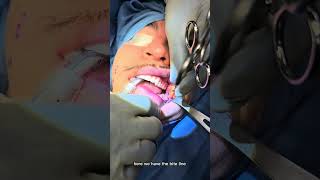
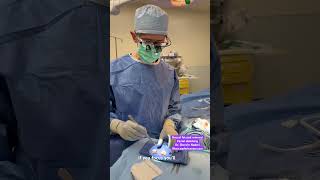
Hi. We have another injection videotape for you. Today we're going to do lip injections. We have a patient who's had the lip injections once before, about a year ago elsewhere, and she liked it. So she now is here to revolumize and continue the process of having fuller lips. Typically, the lip injections that are performed with Restylane or 2, which are last of all up to 18 months, but you may need several injections to get to that point. What I mean is you'll do one syringe and you'll notice the improvements and you'll love the results. But then after a few weeks to a few months, you may notice most of those results dissipating. So you have to do another injection and you slowly build up on top of the results. You actually build up some of your own collagen, you build up some of your own scar tissue, and the lips start retaining that volume over a longer period of time. This allows you to eventually get the injections about once a year or so. But in the beginning, you may need two or three injections in the first year. What we're going to do today is the same thing that she's had in the past, which is the Juvederm Ultra. There's Ultra plus as well, and that's a fuller, thicker material. It's great for the cheeks, for the chin, for the pre trial area, but for the lips, I really like Restylane or Juvederm Ultra. This is the xc. It does have lidocaine for numbing in it, which does make things more comfortable. But some patients do prefer a dental block to basically be more numb before the injections. So we're going to demonstrate that today. So the Juvederm Ultra XC comes in a 1cc syringe. 1cc seems like a lot, but if you actually think about it, or pour this onto a little teaspoon, one CC is just about, roughly about a teaspoon. It comes with 30 gauge needles that are short. I will use these, but occasionally I prefer to go with a longer needle so there's less sticking and place a longer needle, thread it a longer way, and then use the shorter one to fine tune and make adjustments. What I'm going to do is first go ahead and have her close her eyes, put her head back. I'm going to use an alcohol wipe, just gently wipe the lips. Now, the longer needle obviously looks longer, but it's a skinny needle and it's done in a way to thread it. So what I do is I roll the lip to the side a little bit. I use a side entry port right around this area. And as I go in, I'm feeling and seeing where the needle is. And as I'm threading it up to the philtrum, you can actually see the needle tip right in this area. So you can get this entire area filled up and volumized with really just one injection. It's a slow retrograde filling. And what's important is to realize that I'm not placing the same amount of volume all over the lips, otherwise you're going to create lips that look like sausage links. What I'm doing is I'm placing more centrally and as I pull back, I'm relieving the pressure on my thumb so that less volume is being placed along the side. You can see that there's barely any bleeding, there's no bruising, and it's just one single port on that side. I'm going to switch to the other side. How are you doing, Justin? You doing okay? I can't feel anything. All right, so my finger may block this a little bit, but that's okay. I'll show you in a second. Again, I'm entering right there. You can see that I'm threading it. You can actually see. And you want to make sure that you're not too superficial. And then I'm going to start volumizing. As I'm pulling back, I'm adding the volume. And again, right before I pull out, I'm going to stop filling because I don't want to keep filling it up to the last point. Otherwise you're going to get a bulb there. So that's going to start the numbing process going even more because now she has the Juvederm with some lidocaine in there. I go on the bottom now. Ready? And I thread it through. And you can kind of see it right there. You can see the needle right there. I adjust it and basically you can see the needle right there. And I adjust. And this way I'm getting both sides of the lip with just one injection. And again, as I come back towards the corners, I release some pressure so that I don't get as much volume out in the corner as I do in the central lip. Because for her, she likes more of a heart shaped lip. She likes more of a classic lip where the bottom lip is a little bit fuller. And again all you get is one bleeding side from the corner and she starts numbing up. Going to go back to the other side. Doing okay. So we're going to the other side. Keep your eyes closed. You can see entry point right there. You can even reach up. Help yourself with your other hand. Guide it through, see where it's going. You can check where the needle point is. And then you start feeling it retrograde as you're pulling up. That's pretty much it. Now, we used about a third of the syringe and you can see that the results already are nice. She did have full lips to begin with, but we want to fill them up a little bit more to give her a little bit more of a longevity. So at this point, what I do is I switch to the original needle, the smaller, thinner needle. And what I'm going to do is I'm going to shape the borders and the corners a little bit more and you'll see the change. So a tiny needle. Put your head back for me. Close your eyes. Perfect. Back a little bit. Good. Going to give a nice little roll to the lip. So what I'm going to do is pull back right in the corner. This is a smaller needle right at the vermilion border. Filling up the vermilion border. You can see as I do this gives her a nice little roll and starts enhancing that vermilion border, which is so important. You don't want just puffy lips. You want to have a well defined lip. And as I do this, I keep coming over right at that vermilion border again, filling it up. And you just beautifully see that roll right there at the vermilion border. When you get to the filtral ridges and the cupid's bow area, basically follow that vermillion down again, fill it up. You can see it's a different direction. I change direction again. It's really important to make sure that you're following these. Otherwise you're going to just create big puffy lips. And that's not the goal. The vermilion border is not that vascular compared to the red lip itself. So these little bleeding points stop nicely and they don't really get bruised. And again, my finger may cover a little bit of what I'm about to do right here, but it's more important for me to see than you guys can see right now. And you can see I'm right at the vermilion border again, filling it up. You can give yourself a little bit of tension with your other hand. A little bit of filling right there. We're almost done testing section. That pretty much is it for the upper lip. I'm going to go back and Finish up the bottom lip and see if any fine tuning needs to be done at the bottom lip. We don't really want to enhance the vermilion border so much. So what I'm going to do is I'm going to start here again and here. Now I'm pushing antherograde, meaning as I'm filling it up, as I'm pushing the needle in so it's not just retrograde anymore. And this just does a little bit of fine tuning right here. Take a look at the lips, evaluate them. I see that I need a little bit more right here. Again. When the lips have been filled before, there is a little bit of residual fillers in there. There's also scar tissue and the filler doesn't want to necessarily always follow the area where you placing it in a virgin, untouched lip for the very first time. The filler goes exactly where you want it to go. But lips that have been injected in the past do need to be fine tuned in meticulous little places just to make sure that everything looks good. So we're keeping it here. Now I'm going to fill up the central part again a little bit more from the other side. So now I'm looking at the lips. I'm going to have you put your lips together. Good, perfect. As I look at this, I say, okay, I need a little drop right there and go right in place. A little drop there. That rolls it out, takes care of that beautifully. I look at both sides, I see I need a little drop right here and go in place. A little drop. Look at it again. Again. Perfect symmetry is often impossible. People are not symmetric beings from side to side. But you can get things pretty close. Again. You look over here, there's a little bit of volume that you could put benefit from right here. So I'm going to place a few little drops right there. One little drop right there. One little drop right there. She's really not feeling these already. I just get hot seeing the needle. Don't look at the needle. Good. Put your lips together. They look really good. You can see a nice little roll right there. Open your lips now. Leave them open. When you start getting numb, sometimes you kind of lose control. A little bit of your lip musculature. Barely any bleeding. Looks really, really good. You can kind of see right here. I'm going to place a little drop right at that tip just to give her a little lift there. For this side, she actually has a pretty good one, so it's going to be a little smaller amount. Looks really really good. And we're done. Barely any bruises. Really not much swelling. Can't actually show her and see that. She can actually right now put some lipstick on, go outside, get back to work. She's a little numb right now. Drool. Right. But she'll be good to go. It takes about four to five days to reach. Really look good. It can be a little lumpy, bumpy. It can be a little swollen for four or five days. I usually tell people give it a week, and then after a week, it looks really good. Thank you, Sa.