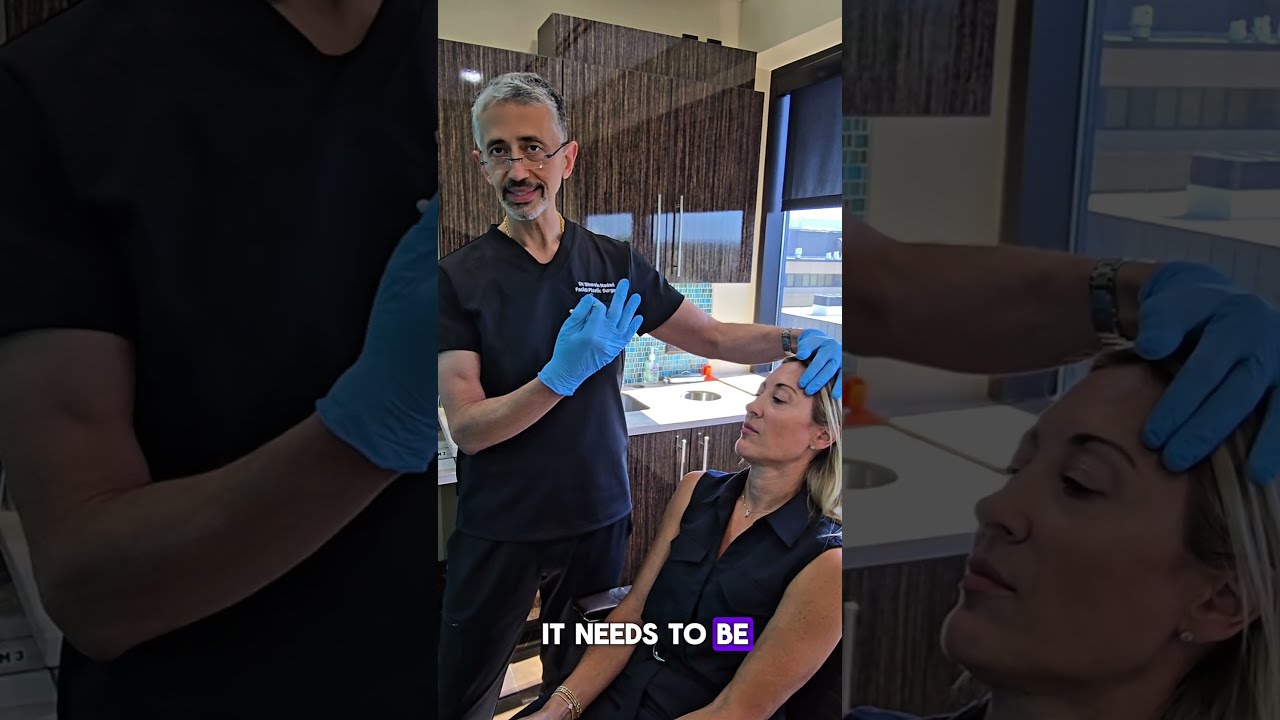
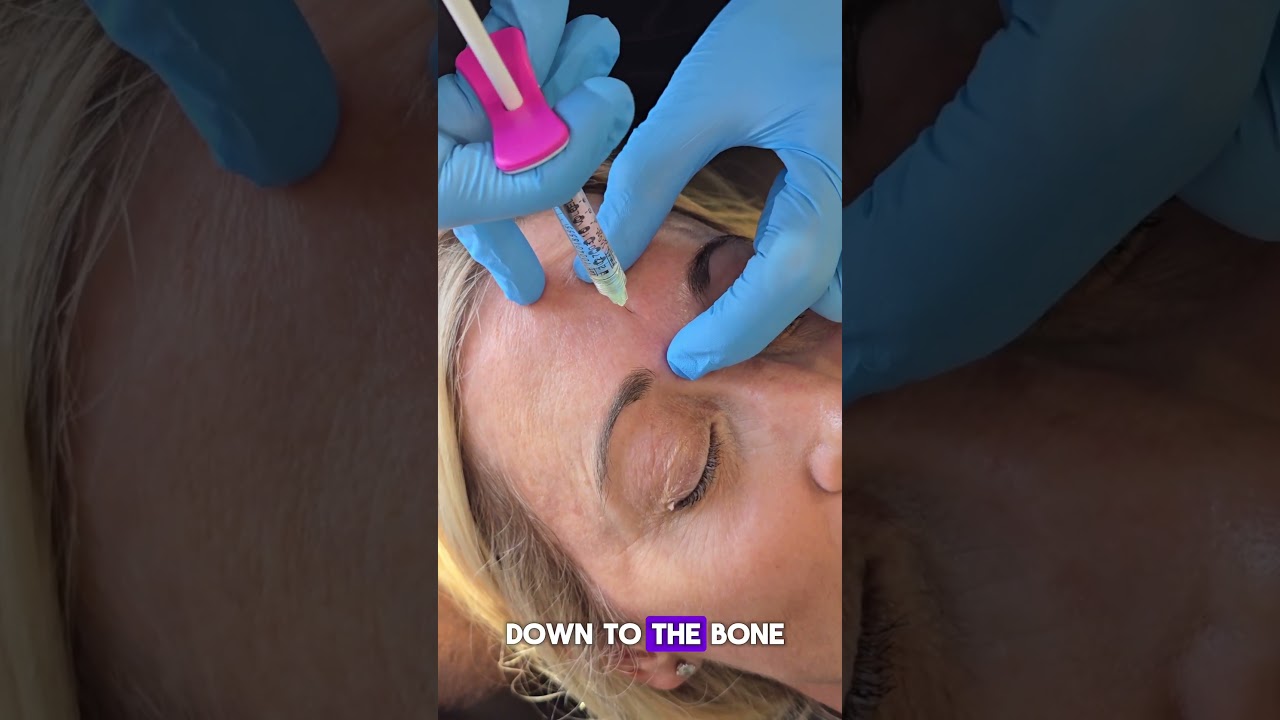
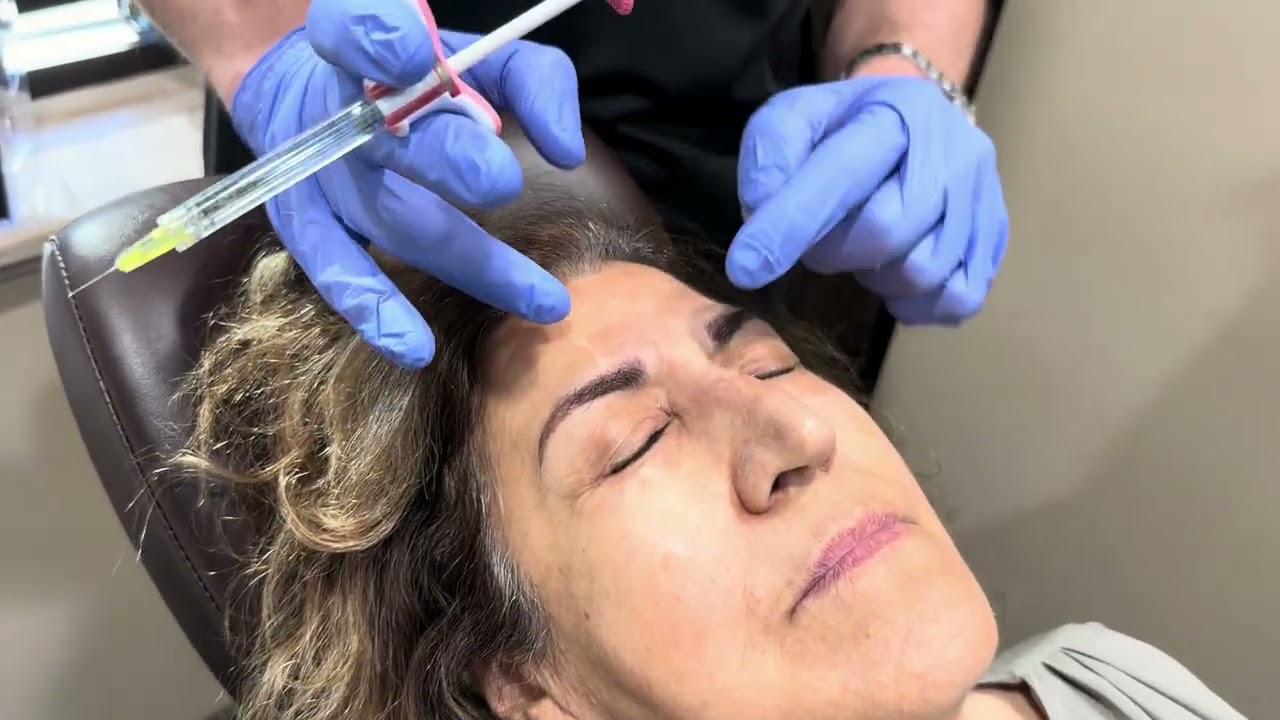
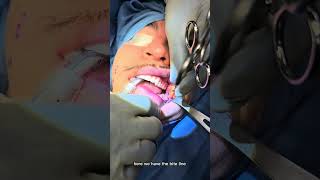
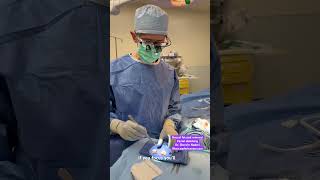
A clinician-led YouTube demonstration (Dr. Shervin Naderi) showing a liquid mid-facelift (liquid cheek lift) using dermal fillers. The video contrasts liquid fillers with permanent mid‑face implants, describes target zones (tear trough, malar eminence, submalar, zygomatic arch, temples), and demonstrates serial submalar injections down to the bone/overlying the masseter to restore cheek contour. Products mentioned: Juvederm Ultra Plus (preferred for first-timers), Perlene, and Radiesse; fillers contain lidocaine. Technique notes: gentle needle insertion, occasional needle changes, and attention to blood vessels. Immediate side‑by‑side improvement is shown; typical maintenance is repeat treatments about twice a year.
Questions this video answers
March 16, 2011.
Juvederm Ultra Plus, Perlene, and Radiesse.
Yes — the filler(s) used contain lidocaine.
Up to six syringes.
Typically about twice a year.
Chapters
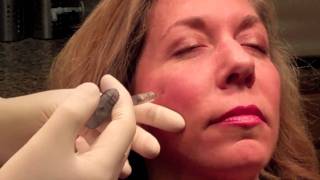
Hi. Today we're going to do a little bit of injections in the liquid mid facelift area. As I've discussed before, the liquid mid facelift is a very nice way of augmenting the cheek area. Liquid mid facelift area is very nice compared to actual mid face implants because mid face implants have to go in one area and you're stuck with whatever the shape is. Oftentimes they're too big, they can be too low, too high, too lateral and the patient wakes up and sometimes they like it, sometimes they don't, then you got to go back to surgery and correct it. But the beauty of the liquid filler to the mid face area and the cheeks is that you can contour certain areas. You can do the area of the tear troughs or mid face, you can do the malar eminence itself, you can do the sub malar area, you can do the zygomatic arch, you can carry it up to the temples. And due to the temple and brow ridge area, you can do even cheek hollowness and you can do various areas, which is very nice. Today we're going to do some injections here and I'm going to show you by prepping first with a little bit of alcohol. These are very quick, they're not very painful. Our options are Juvederm Ultra Plus, Perlene and Radiesse. I really love Juvederm Ultra plus for this, although Pearline and Radiesse are very fine substances as well. When it's somebody's first time, I like to go with Juvederm Ultra plus because it's softer, more buttery and smoother and you feel less lumps and bumps afterwards. But Radiesse and Perlene are very nice substances as well and we've demonstrated that before. Alright, so we're going to start. This does have Lidocaine. As we start injecting, it starts numbing up and being more and more comfortable each time. Ready? So no jumping or anything. You're gonna feel a little pressure. How bad is that? Not bad at all. Good. So we just keep going that way. Some areas are gonna be a little bit more tender, but immediately there's a little shadow here that's gone. It doesn't take that much to improve the face if you know what area you're injecting. Now, bleeding is pretty normal with these. We've been lucky enough here not to get any major blood vessels, but I wouldn't be surprised if we get a few by the end. What we're doing here is in the submolar area, you can already see the nice contour that's developing there. I'm going to go to the mid face area here. This one comes straight down. It's actually going right down to the bone. Fills up that hollow area nicely. That's it. Does a very nice job there. You see that shadow? The wholeness went away immediately. Now, sometimes the enemy of good is better and you keep going and then you get a blood vessel. But I like to keep going until we get a nice contour everywhere. These areas here do have some decent blood vessels. They can get in the way. We're getting very nice results already. You have to be very gentle. I've seen plastic surgeons stab the needle into the face thinking that the quicker it penetrates, the less it hurts. That's just wrong. Doing that. You're actually stimulating pressure receptors as well. The more gentle you are, the better. Open your eyes, let me take a look. Looks really good. Let's keep going here. Lucky enough. No bruises yet. One last little drop and we're done with this side. Done. So now if you take a look from the front and you move the camera around, you actually will see the improvement that just one syringe and improve this area compared to what you see on this area. You see the hollowness and you see the mound here. I'm actually going to show the patient she can compare side to side before we go to the other side. You see that? Yep. Then you're going to see the fullness of this created. You can see the improvement under the eyes that you saw. Immediately made that eye look less tired than the other side. Nice. Cool. We'll continue with the other side. Wonderful. Okay, ready for round two. Mm. The injections are serial, all down to the bone in the submalar area. If you know your anatomy, you know that you're not really going down to the bone. You're going and depositing a little bit of this overlying the masseter muscle just like you would a sub malar implant. It's not uncommon for patients to have a little bit more tenderness on one area versus the other. Even with Botox injections, one side always hurts a little bit more than the other. That side is a little bit more sensitive. Go up here. And again the lidocaine is going to kick in. And when you go back to contouring area, it's going to work better. Sometimes changing your needle naturally helps. A sharper needle is more helpful. I'm going to switch to nicely sharp needle again. This will be the third Needle change, but it helps. See how beautifully. Just lifts the cheeks up. Eyes are looking good. One more drop here. Almost done. I can actually see. I don't know if the video shows it, but as I'm injecting, it's actually pulling up the skin nicely. Now what I like to do is I come back, have the patient sit up a little bit, I compare the two sides and see if there's a touch up from side to side that's required. Okay, perfect. Now I see a little area of weakness right there, which I'm going to put. You always want to double check. This is a sensitive area. Bear with me. Almost done. Done. I know you're happy to hear that. So we went through this. She didn't have any major bruises. I'll have you bring your hand up and hold this for me. Gentle. You bring your hand up and hold this gently. So essentially, this was a quick liquid cheek lift. Now, we could do a third syringe. We could do a fourth syringe. I've had people do up to six syringes, but this gave a really nice result. Right now, what I tell patients is give it time, give it a couple of months, enjoy the results and benefit. Come back, and let's fill up a little bit more of the area and then we can maintain it over time. This is typically something patients do about twice a year. Thank you. Thank you.