This transcript is from a YouTube video by Dr. Shervin Naderi demonstrating a "liquid midface lift" — cheek/malar augmentation using Perlane (a hyaluronic acid filler). The speaker explains indications (tear troughs, midface volume loss), compares fillers with fat grafting, implants, and surgical midface lift (recovery/time tradeoffs), and gives a step-by-step injection technique focusing on deep, periosteal (on-bone) placement, symmetry, and small-volume, atraumatic injections (demonstrated with roughly 1 cc per side in this clip).
Chapters
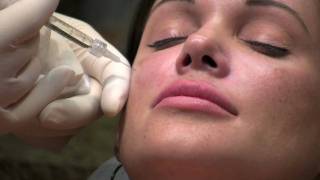
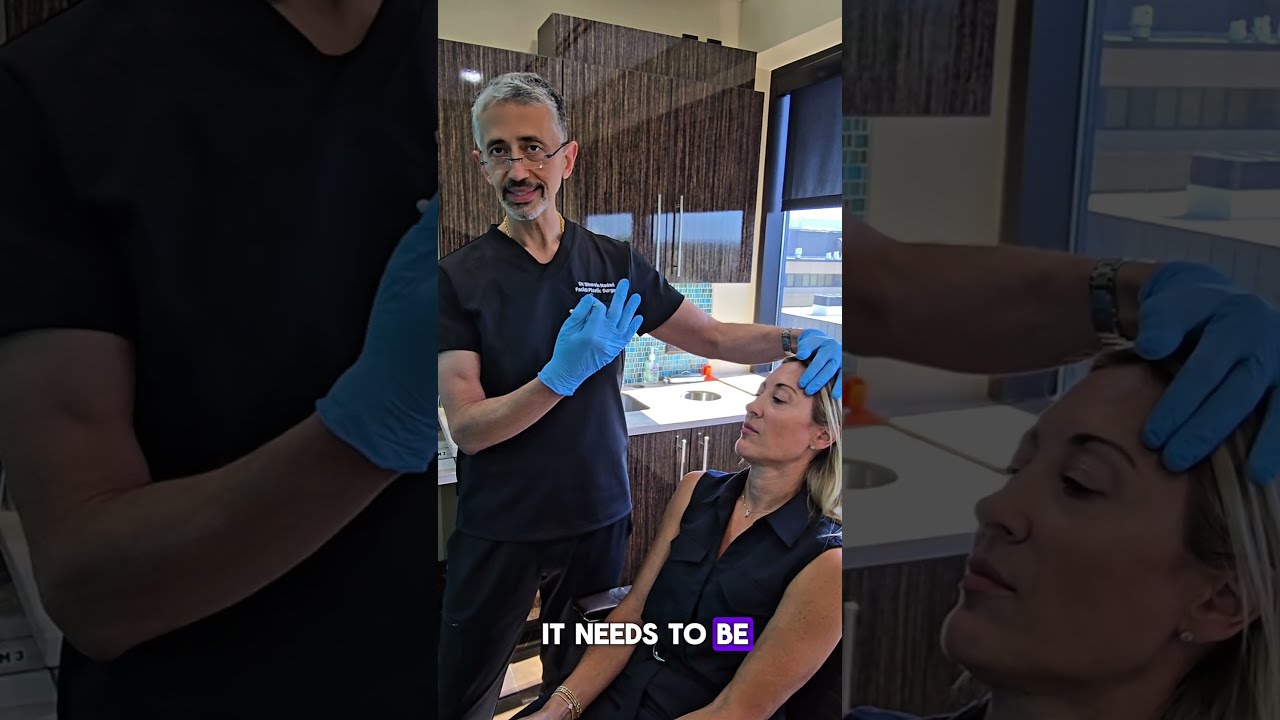
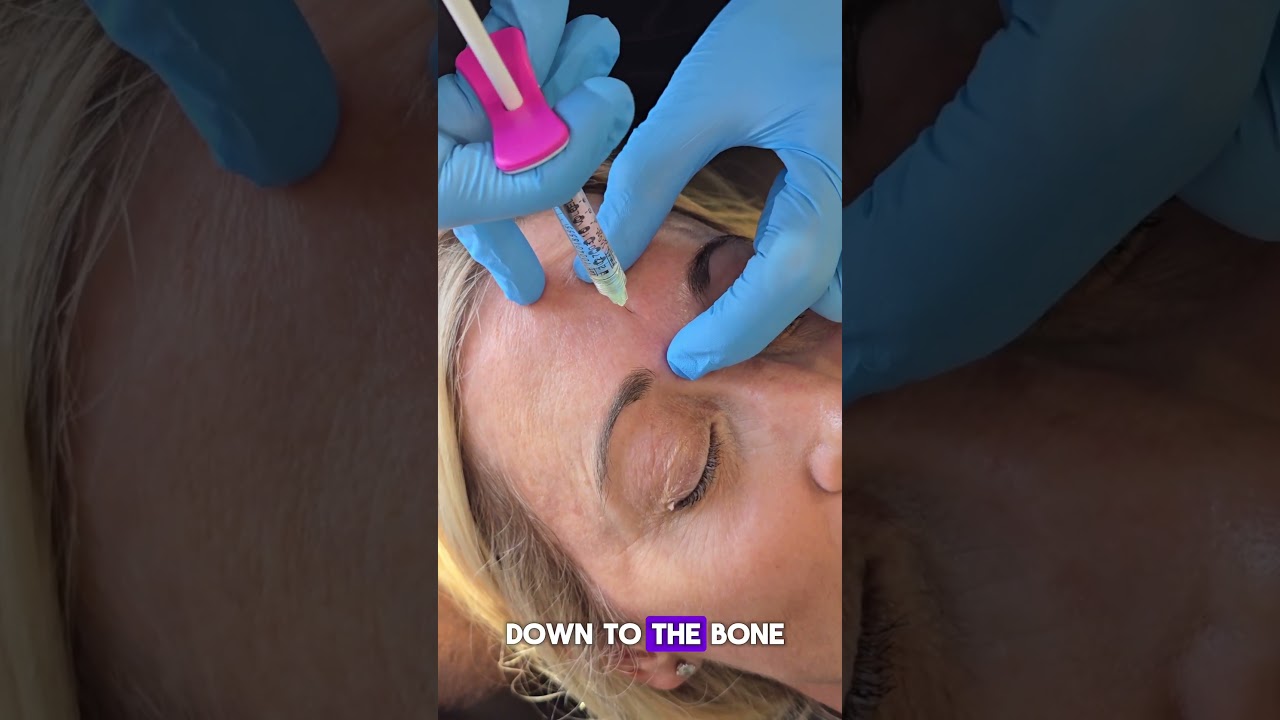
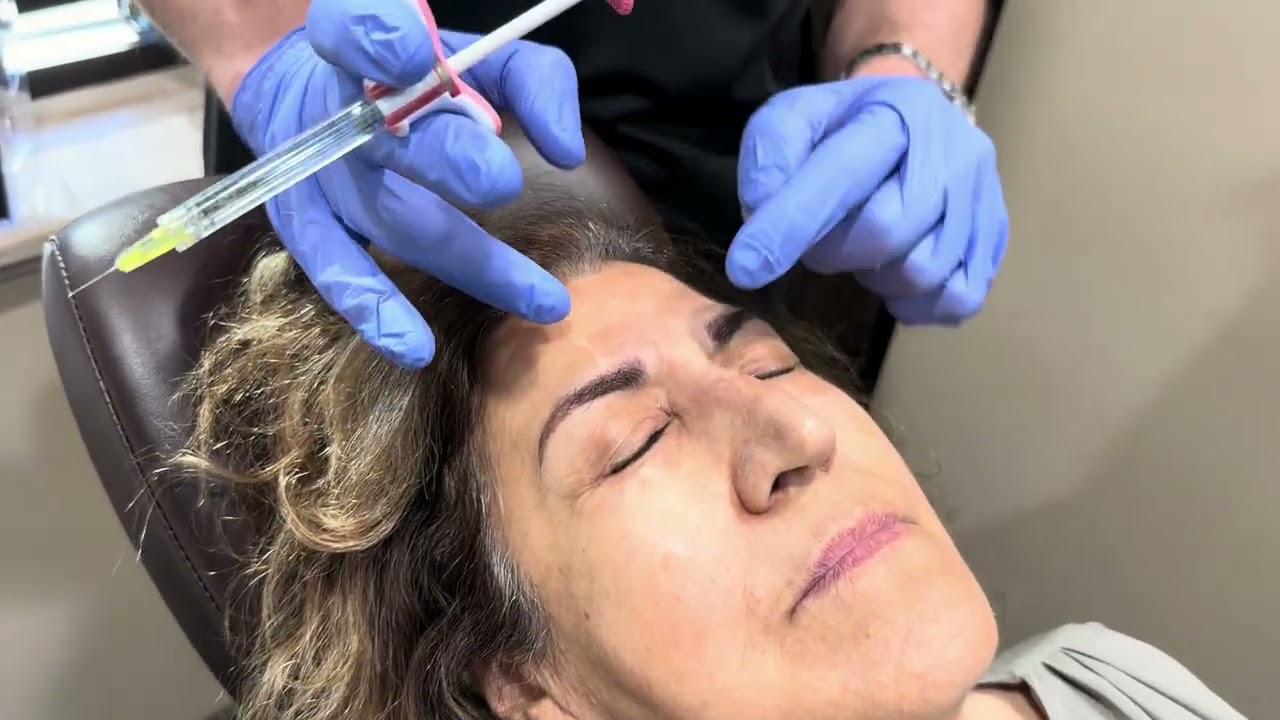
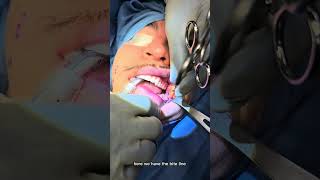
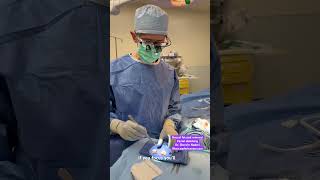
So we've done the injection to the lips as well as the nasolabial folds, the smile lines. What we're going to do next is injection of the malar area. The different zones here, as we talked before, are the tear troughs. You can see some patients have a little shadow or dark circle around the eyes. It can be medially, it can be laterally or all the way across the mid face. You can need filling of that area. Especially as patients age, they lose volume in the mid face and everything kind of sags down, down and in creating the nasolabial folds. So revolumizing with either fat injections or fillers is the way to go. Implants are also another option. Mid facelift would be the surgical option, but as you'll see in just a few seconds, the injection of fillers is beautiful, simple, very safe, very low risk. And in my opinion, it's better than fat injection implants or mid facelift. The downside of a mid facelift is that it takes about two months to recover from the swelling, and the results last about five years. Implants, they can shift, they can become infected. There can be size issues, desire for larger or smaller sizes. Fat injection, it takes several treatments. Most of it doesn't take. It's great for volume, but not so much for contour as it doesn't have the structure of fillers. That's why fillers such as Perlene, Juvederm, Ultra plus and Radiesse work so well in this patient. What we're going to do is basically focus on this zone and create a little bit of fullness right in this malar area. To do that, we're going to use Perlene, which is a safe hyaluronic acid. Again, it's a clear gel. It's roughly 1cc. What I like to do is start by taking off any makeup in this area you can. In your first few times that you do this, you should mark the face so you know where you're going. Make sure you do it symmetrically. After a while, you'll see that marking is something that patients can do without. Even though the markers are erasable, it takes several days to remove them completely. Also, you don't want to make a huge case out of this. You don't want to spend 45 minutes doing this injection. The longer you take, the more you inject, the more swelling and bruising you'll have. So you want to do this as atraumatically and as quickly, but as meticulously and symmetrically as possible. What I'm Going to do for this part is put her head back a little bit. So as we talked about, there's two ways of doing this. Injection under the lips, sliding, just like a dental block, filling the area. That's a nice way of doing it. But when you need more control, penetrating from the outside right down to the bone is a much more precise way of doing this. It's really not a painful injection. Patients tolerate this very nicely. The injection is all the way down to the bone and you feel on top of the bone. You don't want to inject into the skin or subcutaneous area because you'll get lumps and bumps. As you'll see, what I do is I basically just enter right down through the skin, right on top of the bone. I fill the bone and I inject and then I just go across another centimeter, do the same thing all the way down to the bone, fill the area. I do a zone. Typically I do several triangular zones. It gives me the three dimensional contour that I'm looking for. And you can see already the volume that she's gaining in that area. You want to be very symmetric. What I do is I inject roughly half. I don't do the full half because I like to be able to contour after I set her up. Doing okay. And after I inject it, I just massage it again. Smoothing of. I don't feel any lumps or bumps. Perfectly smooth. You can actually compare the two sides. Right now you can see the fullness. Holding. A little bit of pressure stops these tiny little vessels. So what I do at this point is I hand the patient a cold moist sponge and I go on the other side. So we're going to do the same thing. Again. For your first view, you definitely want to mark the patient in an upright position so you know exactly where you're going. As symmetric as possible. This is not an injection you want to do into the skin or subcutaneous. This is right on top of the bone, just like an implant. This is also not an injection that you're going to do in a serial parallel fashion. This has to be done straight down. So you're going perpendicular to the skin and bone. Fill as you go. Now you may also note some hyperpigmentation on the face. This is from recent sun damage. This can be treated just a few days later with ipl, which basically erases these pigments very nicely. So now I come on top and this is the best view to be able to tell symmetry. I want you to be aware that 85% of people have significant facial asymmetry from one side to the other. Jennifer's not an exception. So you want to be aware of those asymmetries to start with and not accentuate it. You can try to make the face more symmetric, but you certainly don't want to accentuate the asymmetries. And this view really tells you where the fullness, where the height of the malar eminence is. Like I said, I like to keep a little bit just for fine tuning. When I look at her, I have her pick her head up, pinky head, four levers, come back down. The same suspicion that I had when she was laying down. This is the area that I just want to put a little bit more. And that's it. Now we only did one cc. You can certainly do two, three or four cc's as you wish. The beauty of this technique is that you don't have to do it all in one shot. You can do the 1cc or 2cc's, go back to work or school. Nobody's going to get any suspicion as to you having anything done. You'll just look more rested and rejuvenated. Then instead of waiting the full six, nine or 12 months for everything to dissolve away, you can come in halfway through there or even sooner and just build up on top of that and add more volume to the cheeks. That's essentially it. There's very little bleeding or bruising and it's instantaneous, as opposed to fat injections, mid face lifts or cheek implants. Sam.