A procedural tutorial by Dr. Shervin Naderi demonstrating maintenance nonsurgical rhinoplasty using Restylane with a micro-droplet, multi-plane technique and a short Botox injection to reduce a gummy smile. Emphasizes safety (maintain midline for tip injections, avoid vascular occlusion and overfilling), patient selection, maintenance timing (roughly twice a year), product preferences (prefers Restylane; warns against silicone and certain thick/inflammatory fillers), and post-procedure expectations (initial swelling, makeup allowed immediately, Botox full effect by two weeks).
Questions this video answers
July 22, 2017
Restylane, approximately 0.5 cc (half a cc) as a maintenance dose
If allowed to fully resolve it lasts about a year (maybe a little longer); he recommends patients return roughly twice a year for maintenance
About two weeks (partial effects can be seen within 2–3 days)
Chapters
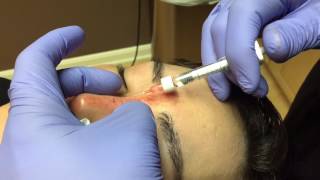
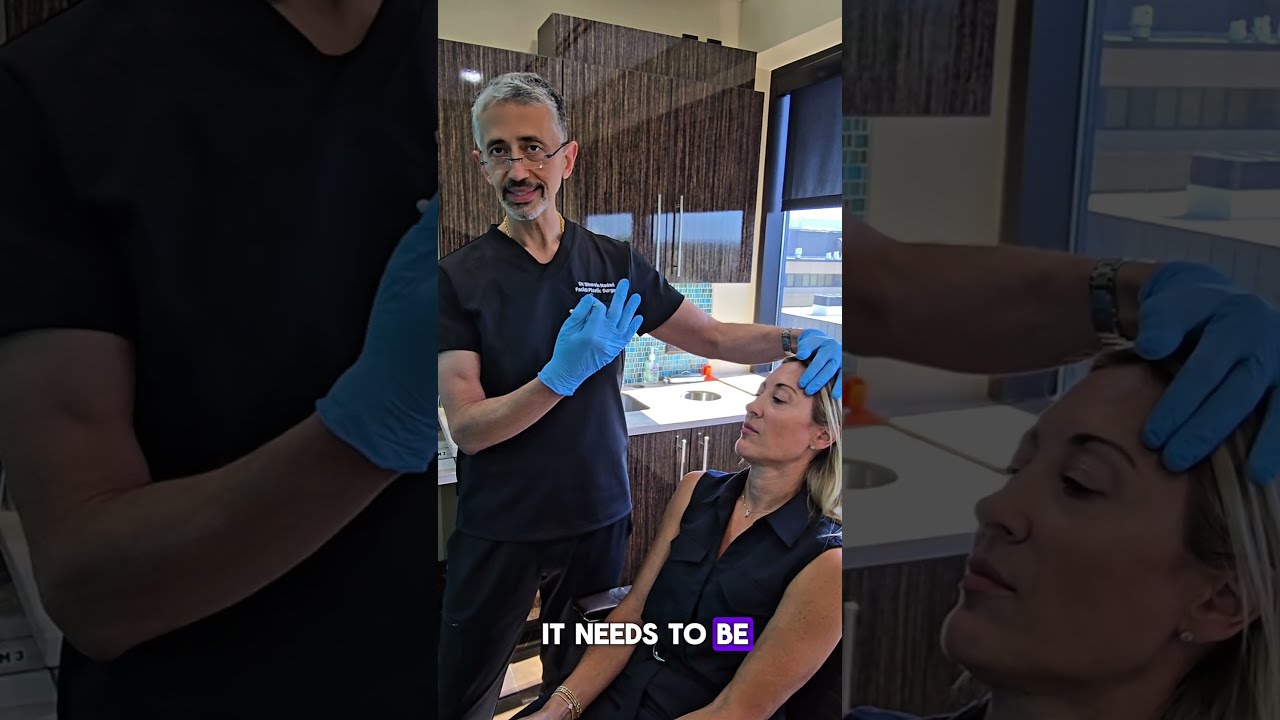
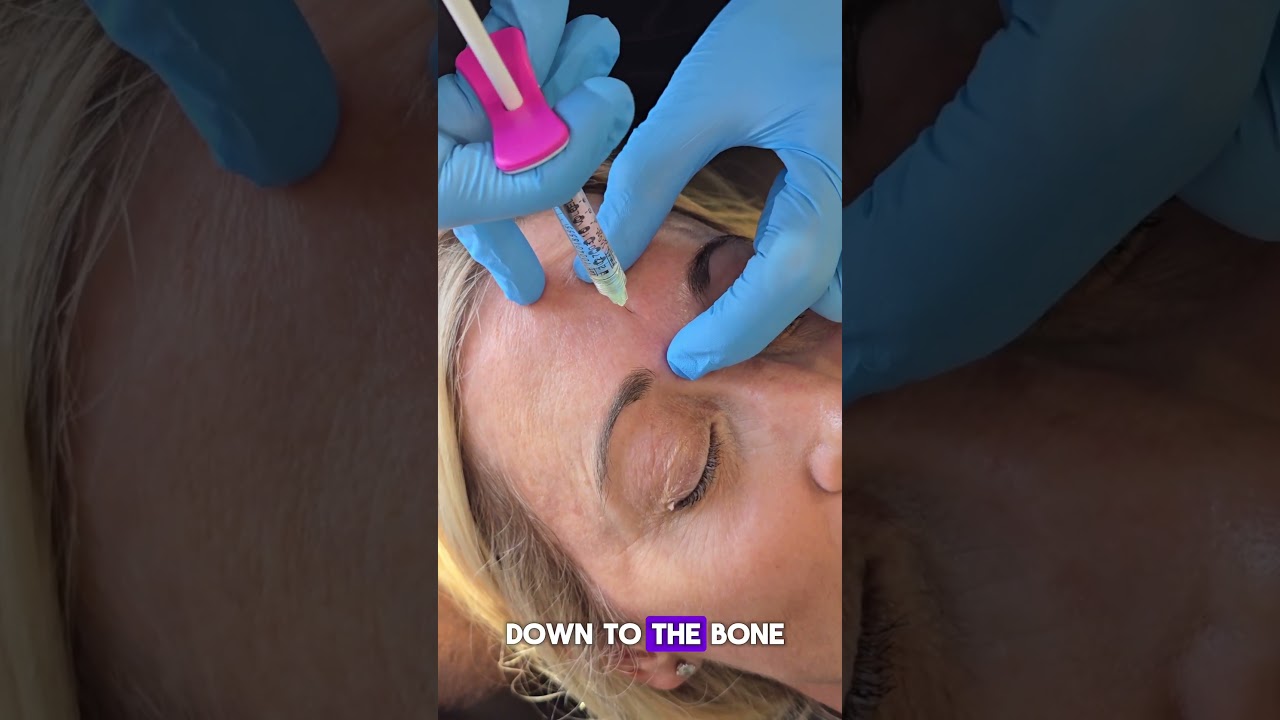
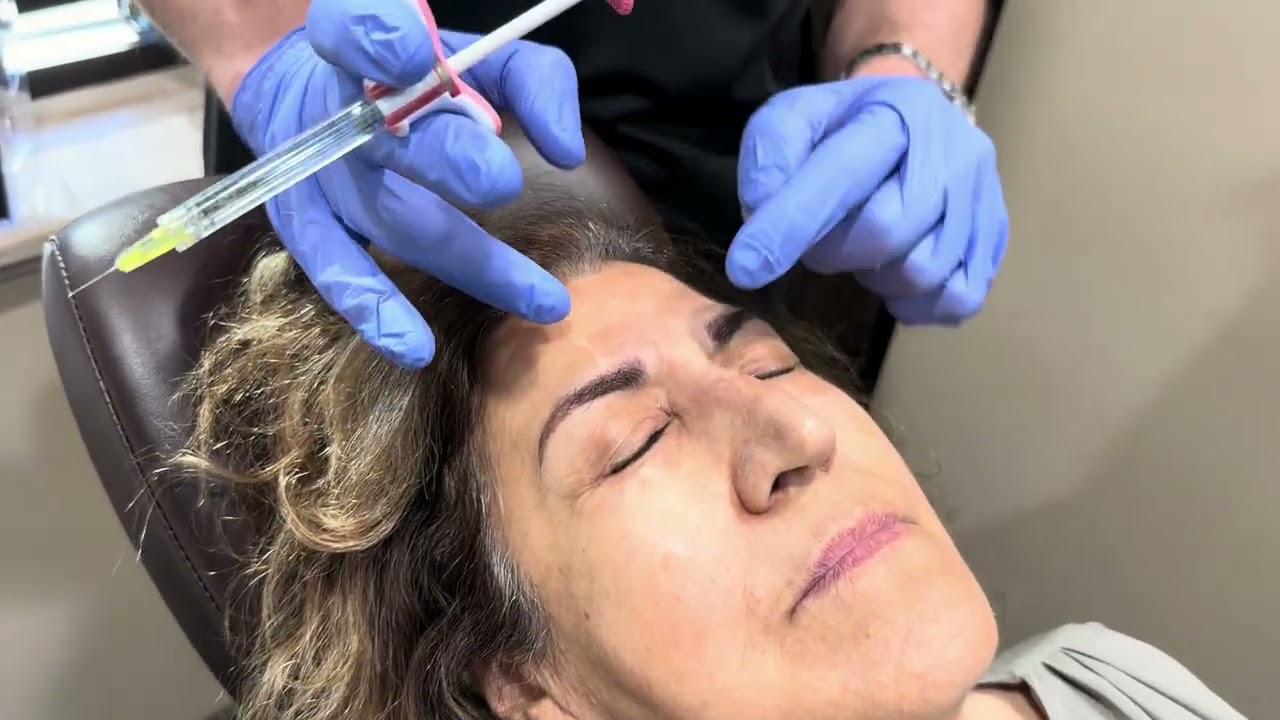
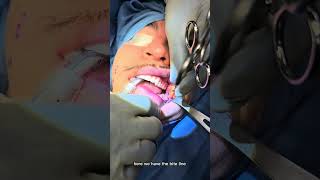
Good morning. We're doing another injection for our tutorial videos. This is a non surgical rhinoplasty. I've been doing the non surgical for this beautiful woman. This is our third or fourth time. I believe that we're doing this. It's definitely not the first time. So the starting point of the nose is higher up with a more defined bridge than initially. We want to maintain it. Typically, people ask, how long does it last? And if you wait for the whole thing to go away, it lasts about a year, maybe a little bit longer. But that's not the best way to do it. So we ask patients to come back roughly twice a year for maintenance. You don't want to start off from scratching it and you want to maintain a certain look. So we do an injection and about six months or so later we want to maintain it. We refill a little bit. So these are the refill sessions. I want to show the technique. The other thing I'm going to show after the non surgical is a little bit of Botox to the top lip to reduce a gummy smile. And it keeps the lips more full. So when a patient smiles, the smile lines don't get as deep, the gum doesn't show and the lip stays fuller. So going to demonstrate. So what we're going to start with is Restylane. I love Restylane for non surgical rhinoplasty. It's my favorite. What I'm going to do is it's a micro droplet technique. I'm going to place a drop and fill. Now when I do the Restylane, I make sure that my fingers are maintaining proper pocket for where the injection is. I don't want the injection to spread. I don't put a significant amount in one spot. It's always moving. And I'm going to use a microdroplet technique as I do for most everything, because you don't want to place too much in one spot, then sit there for 20 minutes, massaging it and trying to beat it up. I rather just put the drops where it needs to go sometimes. If the nose is asymmetric, I can place injections on the more crooked side, the more indented side make it look straighter. But she has a very nice straight nose. We're just going to maintain it now. You can see how deep the needle goes here. The reason is there's quite a bit of filler there from before. So this is, like I said, just a maintenance dose. And as we do this, you can see the nose shape. You can make the nose look More narrow by elevating the bridge. This is quite common in Asian patients and Latina patients, African American patients, but it can even be done in Caucasian patients. When there's a bump, you can inject above the bump or below the bump, but you have to select patients properly. Not every single person is a candidate. It does make the nose larger, but it's going to make it look more defined by doing so. Some patients, or most patients actually need a smaller nose. So like I said, this is not for everybody. Most patients still need the traditional rhinoplasty. You can see it's shaped right in front of our eyes. I can do a little bit to the tip. You can't do much to the tip. It's extremely important to stay right in the midline of the tip. Little poke and right down the middle. Don't force the tip. You can see the tip just came up and she's nicer, cuter or defined. Pointer tip. So it's important to stay right in the midline of the tip because the vasculature. You don't want to occlude blood vessels with no filler. With any filler. You do not want to be pressing too hard against the plunger. You don't want to force it into blood vessels. You don't want to force occlusion of blood vessels. Safety first. We try to create beauty, but we want to maintain safety. You can see how gentle that is. Extremely gentle technique. If you get a little bit of bleeders, you just hold pressure and it stops. That's all it is. It doesn't typically bruise too bad on the nose, but typically right after we're done, we tell patients to put a little bit of makeup, get on with their life. Just don't go to the gym for a day or two. The next day is always more swollen. The initial swelling, the initial result does have a little bit of swelling associated with it. So next week, it's gonna be a little bit different than it is today. The very next day is its most swollen point. So if you have a major event, work, social, whatever it is, don't do it the day before. As long as you give yourself a week or two before it, you're perfectly fine. But you can drop the camera and kind of see how the bridge is now defined. The bridge is coming up. Nicer bridge. And I can even define the tip a little bit. So we can lift the tip a little bit and definitely create a nice bridge. We don't want to be an avatar. I've seen a lot of Patients, injections on different websites where they try to over inject the nose and really lift it up so much where the nose looks perfectly straight. And as you do that, you create a very masculine, very unattractive high bridge. We still want to have a little bit of a feminine, nice little softness to it, even though we're giving it more definition and height to the bridge. You do not want to create a Roman or a Grecian type nose for the patient. I see them from multiple angles. Make sure everything is nice and symmetric. She's doing very, very well. We go back a little bit more to the tip, and you can see right down the middle. I can even go down the columellar. Very gentle filling. I'm injecting. As I pull out, it comes up. And you can see as I do that, I get more projection to the tip. The tip comes up a little bit. I can inject a little bit to the infratib lobule. You doing okay? Mm. Good. Infra tip globule here to give it a better projection there as well. Again, everything is right down the midline. Don't want to be lateral. You don't want to get the columellar vessels. Don't want to create blood vessel issues. And sometimes it's not just a matter of blood vessel issues, it's a matter of pressure. So if you go ahead and put too much pressure around the blood vessel, you can actually close off and clamp off a blood vessel. So it's very, very important not to do that, not to overfill it. This is important in patients who've had a rhinoplasty. The skin is tighter, the tissue is tighter. So if you go ahead and overfill, what ends up happening is they can be at risk of occlusion. You can see my injections are in multiple planes. Like I said, I don't put it all in the same place because I do want this to last longer. When you put it all in the same place, especially with the cannula technique I've seen some people use, I don't really see an indication for cannula technique in this, but I've seen some people just put a large amount and then start massaging it. I don't think that's the best, but again, every opinion is different. I think this is a nice way of doing it to place fillers in different levels. And the body has a tougher time getting rid of it, so it lasts a little bit longer. And you can see each time I'm injecting My plunger is barely moving. I mean, I took half a cc and I've injected her multiple, multiple times. So this is truly micro droplet. This is not macro droplets. Pretty much almost done. You don't always need to put the entire syringe in. Judge and make sure it looks very, very nice. If you drop the camera angle, you can kind of start seeing how it looks really, really nice, but still has a little bit of nice soft curvature. So it doesn't look perfectly straight. Perfectly straight. High bridge just doesn't look very nice on this patient. Now, some people require that. They ask for it, they like it. I startle you a little bit. So since I built up the tip a little bit and I got a little more projection to the tip, it's allowing me more room to inject a little bit of the super tip. Unless you get the tip to come up, you don't have much room to inject that area. Otherwise you're going to create a hump. So we have to get a little bit more projection than tip. Then I can bring the bridge and the tip up a little bit more. So I check again. Looks really, really good. I want to make sure again that I'm maintaining a nice midline injection. If you come up with a camera angle, you can kind of see how it's a very nice midline structure. It is red. That's just the taint of the blood that's going to go away. So you can put makeup on it immediately and start enjoying it. Let's go back and show the profile again. We're pretty much done. So you can see the profile angle. How nice it looks. Beautiful nose, nice curvature, nice coloring, metal. Everything looks good. Now I'm going to show you the Botox. For the gummy smiles, we have the elevators, multiple elevators of the upper lip. If I want to prevent the lips from thinning, I do more of the vermilion angle. Vermilion border. If I want to prevent the gummy smile, I go a little bit higher to the elevators of the upper lip. It's very minimal. Injections in her, it's just one little shot. Boom. Sensitive area. I'm injecting the other one. That's it. Botox kicks in in about two weeks, but really within a matter of two or three days, you'll start seeing some effect. But it takes two weeks for full effect. Usually with Botox, I tell patients not to massage it. This area doesn't really matter. It's not going to move into places that it doesn't need to move into nose looks done. We're going to clean it up a little bit. And take a peek of the profile. That's where you can really tell the profile angle looks very nice. So that's it. That's essentially the injection technique. This was a non surgical rhinoplasty. This is a maintenance injection. Half a CC of Restylane. I don't necessarily like Jupiter for the nose unless the skin is extremely thin. That's the type of a situation where you're trying to smooth things out, not trying to get definition. Restylane works better. Not a fan of radius, too thick, too inflammatory, creates scar tissue. I don't like it. Have had to deal with it during rhinoplasty situations where patients have had it done elsewhere. I prefer Restylane. I think that's the best substance for here. There are longer lasting fillers like Belafil, Artifil. Silicone just don't belong in the nose. You can get permanent injection problems, permanent infections, permanent nodules. Safety first. Thank you very much.