How to grow your glutes without growing your thighs I Top booty growing exercises
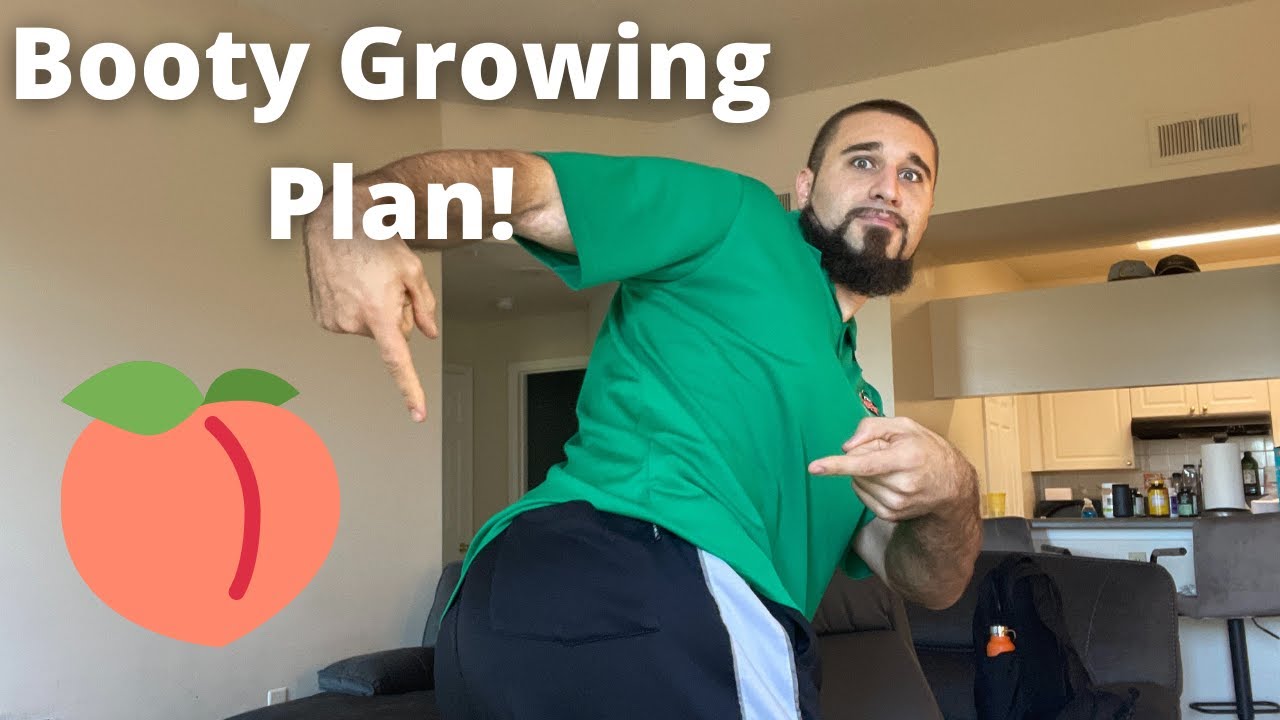
In this instructional YouTube video, trainer Eric Roberts walks viewers through a complete glute‑focused workout that maximizes glute development while minimizing thigh hypertrophy. He begins by discussing the purpose and proper approach to glute activation, debunking the over‑reliance on band‑walks and emphasizing quality hip‑extension movements. Roberts demonstrates two core activation drills—a standard glute bridge and a single‑leg glute bridge—providing vivid tactile cues (e.g., “pinch your cheeks together”) to help lifters feel the muscle contract. He then progresses to three primary strength exercises: a torso‑elevated glute bridge (greater range of motion), a rear‑foot‑elevated split squat (glute‑dominant front‑leg work), and a dumbbell Romanian deadlift (hip‑hinge pattern). For each movement he details setup, spinal alignment, foot placement, knee tracking, and common form errors, reinforcing glute engagement throughout. The video concludes with concrete programming recommendations—sets, reps, and exercise order—tailored to grow the glutes without adding size to the quadriceps, and a brief call‑to‑action for viewers.
Chapters
YouTube, what's going on? Welcome back to the channel. In this video, we are going to be covering basically all things about working your glutes, growing your glutes, glute activation exercises, glute warmups, how to feel your glutes, how to grow your glutes without growing your thighs. We're going to cover everything about glutes that you need to know in this video, right? So stick with me here. I'm going to take you— this is not my gym, it's my apartment gym. It's not my gym. I wish it was my gym. That'd be really cool. But I'm in my apartment gym and we can make sure that I can show you different exercises, teach you the form, teach you the technique, teach you how to feel your glutes, show you exactly what to do, and I'm excited to get started. So let's go. The first thing that we're going to talk about is glute activation exercises. And do you need to do glute activation? Do they help? Do they not help? Should you be doing it? What should you do? First and foremost, you can do glute activation exercises, but they're probably not going to be what you see spread across social media. You probably see people wrap bands around their knees and, you know, move their knees back and forth, and they walk side to side with the bands. That's good for your hip external rotators, or it's good for somebody who, you know, never has felt their glute contract before. But in terms of it making a benefit for your workout, you're better off just doing good quality glute movements that take the muscle through a full contractile range of motion. So I'm going to show you some of those right here. I'm going to show you 2 just very quick examples, but you're going to be able to use really any glute movement as a glute activation exercise. You don't need to spend hours and hours putting the band around your knees and moving back and forth and pushing your knees in and out. That is what you don't need to do because you're better off just Activating your glutes with really good glute activation exercises that take the muscle through the range of motion and the function that that muscle does. So let's show you some right now. All right. So when talking about glute activation exercises, there's 2 very simple movements that I like to program in my clients' workouts to just warm up and activate the glutes. That's going to be a simple glute bridge. and a simple single leg glute bridge. I'm going to teach you both right now, but again, this is just a good glute activation exercise because you're using the glutes to extend your hips. That's one of the functions of your glutes is hip extension. You're extending your hips. So simply warming up with some glute bridges before you're, you know, going into your actual workout, actual routine, that can be a very beneficial thing. So what we're going to do is I want you to think about before you even And this is where, when people ask me, how do you feel your glutes? What I want you to do is put your hands on your glutes, and you can do this because you are your own person. I can't do this to you. I could, I guess, but it would be kind of weird. Put your hands on your glutes and I want you to just, first and foremost, squeeze your glutes together. Think about somebody trying to stick their finger up your butt and you're not going to let them. That's just basically right there. Pinch your glutes, okay? Or think about if somebody is putting a $100 bill between your butt cheeks. This is really getting, like— X-rated here, but if somebody was to put $100 between your butt cheeks, put it there and then keep it there. That's what I want you to feel first and foremost. From here you should automatically be feeling your glutes. I want you to remember that feeling of you pinching your cheeks together, okay? Because when you're going to go up and perform this glute bridge, first and foremost, I want you to keep your core braced. So don't overarch your back like this where your ribs are up here. And your pelvis is down there. Try to think about bringing your ribs to your belly button, creating a nice, neutral spine here. Now, from here I want you to do that pinch, and you're going to extend your hips forward. So pinch, push your heels into the ground, come up, push your hips up, squeeze, squeeze, squeeze, squeeze, squeeze. Again, even right now I want you to think about if somebody is trying to stick their finger up your butt, you're saying, no, no, no. We're not having that today, okay? You're going to come right back down. And one more time, notice where my feet are. I'm not out here. I'm not all the way back here. My heels should be essentially in line with my knees in this situation right here. Okay? So again, we're going to keep our core braced. Like if I want to punch you, or if you're trying to poop a little bit, not super hard, but like a little bit trying to poop, you're going to again pinch your cheeks together first. You're going to extend your hips up while trying to keep that pinch. Squeeze, squeeze, squeeze, extend your hips. Notice how when I'm at the top here, I'm not like this. So my ribs aren't up here and my pelvis isn't down here. My hips are extending and I'm trying to squeeze my butt as hard as I can, pushing my heels into the ground. Try not to push through your toes. That's going to be more of the front of your thighs. You're going to feel it more there. So think about if there was thumbtacks underneath your toes. You don't want to press into those thumbtacks, right? You want to make sure you are pushing hard through your heels, extending your hips. Squeeze, squeeze, squeeze, squeeze, squeeze. Feeling the glutes right here. Make sure— like, hold this position for a couple seconds. One of the things that helps a lot of my clients is when you get to the top of this glute bridge, hold it for a few seconds. Really make sure you feel that glute contraction. Really make sure you feel your butt muscles working, right? So when you get to the top here, squeeze, squeeze. Think about squeezing. Think about somebody trying to stick their finger up your butt. Squeeze. Put your hands on right here. Push, push, push. Heels into the ground. Squeeze, and then back down. So that is the first movement for a basic glute activation exercise. I can show you really quickly from this angle. This angle might not be so forgiving, but either way you can see how it is. So again, right here, bracing my core right now, trying to squeeze my cheeks together, and then pushing my heels into the ground, coming up, squeezing, squeezing, squeezing, squeezing up. trying to tuck my hips up under me as I get to the top of this movement, kind of like a sad dog does when it tucks its tail. Think about almost turning your hips up under you and really squeezing your glutes extra hard at the top. So that is the first glute activation exercise that we can do. And then the second one is simply just going to be a single leg glute bridge. And again, this is just going to be literally the same movement just with one leg. Sometimes when you go to one leg, it forces your glute to work a bit more because of the stabilization aspect to it. So when you're doing a single leg glute bridge, all of the same principles apply here. You're still trying to keep your core braced. You're not overarching your back either way. Make sure leg goes out, pushing heel into the ground, squeezing, squeezing, squeezing, squeezing. If you're feeling it in your hamstring in the back of your leg, Your foot is probably too far out, or you are pushing too much through your toe. So make sure, again, your heel is in line with your knee, and make sure that, again, when you come up you're trying to pinch the cheeks. Right now you're still trying to pinch the cheeks. Pinch the cheeks, come up, squeeze, squeeze, squeeze, extend your hips, extend your hips. You can almost even Lift your toes up if you need to. So I'll show you from this angle. If I lift my toes up and I really try to push hard, hard, hard, hard, hard, you can see right now I'm really pushing through my glutes right here, and that's exactly what we're trying to do in this movement. So either one of these movements right here, either the regular glute bridge or the single leg glute bridge, that's going to be a great glute activation exercise. And again, you don't need to wrap bands around your knees, you don't need to do any of that stuff. these movements with good quality form, my glutes are already fired up. Like, I can feel them working right now while I'm sitting on the ground. Like, I can feel them working. And so that is your glute act— excuse me, glute activation. I typically program anywhere from like 1 to 2 sets, maybe 3 sets max. But again, you're not thinking about— if you're doing glute activation exercises, you're not really too worried about like going to complete failure. You're more worried about making sure you feel your glutes. And so once you start to feel them, Cool. You can go onto the next part of your main workout, which we can talk about right now. I'm going to show you some different exercises and how to make sure you're growing your glutes, but not growing your thighs, and all that kind of stuff. All right? All righty. So, the first exercise— make sure my mic is good. The first exercise we're going to look at is a torso elevated glute bridge. So, we just did a glute bridge, right? Now, we're going to take you to torso elevated to get a bit more range of motion here. So, what we're going to do is, Make sure your lower part of your scapula right here, kind of like your, your mid-back portion right here, is on this bench. And use it, use it as a pivot point that you want to make sure you are pivoting from. I don't want to see just like this right here and none of your upper body is moving. I want you to be able to use this as a pivot point. Okay, so that's number 1. Number 2, you're going to make sure you keep your chin Tucked. Because I need you to keep your chin tucked to make sure you keep a neutral spine, especially at the top of the movement. Because where most people go wrong is they'll go like this, and this is just lumbar extension, which is going to work your lower back and none of your glutes. So we want to make sure we keep that chin tucked. Now, you want your feet to be about hip width apart, and you want to make sure once again you're at the top, your heels line up with essentially where Your knees are going to be. Now, when we talk about a glute bridge, you might have seen a hip thrust. You might know what that is. The difference between a hip thrust and a glute bridge, let me show you. A glute bridge is going to be this right here. So let's say you get to the top of the movement, and again, you're squeezing your glutes super hard. Think about somebody sticking their finger up your butt. All the same principles apply. Pushing your heels into the ground, right? You're at the top here squeezing your glutes. A glute bridge is going to be you go down as far as you can until your knees start to travel towards you. So you're going to watch right here, my knees are going to start to travel towards me in a second here. So when I go down, down, down, down, down, about right here is where my knees actually start to come forward, right? Right now, when my knees are still a bit forward, that way I'm saying, not towards me, that way. A lot of this is just a straight up and down motion, which is what your glutes are going to do, right? Your glutes are going to work like this. When those knees travel towards you, now it's not just up and down, it's also back and forth. So, if you're trying to isolate your glutes, you want to make sure you go down until you see your knees traveling towards you, and then you want to stop. Like, right here for me. Because after this, My knees are traveling towards me. You want to make sure that you get to this point right here, push hard up, squeeze, squeeze, squeeze, and then from there you're going back down, right back up, going back down, right back up. And that is going to be the glute bridge. A hip thrust would just simply be you're going down farther in the range of motion and then coming back up. And so just remember, with the hip thrust— there's nothing wrong with the hip thrust. It's just if you want to Isolate your glutes that much more. You want to have just an up and down force, not necessarily an up and down and a back and forth force. That's going to interact your quads because once you have to go back and forward, your quads now have to do some work in this range of motion. So if you're just looking to isolate the glutes, you just want to make sure you go down as much as you can until you see these knees travel forward. Right back up. Go down, right back up. All right, so now the next exercise that we're going to talk about right here is going to be the rear foot elevated split squat. And the reason we have a rear foot elevated is just to add a bit more stabilization on this front leg for when we do this split squat. So how you're going to get set up is you're just going to pick any splits and any elevation surface right here. This could be a book, this could be your dog, I don't care what this is. Pick any surface that's elevated right here, and you're going to put your back toe on it. What you do from here is make sure that you have your front foot flat on the ground the entire time, as you can see right here. And when your front foot is flat on the ground, I want you to slightly lean forward at the hips, at the torso, because what's going to happen is if you try to keep your chest up, 2 things are going to happen. You're going to go down and you're going to arch your lower back, But you're also going to put more stress on the front of your leg rather than the glute that we're trying to work right here. Like I said, we're trying to work the glute, not the front of your thigh, right? So what you're going to do is you're going to have a slight lean forward from here, and you're going to go down trying to make sure that your shin stays as vertical to the ground as you possibly can. There might be some forward knee travel, that's okay, but as much as you can, make sure your shin— Shin stays vertical to the ground. The more vertical your shin is, the more glute dominant this is going to be. The more forward your knee travels, the more thigh dominant, the more quad dominant this movement is going to be. I'm going to show you from a different angle up here. So again, we want to also make sure— I'm showing you from this angle as well because we want to make sure this knee is not coming in this way. We want to make sure as we get down into this Split squat, this knee stays out over our 2nd or 3rd toe because the minute you start to come in here, you're going to mess your knee up. Okay? So make sure you keep that lean forward, keep your chin tucked, slowly lower yourself down into this movement, feel your glute— like I can feel my glute right now— and then push back up super hard, making sure you feel your glute the entire time. And now one of the final movements here is going to be a dumbbell Romanian deadlift. So going to need 2 dumbbells. What we're going to do to start is get your feet about hip width, shoulder width apart, hip width at max, but more like shoulder width apart. Now from here, what I want you to think about doing is you want to make sure you tuck your chin and bring your head towards the ceiling above you. So those 2 things, make sure you tuck your chin and make sure to bring your head— think about bringing your head towards the ceiling Above you. This is going to put you, when you go down, into a neutral spine. And when you do this position, your glutes are going to need a neutral spine to pull off of. So what we're going to do is these dumbbells are going to stay relatively close to your side. I don't need them like this right here, but I also don't want them out here like this. With your chin tucked, you're going to think about simply just having a slight bend in your knees and pushing your hips back. towards the wall behind you as far as you can. So let me show you what it looks like. Again, my chin's tucked, my knees are slightly bent, my core is also braced like if somebody's going to punch you in your stomach or if you got to, you know, take a poop as hard as you can, that's going to be what you're doing here. So with all this, pushing the hips back, feeling the glutes stretch, and remember how we talked earlier about pinching your glutes in the glute bridge? That's the same thing I want you to do in this motion right here. So when you get down into the bottom of this RDL, I want you to think about pinching your cheeks together and bringing your hips forward. Okay? Most people mess this movement up because they're going back— I'm sorry, they're going down and up, and down and up. And what that creates is this arch of their back. They're rounding their lower back and hurting their lower back. So what I want you to think about instead is just Having again that chin tucked the entire time, pushing your hips back towards the wall behind you. And once you feel about right here, I don't need you to go any lower because what's going to happen is once you get past here, you're not working your glutes anymore, your hips aren't going back any farther, you're just rounding your lower back, which is going to hurt you. So what you're going to do is make sure you go down, feel the glutes stretch, and again, keeping your chin tucked Not this right here. Where most people go wrong, again, is they tend to look up when they're doing this movement because they want to, like, keep their chest up. Make sure your chin is tucked because if you are looking up like this, that is going to arch your cervical spine, it's going to round forward your thoracic spine, it's going to arch your lower back, your lumbar spine. So the whole thing gets messed up. So just make sure you keep your chin tucked and you're pushing back as far as you possibly can. Again, once you get here I want you to think about pinching those cheeks together. Not ripping the ground apart with your feet, or anything like that. Make sure to feel yourself pinching your glutes right here, and then when you come back up I want you to think about bringing this point right here to this point right here. So these 2 things should come together. Try to bring them together to make sure you squeeze your glutes. I don't need you overarching. At the top. But when you're in this bottom position, make sure to think about bringing this point to this point down, right? You want to drive the top of your pelvis down to the insertion of your glute right there. So let me show you what some reps would look like. So again, if I'm keeping my chin tucked, my head's up, pushing back, getting to about right here, feeling my glutes pinch and trying to drive the top of my pelvis down. So I'll show you from this angle. Again, notice how I'm keeping my chin tucked, pushing my hips back. Down to this motion. I feel this, feel my glutes squeeze, drive it down. I'm not going like this, I'm not going like this, I'm not thinking down and up, I'm thinking back and forward with this movement right here. So again, one last time, I get to about right here, think about squeezing, pulling the top of my pelvis down into where my glute inserts. And so those 3 movements right there, that's really You know, you could do those 3 movements and that would be a complete glute workout. You're getting all the ranges of motion of your glute. You're doing some activation things. What I would say is, again, like I said, for the activations, I would try to get, you know, maybe 1 to 2 sets of just feeling your glutes warm up, taking your time, not going to complete failure, but really just trying to warm your glutes up. When talking about the torso elevated glute bridge, I'd probably do anywhere from 2 to 4 sets of 8 to 12 reps. For the rear foot elevated split squat, I'd probably do, once again, anywhere from 2 to 4 sets of 6 to 10 reps. And for the dumbbell RDL, I'd probably do anywhere from 3 to 4 sets of, once again, 6 to 10 reps. And if you want to kind of— how you would structure this, you can have the dumbbell RDL— I'm sorry, you can have the torso elevated glute bridge as the first exercise. The dumbbell RDL as the second exercise, and then the rear foot elevated split squat as the third exercise. And that would be right there, your complete glute routine. I'll put it up here on the screen, but again, you can go through a simple glute bridge, 2 sets of 6 reps. You can do a torso elevated glute bridge, 3 sets of 8 to 12 reps. You can then do a dumbbell RDL, 3 sets of 6 to 10 reps. And then you can do a— RDL. Rear foot elevated split squat for 3 sets of 6 to 10 reps. And that would be your entire workout if you're looking to grow your glutes but not grow your thighs. Hope you enjoyed this video. If you did, please feel free to give it a thumbs up and subscribe to the channel. Other than that, thank you so much for watching and we'll chat soon.