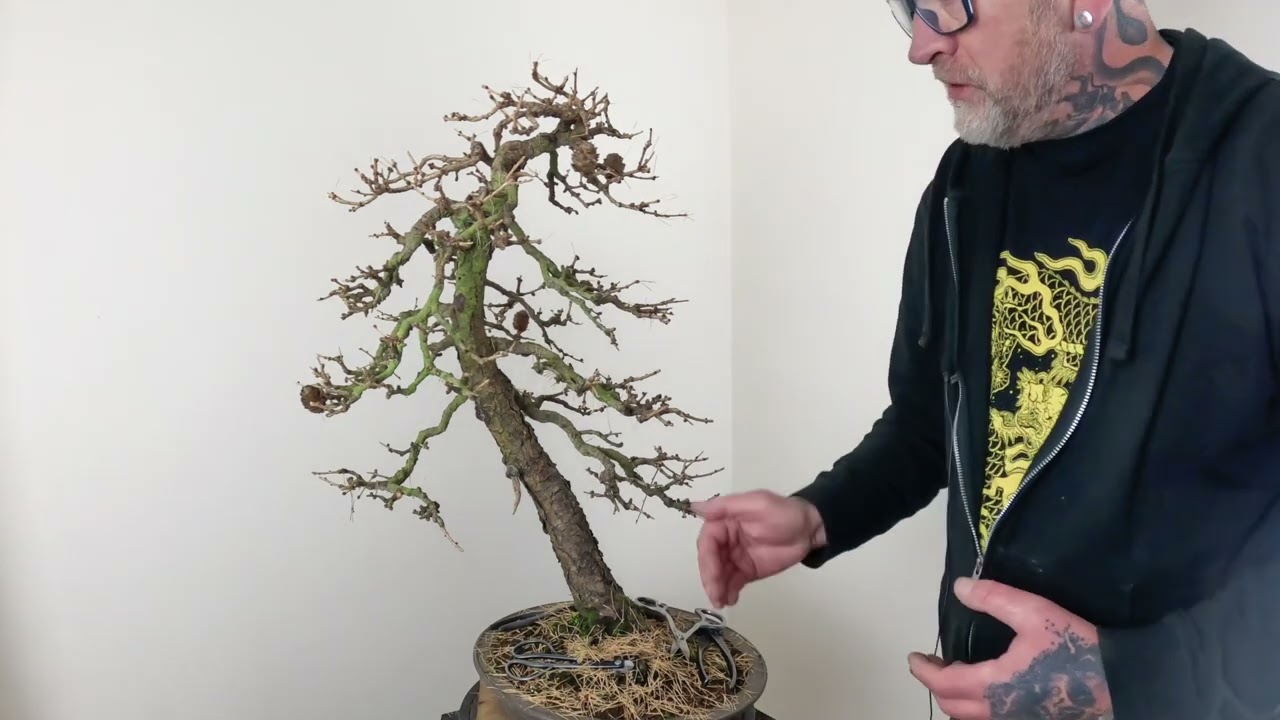
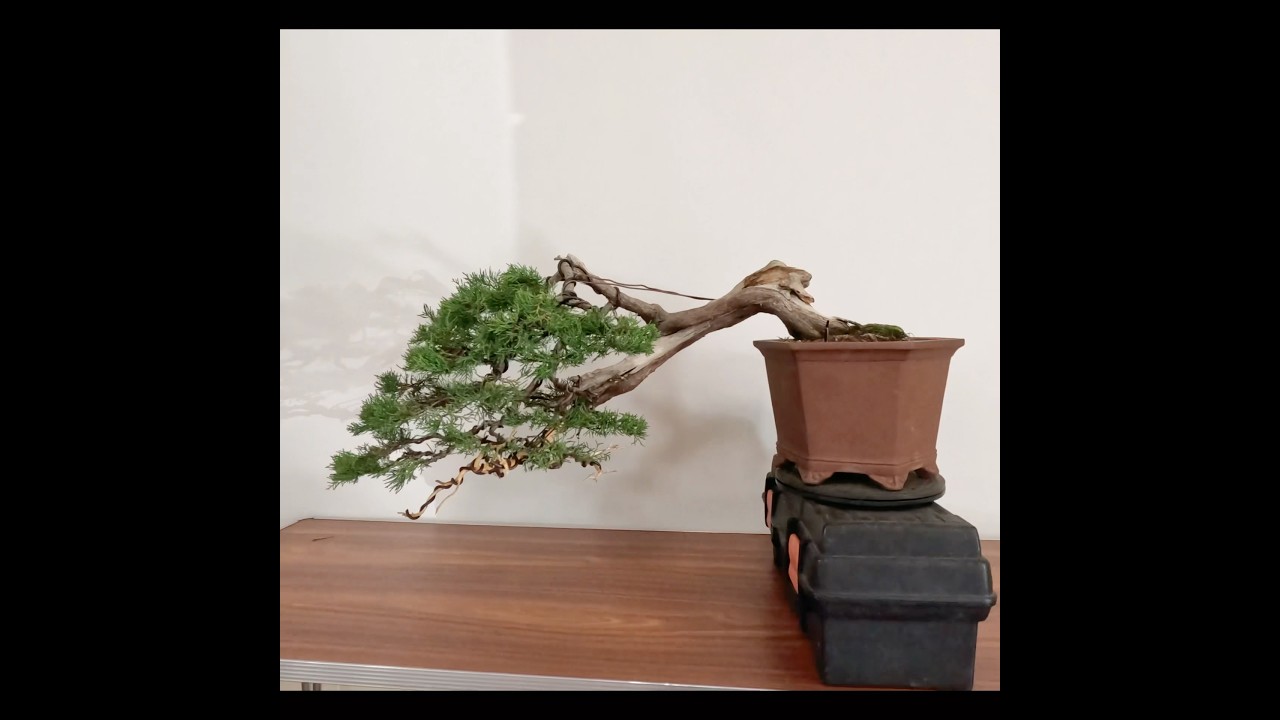
In this instructional video Harry Harrington walks viewers through the autumn/winter refinement of a European larch (Larix decidua) bonsai owned by his friend Mike Harris and his father David. He first diagnoses the tree’s structural imbalance: the crown’s upper part sits left of the base while the character branch correctly leans right, giving the impression of a falling tree. To correct this, Harry plans a modest tilt of the pot after styling. He then details a series of pruning actions aimed at creating clean branch taper and interior clarity: removing downward‑facing buds, eliminating interior foliage and flowering spurs that obscure the branch line, and cutting thick, lumpy growth to expose fine, one‑year‑old shoots. Throughout he stresses the importance of bifurcation—ensuring each junction splits into two—and reduces excess bud clusters to highlight these splits. After pruning, he applies minimal copper wire to the youngest tertiary growth to tip it up and reinforce the desired left‑to‑right movement without altering primary branches. Finally, he describes a gentle, winter‑time pot tilt that shifts the tree’s base without cutting roots, improving overall balance while preserving the larch’s sensitivity to root disturbance. The overall goal is to ready the bonsai for a 2025 show, achieving a dynamic yet tranquil appearance.
Chapters
Hello, my name is Harry Harrington and I'm speaking to you from my studio. Now, the new trend that I'm working on and starting today is this. Larix decidua, which is a European larch owned by Mike Harris, who's a good friend and he's also my tattoo artist. Now Mike specializes in Japanese tattoo work, and his interest in Japanese culture extends out towards bonsai, and he and his father David have really got quite good at displaying bonsai and getting Getting trees to a stage where they're show-worthy. So the trees come to me for me to detail it, not to do any, uh, major changes. All of these tertiary branches need tipping up, directing very, very precisely, and getting the tree so it can actually be on the table and displayed with an accent plant. at a show through 2025. Now, one of the problems that I've identified with the tree that I need to address is the fact that the, the movement of the tree extends out towards the right. And you have the character branch which has been really well positioned. It's got plenty of movement, and the character branch also goes out towards the right, which is entirely correct, but the, the upper part of the crown is slightly left of the base. Now this gives the tree a feeling that it's falling, it's not quite balanced, and David and Michael have bent the top of the tree in an effort to address this and get the crown above the base. But I think I'm gonna have to literally move the tree in its pot, and I'll do that once I finish styling. We want to shorten these branches off; they're just a little bit too far out towards the left, in the opposite direction of the flow of movement, and we want to try and extend. These branches, if at all possible, to reflect that movement towards the right. And then the tree will just feel balanced despite being very dynamic. It will have a sense of tranquility and balance in the tree overall. So to resolve problems with the the crown, the top of the crown, not being over the base of the tree. As I've already said, I don't want to put large amounts of scaffolding in, a heavy-duty wire, to try and put it further. And I'm just gonna chop the tree just a few degrees. And if we look at the base, I think Simply, if I put a tilt into the, the tree with a very gentle repotting once I finish styling— so that will take us to the end of December and January— it'll be very safe, um, to move the tree in its pot, even though larch are a little susceptible to sulking. Um, after disturbing the roots. On this occasion, a small turn at the right time of year shouldn't make any problems. And there's a— there's some fantastic roots buried underneath, so I think that turn will improve the appearance of the base as well. As you can see, just that slight move, it's just righted the tree a little, and it's just Just feeling a little better balance. So what I'm going to do now is, if we look at an image of the tree going back in while it was still in leaf, it was one of the reasons why it was still looking a little juvenile is there's too much foliage close to the trunk. What you'd expect on a very old A lot. Wise and old larch is a lot of growth at the tips, tertiary branches on the exterior of the branch structure, but on the interior you want to see this really, really good taper that David and, and Mike have put into the, the branches, the, the movement, the taper, and then just have foliage at the tips. And that's far more normal of an old tree. What I can do straight away is just remove the buds that are facing downwards or under, under the branches. These straight away can go and will stop some of the greenness in the interior. And the last of the leaves just there. Dropping off for autumn, and these little flowering spurs won't extend. They won't be able to improve the taper of the the branches in the future because they just won't extend. They open. A rosette of leaves in the spring, sit there all year, um, and it would be better to be able to see the bare branch. On occasion, they will— the flowering spurs will flower. As you can see here, we've got a lovely cone, which I will keep on the tree. The tree's put its energy into it. Already now, and it's quite a nice feature to have a couple of cones on. But while I'm speaking of the flowering spurs, one— this is one of the problems with larch themselves. The ideal for this tree will be to ensure that the outer inch to 2 inches of the branch structure was just this 1-year-old fine growth. And then you get a really fantastic effect of the, the tapering movement in the branches, and then it's very, very fine growth at the tips and nothing else. Unfortunately, we've got some branches that are made up with these flowering spurs, and they just won't extend. They'll just sit there. So Where I can, to turn the tree around, I will keep her an extending shoot, a vegetative shoot, at the expense of a shoot that is just going to flower and nothing more. What I'll do now is work my way over the tree and give it a gentle prune to ensure that the, that the branches are at the right lengths. And again, just taking out this sort of the interior fluff, the interior juvenile growth, so we can really see those branches, inner branches, clearly. So I'm just working my way over Um, as I've, I've mentioned, I think every single video that I make, we want every single junction to bifurcate, that is to divide into 2. Now you can see we've got multiple buds here, um, all over the place, so I'm going to be reducing them just to bifurcate and make that bifurcation really quite clear as well. So we've got a nice bifurcation there. Whoops, we've got a nice bifurcation there, but this is surplus to requirements. Huge clusters of buds everywhere, but they're not necessary. So I think this is going to take quite a while just to to reduce down. This branch cluster is another really good example. We've got quite a mess of, of shoots, and while we've got these lovely, very thin, delicate growth from the end of the season or from the last season. We've also got really quite thick lumpy sections, so I'm going to remove the— prune the, um, thick lumpy networks of flowering spurs down to very short vegetative growth. And there's a— that will, once it's wired, bring provide a much finer, more delicate tertiary branch structure. Now what you can do where you get thick knuckles on the tree is you can see here it's really quite heavy and thick, um, at, at this time of year you can literally almost prune in the taper, so cutting across all that wooden And taking out the, the bulk there to produce a much better line. And as I'm working across the tree, um, that's something I'm doing quite regularly. So with pruning, uh, completed, you can see we've got a much cleaner Um, branch structure where we can really start seeing what's important and what's really going on with the tree. Some really great branch taper that's not too cluttered. There's not going to be all these, uh, flowering spurs that are almost disguising the real good development and great taper this tree has. I've removed a huge amount of ramification, so the number of spurs and the number of rosettes of leaves are greatly diminished now. But this isn't as important as creating branch taper. And this is something that I, I repeat quite often, but it's, it's very true— that taper of the, the primaries coming from the trunk And only having very, very fine growth into tertiary branches on the outside of the branch structure. Now what needs doing now is a little copper wire just to start turning up and aligning all this youngest growth. I'm not going to try and move any of the older branches. Um, Because again, this tree is hopefully going to be shown next year in, in 2025, and it's acceptable to have some copper wire on the youngest growth, but not when it's, it's management of the actual primaries. I don't think that's, that would really be seen as acceptable. Plus, David and, and Mike have done a great job of, of development. It's just that Refinement of the finished article, um, and the detailed growth on the tree. Now I'm putting the, the bare minimum wire on. There's no point in applying wire to branches and branch sections that don't require moving. It's always important to ensure that you have wire on any, any sections that are straight, which again tends to be the new growth. And the purpose of putting the wire on is to start being able to—
as it—
as the primary branches drop down, turn into secondary branches which drop, what we want is the, the youngest growth Start to tip up. We're putting movement left to right, and then the youngest growth has a turn up. It's just to show the, the vitality of the youngest growth that is, is yet in a full-sized tree. This youngest growth won't have had the, the years of being snow-laden. And the sheer weight of the branches to, to weigh it down and start moving it downwards, as, as the older trees will. Precise adjustments to all these branches will take place once I've got wire on across the entire tree. Right now I'm just doing a A rough placement where I think that the branches will, will need to be. So with all the tertiary branches now detail wired, they're all facing in a good direction where they're slightly turned up at the end of these cascading branches. Um, I'm quite satisfied with how the, the tree is looking now, but I'm going to get it into the garden, get it in front of the black screen down there And while I'm out there, start just uncovering, seeing what's, what's going on below the soil surface, and lift the tree very, very slightly in its pot on the left-hand side. So I won't be touching the roots. Um, and I have a feeling that actually I could do it now. We, we're in almost mid-December. Um, and I won't be cutting any roots or particularly interfering with the roots at all. So I'll have a poke around, see if we can just change, alter the, the position of the tree in its pot so it looks right without having the, the wooden wedge lifting it artificially as it does at the moment. So I'll speak to you from the garden.
So I'm now here in the garden, uh, just starting to work on the, the larch in an effort to just turn it in its pot as described earlier in the video. My main strategy here is to literally release the tree on the left-hand side so it can be tilted and then make— break up the soil and start to make channels. So eventually there's enough room for me to introduce some new soil under that left-hand side, pack it out so it's held in a more upright position. With the base of the tree tilted to the left, I'm also going to have to reduce the, the height of the soil surface on the left-hand side, and I'll simply just break up some of the soil and pull it away until it's the correct height. So we have a nice domed soil surface. Now, as you can see in the, the center of the root ball, there's a lot of really old organic material, and I'm going to use this slip potting or partial repotting as an opportunity to break up some of that organic soil, and it will be replaced with materials such as pumice. That have far better integrity and won't break down. Now, one of the things with this, uh, larch is— one of the problems with this larch is that it's planted in a lot of pure akadama. Now, akadama is great for trees in the first 2 or 3 years until it starts to break down, and then it can suffocate the roots. There's no opportunity for oxygen to get into broken-down akadama. So I'm going to— when I backfill, I'm going to use some old needles from the tree, which will break down and create a lot of, a lot of health in the root zone. And I'm also going to use pumice lava and volcanic ash substrates like that, which will just hold the substrate open and allow air to get in as the akadama breaks down. Once the trees are fully settled in and I've worked all the, the new substrate in between the roots, with the tree in its new position, I just use some fine akadama and some fine biochar as a surface dressing. This It really helps create a healthy biosphere for the tree. And here it's— the tree is after watering in, and the job's done now. And I'm really quite happy with the results. It's a nicely refined larch ready for showing.