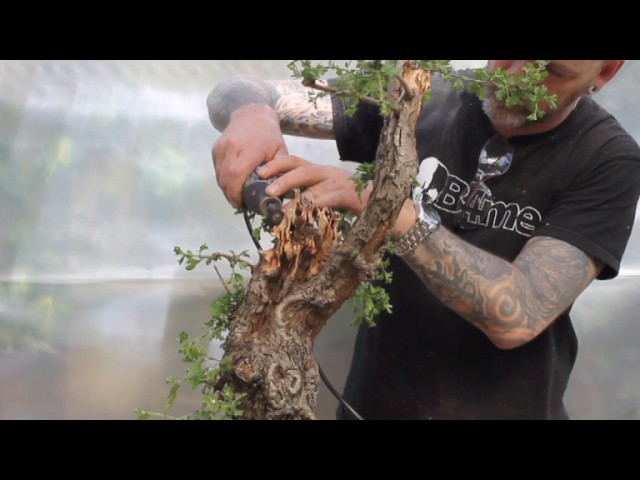
In this instructional video, bonsai expert Harry Harrington of Bonsai4Me demonstrates how to carve a vigorous hawthorn Yamadori collected in November 2015. He explains the tree’s rapid growth, the natural deadwood and live veins created by deer and rabbit activity, and his design process that emphasizes a preferred front view while preserving live branches. Harrington outlines his plan to remove most of the wood, create a natural‑looking deadwood shell, and add three‑dimensional undulations. He uses a bonsai nibbler with a 6 mm shaft attached to a Makita 906 power tool, smoothing the carved surfaces to achieve concave and convex panels that give the deadwood movement and depth.
Chapters
My name is Harry Harrington of Bonsai4Me, and today I'm going to be taking you through the steps of carving this big old hawthorn Yamadori collected in November 2015 by Joel Stolp, my apprentice. This tree is extremely vigorous, so much so that it has grown exponentially last year and has been cut back last autumn, and now in spring 2017 It's budding out all over the trunk, and it's ready for reducing some of this taper where it's been chopped in the centre. It's quite a difficult job to do, but with the right tools, anything is possible. Looking at the trunk closer up, it's possible to see these amazing deadwood features and live veins that occur in these hawthorn, something that I can't remember seeing before. But in this area, there are a lot of Deer, that when they were velveting and rubbing the horns against the bark, revealing the cambium and the deadwood. And there are also rabbits gnawing away, sharpening their teeth on a regular basis. And over decades and decades, it built up this fantastic patina, deadwood, and live vein. These will keep, and one of the tricks of this job today will be to create carving That weaves with some continuity into the natural deadwood of the tree. I've been fortunate enough to have this hawthorn in my garden for the past couple of weeks. This has enabled me to, to walk around the tree, study it from different angles, and see where the best view of the deadwoods, where the new shoots are arriving from around the tree, and to basically form a design, a future design in my mind. And this is Become my favorite front view of the tree. The vast majority of this piece of wood are going to be taken out. I can create deadwood shell here, but I'm going to leave this natural network of branches, the majority of which are live, intact. The first tool I'm going to use today is a bonsai nibbler with a 6mm shaft fitted to my Makita 906. The wood now, the shell, the edges of the carving now need to be smoothed. Undulations added to the, the deadwood, so it's not a 2-dimensional shell, but it has movement, concave and convex panels all the way around what will be the hollow blackens.