In this instructional video, bonsai practitioner Harry Harrington documents the six‑month development of a massive yew bonsai originally collected by apprentice Sean Stolp six years ago. After initial pruning and needle‑plucking to encourage back‑budding, Harrington spent the first months rough‑outing the tree’s extensive deadwood using a chainsaw, a Makita die grinder with a bonsai nibbler, and other heavy‑duty tools. To accelerate natural weathering, he employed a freeze‑and‑burn method: spraying the wood with a pipe‑freeze spray to about –40 °C, then scorching it with a gas torch, which rapidly cracks the grain. The subsequent week focused on detailed finishing—hollowing the deadwood with the nibbler, creating jin by splitting bark with pliers, and emphasizing grain lines using a lozenge‑shaped Dremel bit. He then applied charcoal mixed with black paint to accentuate hollows, followed by an ash‑and‑water wash to give the deadwood a silvery‑gray tone, with steel‑brush lightening for over‑dark areas. The tree will be wired and styled for a Bonsai Live demonstration in October, with a promise of a future update after the show. The video concludes with a call to like and subscribe.
Chapters
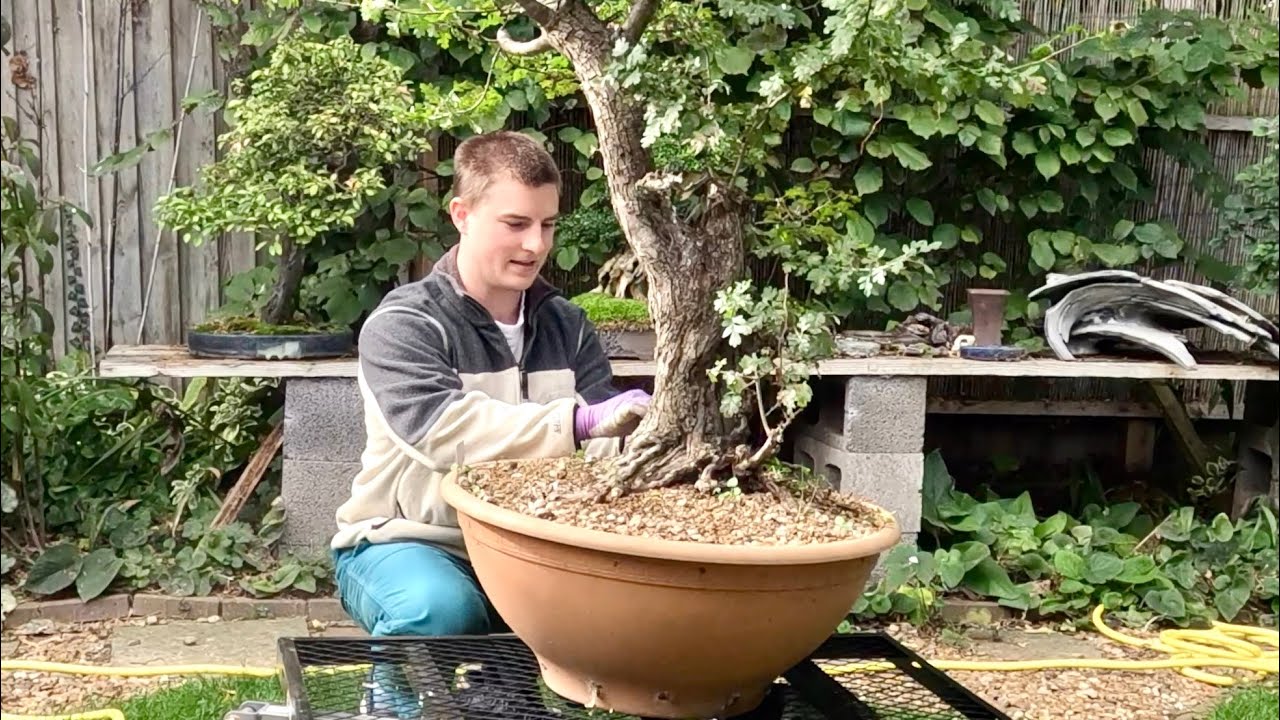
This huge yew was collected by apprentice Sean Stolp around 6 years ago, and for the past 6 months it's been with me in the garden while I slowly developed the tree, getting it ready for a demonstration at the forthcoming bonsai live show in Telford. In October, um, I wanted to prepare the, the deadwood so I wasn't carving in the middle of a demonstration and making a racket. Also gave me a lot more time to do a better job with the carving itself. So over the past 6 months, there's been a lot of work on the deadwood. I've literally used chainsaws, fire, a Makita die grinder, A Dremel, everything to attack that wood because it's incredibly hard, really difficult to work. And then in the past week, there's been a lot of work on this detail and just basically getting the tones and the hollows the right color and finishing off.
So this video is going to show some of the work I'll be doing this week, but we'll start with a few images that show the progression of the tree over the past 6 So here's the yew in my garden in December 2021. Sean's done a fantastic job of invigorating the tree, and it's now down with me to start carving. It has a huge amount of deadwood on the right-hand side. It's going to take a lot of work to, uh, Yew produces very, very strong deadwood, mainly because it grows so slowly and it's very difficult to break down and carve. I also start pruning the branches of the tree and start plucking some of the needles. As you would a pine, I'm plucking the oldest needles so in the following growing season there'll be a lot of back budding. This is going to build up a nice branch structure for me to to work on in a year's time. The marks I have made here just show where I intended to rough out and hollow some of the, the huge lump of wood. My first carving session on the tree was on Boxing Day, December the 26th, 2021, and it really was to try and rough out and break down as much of the wood as possible. Just to get a basic shape. I used a Makita die grinder fitted with a bonsai nibbler and also a chainsaw, such was the strength of the wood. With the roughing out complete, I now wanted to leave the wood and the tree to recover and to start to season and weather. Seen here in June, just a couple of months ago, you can see that the tree has— that the branches have grown really well and responded really well to my pruning. And I took another few hours carving and adding a little detail to the deadwood itself. This is going to be a long process. So here is the, the yew as it was at the beginning of last week. Early August, and with the show that I'm going to be demonstrating with this tree on, um, looming in the next couple of months, I decided to actually work the wood to get it finished. So all the, all the, uh, the new detailing I put in would have a chance to weather, and the tree and the, the wood has been routinely watered, particularly in the hot sun, and that wetting and then drying out in the heat will bring out some natural grain and weathering and aging. But I decided to speed this up using a freeze and heating technique where the wood is frozen down to about -40 using a plumber's pipe freeze spray and then scorched with a gas torch. And that That flow between the two extremes of cold and heat really speeds up the cracking of the wood, and if you watch this video closely, you can see new grain starting to appear. After freezing and burning, the wood is sanded down, and I then add my own detail. And here I'm using a bonsai nibbler fitted to a Makita die grinder to keep hollowing out that wood. Getting it nice and empty so we have plenty of cavities to show off the, this, the skin or the deadwood shell. As you can see, the bonsai nibblers are very, very effective at removing wood even when it's as hard as the heartwood from a big old yew. In terms of making jin, I'm using pliers and just splitting the wood, leaving the bark in place. And really splintering up that wood so it looks natural. Thicker jin from what were very heavy branches are also hollowed out, and this gives a nicer effect to the deadwood. I then use a lozenge-type bit in my Dremel to create some, some nice grain lines, and I follow the grain lines that Those pre-drying has created already, and it's just emphasizing what's already there, making sure I follow the natural grain of the wood, and it creates a, a little drama to the overall piece. It stands out. Allowing the, the lozenge bit to burn the wood also makes it more visible. These lozenge bits are quite hard to find, but they're sold for as a tool for sharpening knives and things like that. And you may well find in your local hardware store or online. To emphasize the shell that I've created, the shell of wood with the grain patterns on it, I then use some charcoal with a little black paint just to Paint the hollows and emphasize the hollows so they work as a foil for that shell. This is then washed off and it becomes very, very subtle. Finally, to remove the, the new tone and color of the deadwood, this is where I've just mixed some ash with some water and I'm literally just painting it onto the, the deadwood. And this will create more of a white silvery color and tone, as you can see here as it dries out in the sun. If you want to lighten any areas because it's become too Flatter gray, just rub it down with a steel brush. I leave the deadwood to dry out and, and settle down for a couple of days before taking this final video images of the deadwood. The branches will be wired and styled for the forthcoming Bonsai Live show in October, and then we'll have a completed demonstration tree, and Sean's yew that started really from a huge, huge tree that he chopped down 6 years ago will be completed, and then the stages of refinement can start. After the tree is fully styled in October, I will of course update this video and just show you all what becomes of the tree. But for the time being, it's sat in my garden, and that wood, it will continue to weather and crack. I hope you've enjoyed this video. If you have, please like and subscribe.