Harry Harrington styles a nursery yew into a bonsai using branch splitting, interior hollowing, and a dramatic bend pulled down with copper wire. The tree recovers with new buds and healthy growth, showing that ordinary nursery stock can become quality bonsai with the right techniques.
Chapters
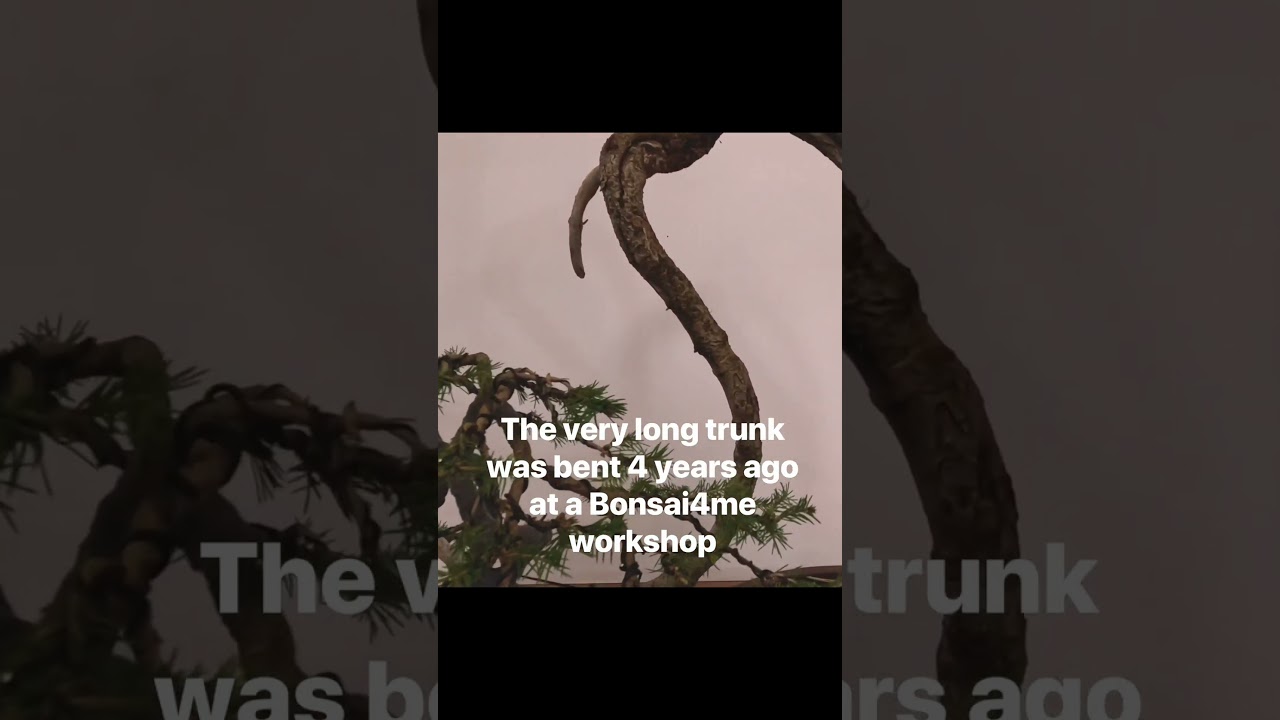
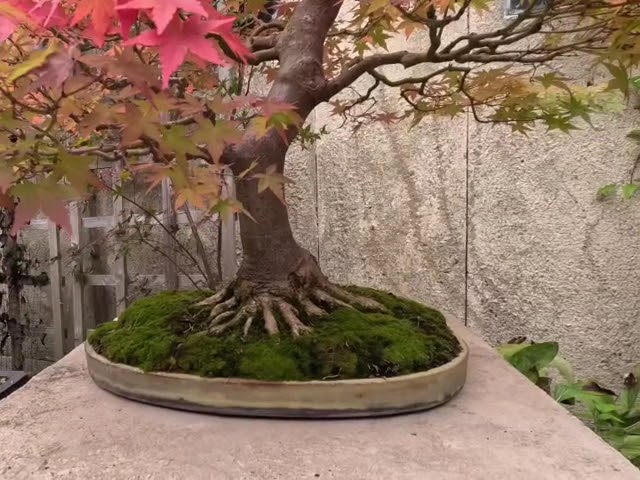
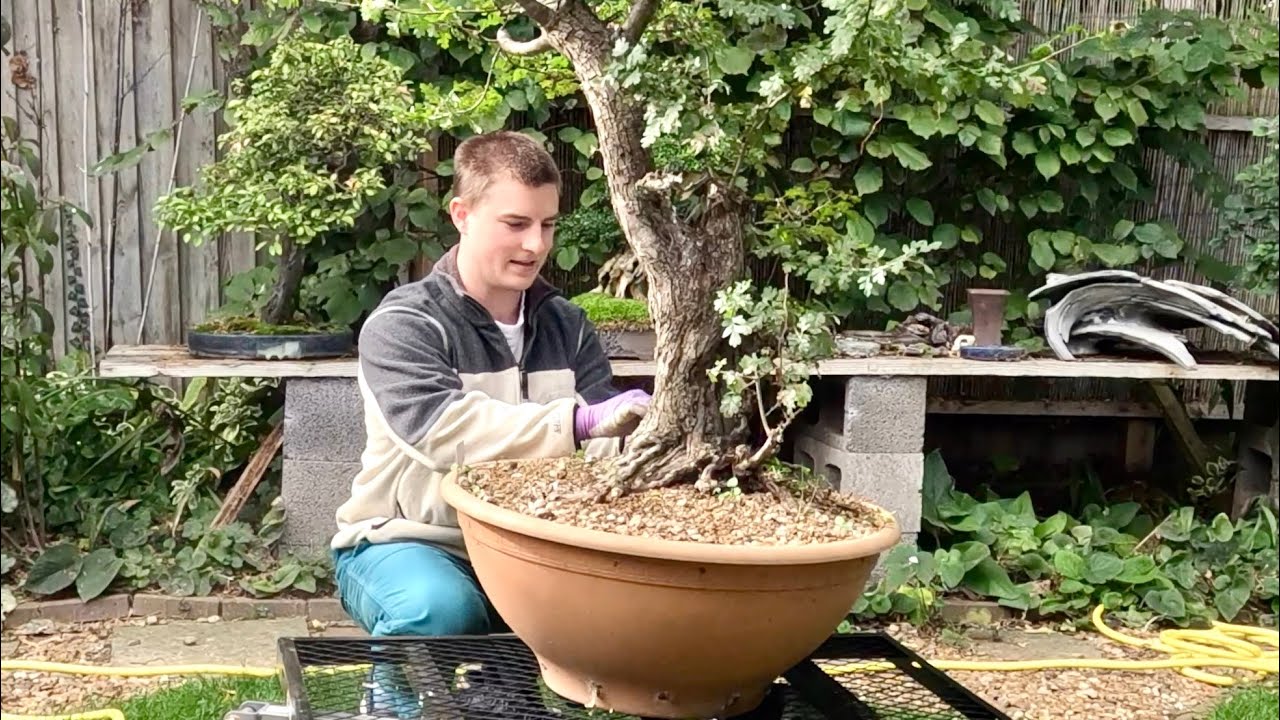
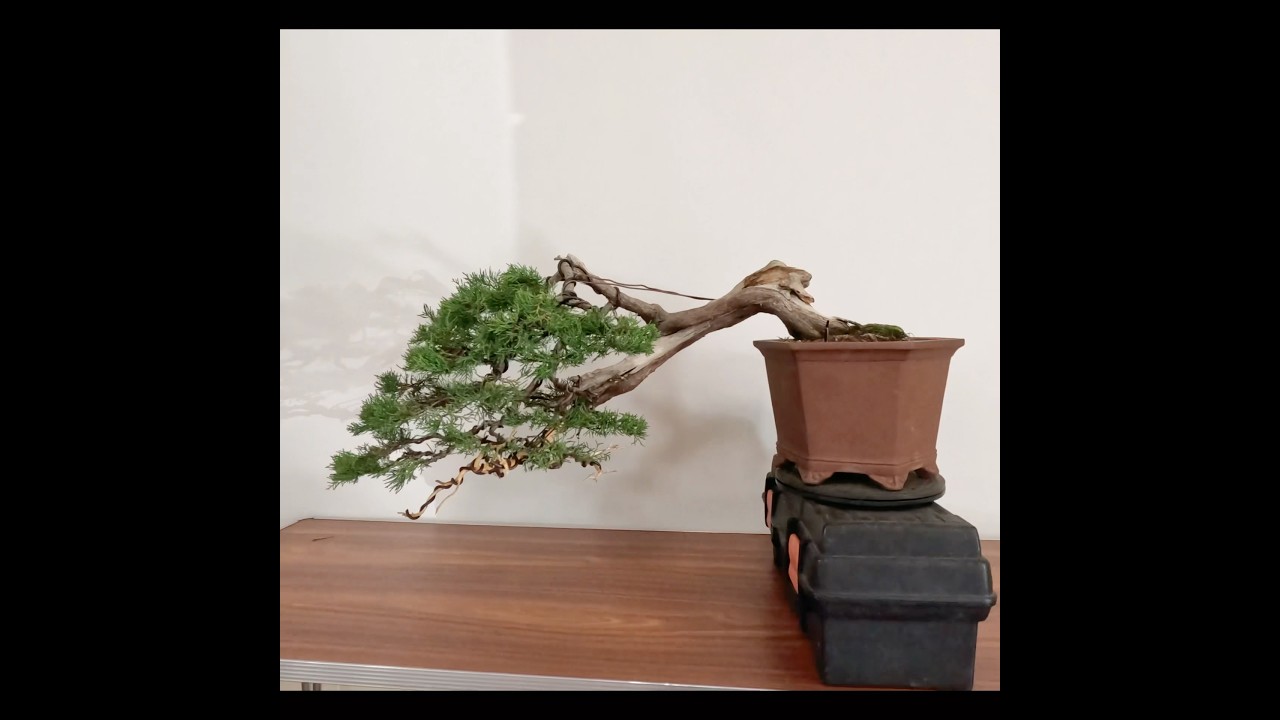
This Taxus baccata, or yew, began life as a nursery plant and was developed for a number of years before its owner asked me to sell it for him. After it sold to another enthusiast, I was asked to style the tree, and this video traces the course of that styling, including a very heavy bend to bring the foliage back towards the base. This made the tree appear older and more powerful. All material has the potential to become a good quality bonsai. We just need to apply good technique and some time. The first part of the journey of the tree was at a Bonsai for Me workshop at a nearby hall here in Aylesbury in February. Assisting me on the day was Sean Stolp, who is well known as having apprenticed with me for over 5 years. And Jose Redondo, who has also assisted me many times before. Their help is invaluable when working a dozen or so trees during a one-day workshop. A wide range of trees and skill levels are actively encouraged at the workshops. This superb Trident maple grown over a rock was a notable tree, and its owner had brought it in for help repotting. With Sean and Jose's help, the tree was turned in its pot to show off that superb nebari. So back to the yew. As it can be seen here, it's very strong and healthy, but that upper branch needed pulling back towards the base so a crown and branch structure could then be built. My intention was to then turn the extended lower branch into a jin, if it was safe to do so for the health of the tree. I start by splitting the thick branch lengthways using branch splitters. The half I am splitting away has already been established as being dead, and its removal will make it easier to bend the live half. Look at that, it's not even like you This is— it's died off.
Yeah.
Where, um, this branch has been pruned. I'll bend that. I then use the Dremel to hollow out more of the interior of the branch. This will enable Sean to insert wire inside the branch when he preps it all for me. While Sean preps the yew branch, I have the opportunity to work with other participants. I haven't chosen all of them. This amazing old twisted Scots pine was wired during the course of the day, and then it was styled. Sean starts by inserting heavy gauge wire into the yew branch, the purpose being to help distribute the stress on the branch as it is bent. This will ensure that the branch can't simply snap in half.
So we are going to ram this hole with as many of these as we can. And what this does— this is a technique that I believe was pioneered by Kimura. Which we can. Which should properly fill that space, because obviously the holding power that these have compared to just the coils around the trunk, yeah, is greater. And this is a really, really good technique of getting— you basically, you're replacing that The central core of the bed height. We need something that's strong but flexible.
Yeah.
So what I'm going to do is just going to put some of the extra amalgamation around the end to try and stop any of that wire sort of creeping through when the bend's done, if that makes sense. Yeah.
Sean then uses elasticated self-amalgamating tape to secure the wire into position.
And the trick is to this is to get them in there nice and tight. Yeah, because obviously that is now your Backbone, that bend. You can do a larger lump of it on the end of this because it's on that deadwood piece. When you're doing this, stretch it. Make sure you get a good half and half wrap. It takes time. Literally a foot of this stuff goes almost like 2 and a half foot.
Although raffia is traditionally used for protecting branches when they are bent, I much prefer more modern materials such as this tape Or elasticated cloth. With the branches fully wrapped with tape, Sean applies heavy gauge wire.
It could be a bit tidier, I know.
Meanwhile, another fully wired and styled tree belonging to another participant, a beautiful European larch with fantastic ramification. With Sean's prep work finished, I add some elasticated cloth to protect the bark on the trunk. I then apply a branch bender to the heavy branch. This will allow me to gently squeeze the branch into position It's a very useful tool for putting heavy bends into a relatively short section of a branch. Look, it's abandoned. She's off.
She's left the building, mate.
The branch bender is then replaced with a guy wire made of copper to secure the new position of the branch. With the main branch bent back into the desired position, I can style the rest of the branches.
Nice.
As I'm confident that the bend has been successful without any damage to the cambium layer, I strip the live growth from the lower extending branch. With the work for the day complete, The idea is much more compact and powerful and has taken a big step forward. However, we decided that I should take the tree back to my garden and carve the lower branch properly and add some shari further back above the base. This is the tree after my first carving session. The wood is then hardened with cyanoacrylate before a second carving session to add further detail. Finally, a few weeks later in late March, the work is complete. There is some debate as to where the best front is for the tree. As you turn the tree around, you can see it looks good on 3 or 4 different points. As I finally put together this video, 2 months after the styling in April 2020, The tree is full of new buds and is certain to have recovered from this work by the summer. Still in the training container, the tree will be ready for a final bonsai pot next year in 2021.