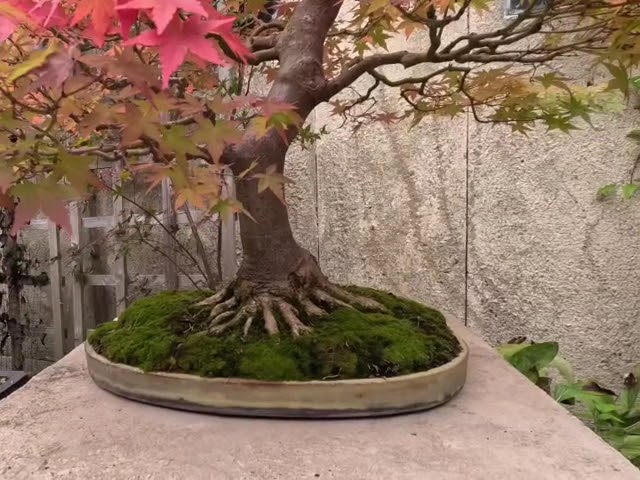
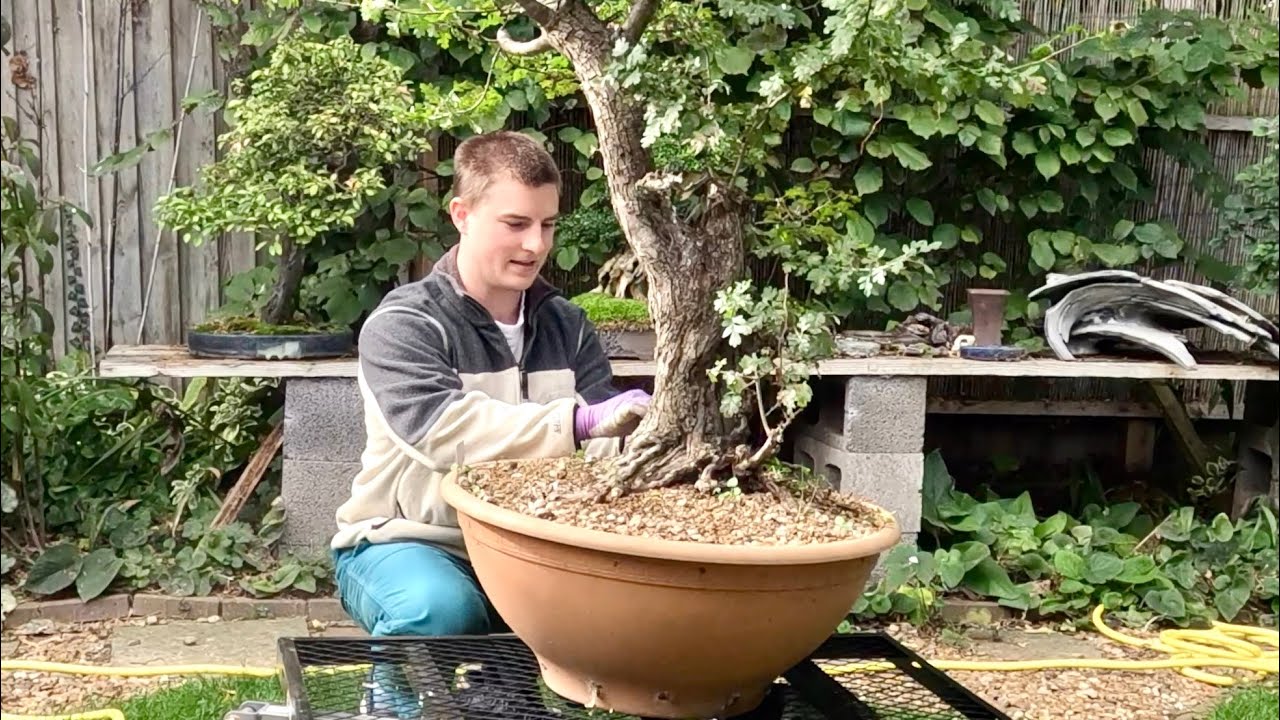
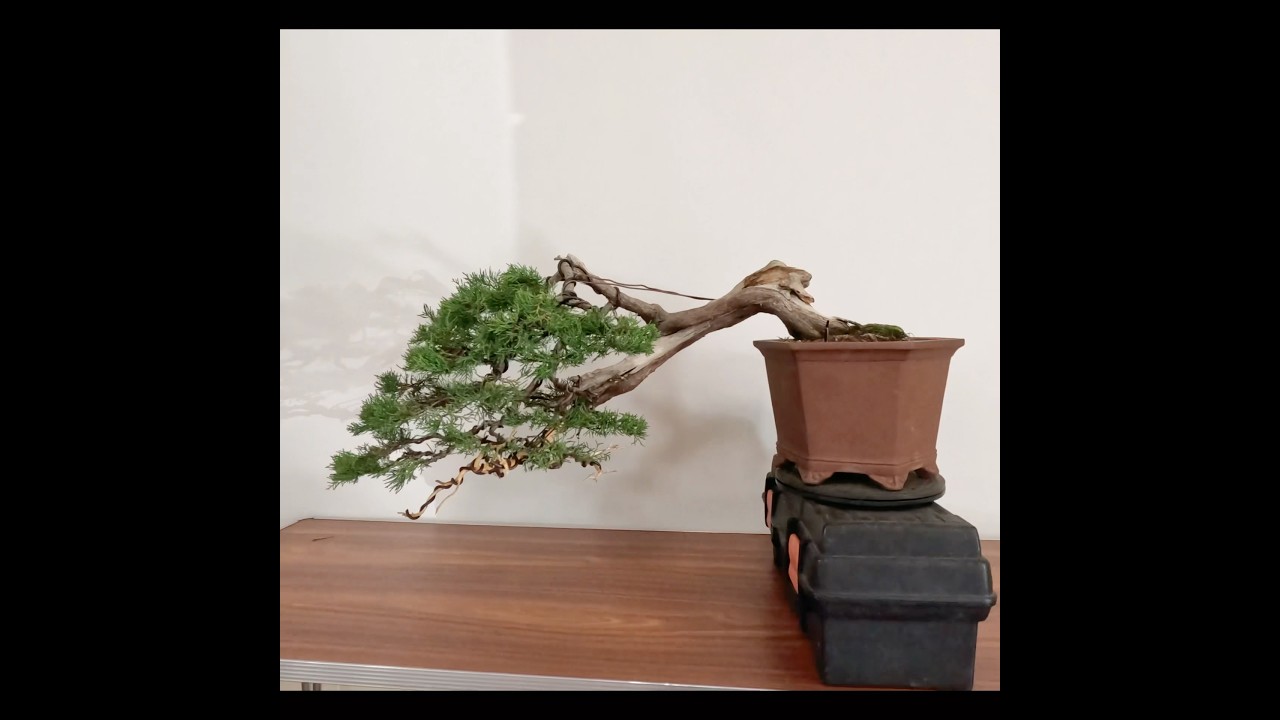
In this instructional video, bonsai artist Harry Harrington walks viewers through the complete process of carving and styling an elm air‑layer raft bonsai that was originally collected by Sean Stolpe. He explains the tree’s origin, the problems posed by a large burl and forward‑growing branch, and his goal of creating movement in the primary branches before they thicken. Harrington demonstrates a range of tools—including a T‑nibbler attached to a cordless Bosch/Dremel, a Makita die grinder, wire brushes, an epoxy‑soaked brush, and a flexi‑shaft attachment—while emphasizing safety precautions such as wearing glasses and keeping fingers clear. He details wood preparation steps, using super‑glue (cyanoacrylate) to harden fresh sap, applying black water‑based paint to highlight shapes, and carving techniques that create faces, reduce problematic branches, and add deadwood for continuity. After roughly 12 hours of carving, he transitions to wiring, coiling wire around year‑old shoots to set a framework and promote movement, and constructs a naturalistic crown by arranging upper branches like bicycle spokes. The session totals about 12 hours of carving and 3 hours of wiring, after which the tree is left to rest and grow through the 2020 season before further work in the following autumn or winter.
Chapters
And hello, my name is Harry Harrington, and today I'm going to be taking you through the steps in carving and styling this elm air layer raft. The tree was collected by an air layer by Sean Stolpe, who took it from high up on a hedge about 2 meters in height where it had been growing for many years, being threshed back by contractors driving tractors. But for this styling, I want to start addressing the large burl and the large branch that is growing forward near the base of the main trunk. This is causing quite a lot of problems with inverse taper. I also want to start putting some movement into the primary branches and setting them up Before they start to thicken up in the coming years, when at the moment I can get the most amount of movement in them. I will start today's work using a nibbler bit. This is a T-nibbler, so it has the triangular pieces. I find that they cut a lot better. It's going to be fitted to a Bosch, a cordless Bosch, which is the equivalent of a Dremel carving tool, and it The nibbler bit itself will just be screwed straight onto the main thread of the machine itself. So I start by just removing the, the bark and skinning the outside of the area that I'm going to be carving. I'm also using an ordinary cup wire brush in the Dremel, and that's very effective for removing bark but not particularly changing the dynamics of the wood. I'm going to switch over to the Makita, again fitted with a nibbler, a T6, and this is a very effective way of removing a lot of wood. With the video slowed down, you can see the very, very high revolutions per minute of the Makita die grinder and the amount of power that this machine has. It really is very advisable to make sure you're wearing safety glasses when you're carving and keep your fingers well clear of the subject, but also make sure you're holding the machine firmly in your hands so it can't bounce around off the wood. That's really good. One of the problems with using— with carving very fresh sappy wood is that it tends to fluff up and you will have a lot of debris still on the surface of the tree. What I do is just gently squeeze some Cyanacrylic, which is the crazy or super glue, over the wood, and this hardens it and makes it far more manageable and malleable to carve. So the super glue is, is safe for the tree. Obviously, I'll try and avoid it dripping onto the bark or the cambium layer, which is sealing itself as we speak. It only takes 10 to 15 minutes to dry, even on a cold day. The basic shapes of my carving are starting to take form, and you can see I'm, I'm playing around putting some faces in there. Maybe it's a skull. Um, and I've decided to greatly reduce the, the branch, the heavy branch that's coming forward towards us. As I head into the end of the first session on this tree, it's around 4 hours worth that I've carried out already. I'm putting some black into the hollows. These will dry out overnight. Ordinary black children's water-based paint, and this will allow me to see the, the shapes and the patterns in the wood tomorrow when I resume work. Further super glue or crazy glue has been applied to another of the trunks that unfortunately was dead when I received the tree, and this is going to really, really harden the wood up, which was starting to decay, and allow me to cut Carve it hard and put a lot of detail in. To connect the deadwood on the, the main trunk And on the secondary trunk further down, and then at the very base, I'm starting to create some deadwood in the center of the, the raft itself, just to keep the deadwood throughout the piece, and so there's some continuity. I'm now switching over to a wire brush that's been soaked in epoxy resin. This makes it very, very hard and is fantastic for putting grooves or graining strokes into the wood. You can also create very narrow lines. I've also switched over onto a flexi shaft that's mounted onto my Dremel, and this allows me to make tighter corners, get deeper into the piece where the, the body of the machine would stop me working freely. After 12 hours carving, I've decided to leave the deadwood as it is. There's a point where you can overwork and overwork the wood. So I'm now on to applying some wire, coiling the wire around the year-old shoots that emerged last, last growing season in order to set a framework on the branch structure and put plenty of movement and plenty of bends into those branches. There are 3 shoots that I have allowed to stay long and haven't pruned this winter. They're going to be allowed to extend as far as possible to help thicken them up because they will become trunks. With the lower branches now wired and positioned, roughly positioned, It's time to build a crown, and this is the thing that many people really struggle with. I'm going to build a naturalistic crown here, so I'm going to be using all the branches in the upper third of the tree and gently bringing them up and over like the spokes of a bicycle wheel. So the styling of this elm raft is now complete after 12 hours carving and around 3 hours wiring this morning. I finished the first styling on the, the tree itself, and it's now going to be allowed to rest, grow through the season of 2020, and I'll be able to take the tree on another step next autumn or winter. I hope you've enjoyed watching the video of the styling of this tree, and we should have some more coming. Coming out in the coming weeks and months this year, 2020. Thank you for watching.