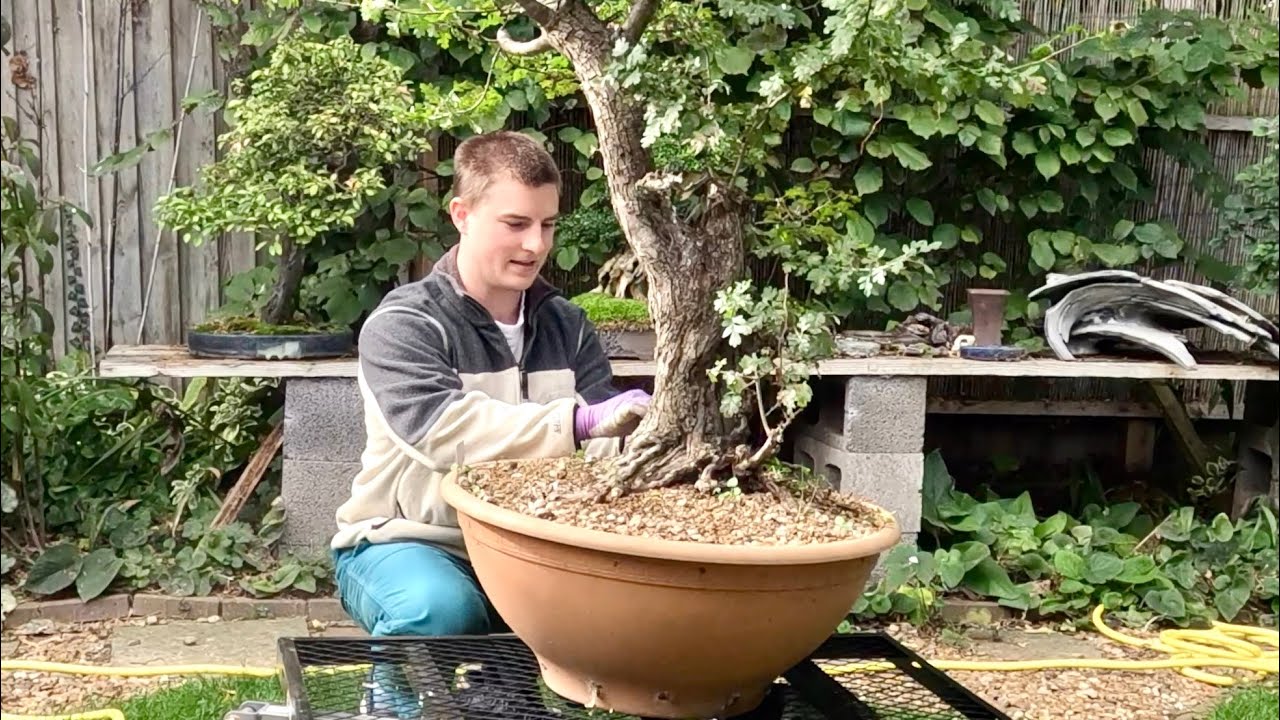
Harry Harrington repots a 16-year-old English elm bonsai, removing roughly one-third of the roots and using a three-layer soil mix of clay grains, akadama, and fine dust. The tree, grown from an air-layer since 2004, will be repotted again in about two years.
Chapters
So today I'm repotting my Ulmus minor or field elm bonsai that will be familiar to those who have read my book Bonsai Inspirations 1. Started in 2004 as an air layer I made on a tree growing in the wild, it's become very well developed and ramified over the past 16 years. Growing in a bonsai pot made by Victor Harris of Erin Pottery, the tree has a very strong root system that needs root pruning every other year. As you will see later in this video, this regular root pruning has led to a very well-ramified root system that is conducive to the fine top growth. The moss has been allowed to grow over the surface of the soil during the winter. This will need removing to clean up and reveal the surface roots on the berry. The moss is cleaned away with an old toothbrush, and some of the moss is then put to one side to be replanted later. The tying-in wires are then cut and the tree released from the pot. As you can see, the tree has quickly become resound despite being repotted just 2 years ago. On such a compact and refined root ball, I use a combination of a nylon brush and wooden stick to gently remove the old soil. The wooden stick does take longer to clear out the old soil, but it ensures that there is little or no damage to the nebari or viable roots that would occur if I used metal I keep combing the roots outwards. I do not want to damage those that grow outwards in a radial pattern around the trunk. Crossing roots are also pulled outwards. Roots under the root ball are treated less carefully. These will tend to support branches in the apex of the tree and are pruned very, very tightly anyway. So in this area, I will just try and loosen them up in order that they can then be cut. Because this is a deciduous tree, I can wash the roots, and I take full advantage of being able to hose away the old soil so I can see the root system before returning to the workbench and teasing out more of the roots. I begin to prune the roots I know I do not need. Underneath, the root mass is pruned very tightly. Further brushing out and flushing of the root ball reveals more and more of its true structure. I also begin to remove the more vigorous roots that have grown longer than others outside of the actual main root mass. This will reduce their vigor and help redistribute the strength of the tree. I then remove or reduce crossing roots in the nebari and those that are thicker and more vigorous than others. Again, this helps to evenly distribute the strength of the root system and therefore top growth. Finally, after around an hour of cleaning and pruning, the work on the root ball is complete. Around a third of the root mass has been removed, leaving a very shallow and compact root ball. Having tied the tree back into its pot, I carefully feed soil, a mixture of all kinds of high-fived clays in and around the root ball. Typically, these have a grain size of 2 to 5 mm and will provide some aeration and structure to the soil mass as a whole. Care is taken not to push the surface roots downwards so that they sit high up in the soil. This will help create a flat nebari as these roots thicken. A layer of 2 to 4 mil grain akadama is then added as the beginnings of a surface dressing. Akadama tends to stay wetter and will therefore encourage better new rooting into the upper layers of the root ball. After thoroughly watering in the new soil and planting— replanting some moss, I add a very thin layer of very fine akadama grains and dust. This will create a soil surface that remains wet for longer each day during the summer and will encourage better rooting near the surface of the soil. It is also small enough to enter into the very dense root ball below. Note that it is only possible to do this because I have a well-structured soil mass below and because this is a very well-refined deciduous tree that will be repotted in just 2 years' time. After watering in the final layer of soil, repotting is complete. So I hope you've enjoyed watching this video of my repotting of this English elm that I've had now for 16 years, and the roots should be sufficient, have sufficient room to grow for the next couple of years. And then I'll carry out the same procedure in, in 2 years' time, in about 2022. I hope you've enjoyed this video, and we'll see you next time.