Ezo Spruce Bonsai Styling Part 3
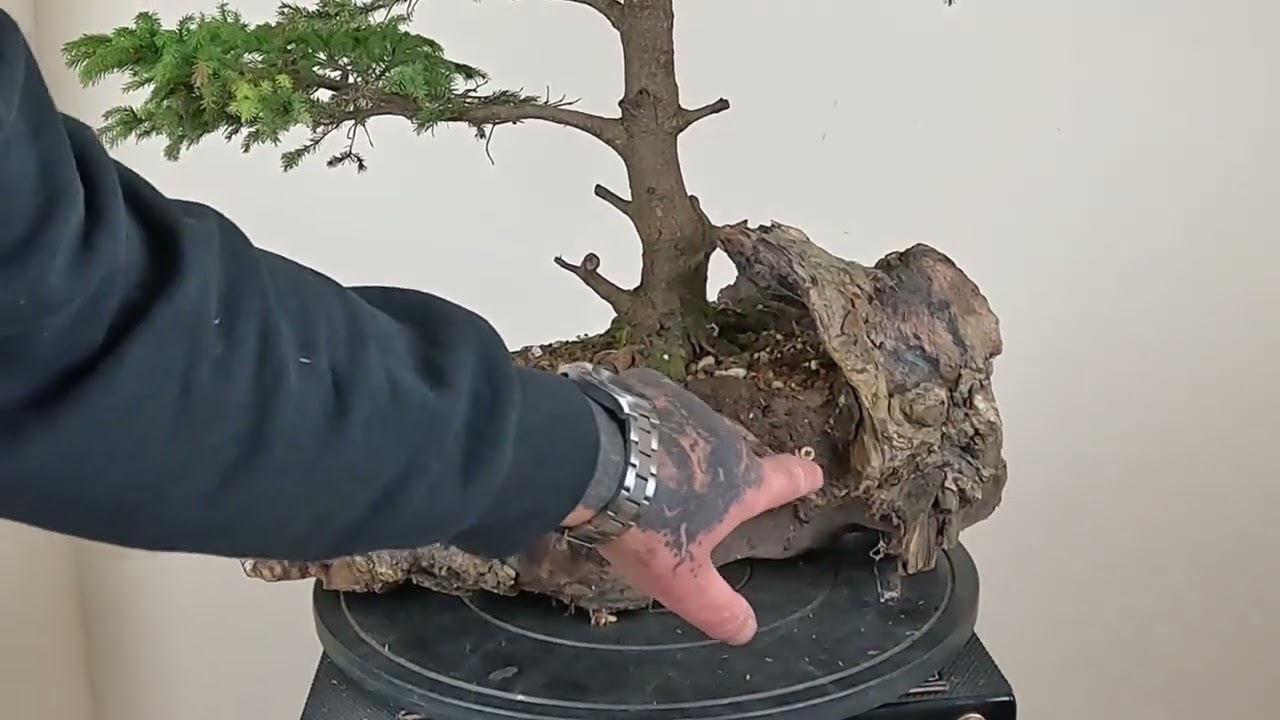
Harry Harrington styles an Ezo spruce repotted in July, using 4 mm copper wire to drop branches hard and create a 20-inch tree with layered structure. After 10 to 11 hours of wiring, pruning, and jin work over three days, he lets it rest through winter to reassess in May.
Chapters
So hello and welcome to my studio. It's November, uh, 2024, and I brought the Izo spruce with me to the studio having repotted it during, uh, the latter half of July this year. Now the tree took very, very well to its new container, this, uh, piece of deadwood that I created, and I'm very surprised considering the amount of soil that I'd actually had to remove from the, the tree to get it into this with this piece of wood, this piece of driftwood, that there was literally been no dieback. There's not been any loss in health. And for me, that really goes to show that when, um, you repot straight after the new elongations each year. Root growth and the ability for roots to repair themselves immediately is paramount to them that period of time. Spruce do tend to tell you if they're not happy, or if something goes wrong with the, uh, the root system. They'll tell you very, very quickly with the foliage going brown and discoloring. So 4 months on from the repot, temperatures have come down and we're entering, uh, dormancy for all trees, essentially, um, as most people around the UK and America are experiencing. And this is the best time to work on spruce in terms of bending branches and Just installing a good design on this tree. One of the problems with the, uh, the tree as it is, is the trunk is relatively thin, skinny compared to its height. It's going to need some kind of reduction in heights just to make it look older and to make the trunk look more, uh, in proportion. I am still undecided as to which branches to keep exactly. What I'm going to try and do, and I like to do with spruce, is to drop these branches, drop them really, really hard right from the trunk itself, and then that allows you to turn up the growth and create layers. And the layers can be pulled in really quite close to the trunk, so I can also use the overall width just to get things more proportional. This at the moment is the character branch. The driftwoods, the movement goes over towards the right-hand side, and I would prefer the lowest branch to be on that right-hand side to reflect the movement of the the rock and the tree overall. So I think the problem I'm gonna have is bending this branch down at the same angle that I'm intending on bending the rest of the branches straight down. It's actually going to be too low. Uh, the alternative is this branch above, and I think this is going to end up being the character, but I'm going to put some Put some wire on here, tuck this out of the way, and just see how the, how the design feels as I put the rest of the tree together. I'm looking at a reduction in the trunk itself to be about here. Now, we had the tape measure out earlier. We have a 2-inch wide base on the trunk. That means I can have a A height of around 20 inches, giving a scale of 10 to 1. So the height is 10 times the trunk diameter. You go above around 12 to 1, a scale of 12 to 1, and then things really do come out of proportion and the trunk looks way too skinny. So about a 20-inch tall tree would, uh, I think would work well. So that will take me to around this network of branches here, um, and I should be able to form, uh, the beginnings of a crown if nothing else. So the very top of the tree will be turned into jin. Now if we take a look at the, the foliage itself, we've got some old foliage On the interior that is actually died, and they've got other bits of foliage which are discoloring, and the tree's just naturally rejecting them in favor of these very vigorous shoots at the, the tips. And this is something you should expect with all trees. While I'm trying to chase back and shorten some of these branches, I am going to ensure that I'm only cutting back to Shoots actually have buds at the tips. Now these tips are absolutely covered in buds ready for next year, and that means that they're very viable for growth next year. When I come further back, the shoots are weaker and they have less buds, and I can't rely on these to support the branch if I was to remove all of this strength. So again, this is one of those trees where I have an image in my head and a design in my head, but until you actually start bending the branches, um, and seeing how it all pans out and how it all looks, you're never quite certain exactly what to keep, how far back to prune, or even which branches may need removing. The, the base of the, the tree itself, um, as a result of the repotting in July. Um, the wood has fared very well, and the soil and the, the wood are becoming sort of part of each other, um, and working well. Some fungi there, um, and I'm really pleased to see that the The roots at the back haven't died off. This was a huge risk, cutting back these roots as hard as I did, and I did expect that I might lose the connecting branches, but, uh, that doesn't seem to have happened. But my working front for today is going to be Slightly with the wood slightly to the side, and there's a nice wide base. So the branches just push towards the back, um, and that way I can lay out the branches above and then come back to it later in the styling and, and see how the tree looks. So I'm using a 4mm heavy gauge copper wire Um, and then one of the main reasons is I need to really manipulate these branches downwards and right directly from the trunk, and I need to make sure that those bends really hold well. And with spruce branches, you want to Complete drop from the trunk in this area and drop down until the younger growth at the bottom starts to lift. And looking at the tree now, I'm really— almost instantly you can see this lowest branch is redundant. With the— this as a character branch dropping in, we've now got quite a lot of distribution of the secondaries that we can use. So I'll put a little movement in there, winding the branch backwards and forwards, just distributing out the foliage well. Here I'm just starting to create a few jin from branch stubs, um, literally just by ripping them away. So you don't want a nice clean cut, need something that looks a little more natural. I'll come back and address those properly. And finish them off soon. The branches are starting to be laid out. Let's change the angle here. Dropping the branches straight down, and this will allow me to create several layers. Now I've got another nice healthy branch here. Unfortunately, I don't think it's particularly usable. Given that we've got branches above. One problem I do have is this relatively weak branch, which is perfectly placed but only has a small amount of healthy growth. But I'll utilize it, and I think this one I'm just gonna— I'm gonna need to grow for me quite a lot next year. Those lower branches. Uh, I've now got down to pretty much the, the height I'd like. The character branch needs dropping even tighter against the trunk, but that may be, um, it— now that the branch is starting to split along the top, it may be something that I push down and get a better angle in the future. Uh, literally next spring, just once the cambium's healed itself a little and the, the fibers have relaxed. I can then bend it further. This upper branch is, I think, surplus to requirements. So again, it would be lovely to keep it. It's very healthy, but being so, um, immediately above This branch and having plenty of others to play with. I think it's, it's surplus to requirements and it needs to go. Now, one of the first things to do is to work my way through the foliage mass, try and create some, some naturally flat pads that also have healthy growth. So I'm going to clip away at branches that just don't naturally lay flat for me. What I'm also going to look out for is old or very weak branches or dead branches, and those I'm going to cut out. So as a for instance, these two young shoots have died back. Possibly as a result of the repotting, and I'm going to cut back into fresh growth, and this I'll do over the entire tree. So I've now got to a stage in the styling where the bulk of the branches have been wired, they've been dropped down nice and low, and I've roughly placed them around the trunk. So there's, there's a 360-degree branch structure that's now come together, and I'm left with 3 or 4 Very awkward looking branches that, um, I need to, to build the crown up with. Now, as you'll see, all of the, the main branches that are already positioned have got point drop, and then they turn up at the tips showing the juvenile growth that you will tend to get at the end of the branches. These branches in the apex Are going to be placed far more gently, and I want them to, to fill a crown so we have foliage at the tips. And in the future, the foliage will actually be able to, to grow up to build up a mass at the very top of the tree. So I'm going to wire these and then Prune out some of the, the dead growth, and then we'll try and place them so we have a convincing crown with the jin coming through at the top. Uh, in such a way that we should get plenty of growth sort of heading upwards, um, from the upper branches. We're now really starting to get a much more, much better idea of the styling. I'm still not happy with it. I have a feeling that possibly the whole of the bottom left branch network may need to go. Too many branches at the moment. So I'm going to start just doing a little cleaning up of the base of the tree. There's a Some old branch stumps that need clearing, jinning. And then I also just want to crunch all these branches so they are closer to the trunk. And now I can access— once I've accessed all the jin, cleared them up, I can then kind of squeeze everything together so it's much tighter. Verliere ich Parts. So after, um, probably about 10, 11 hours of wiring, positioning, pruning, and then just a little bit of jin creation over the past 3 days, uh, I've got the basic design for the Izo spruce in place. And what I'm now looking at is how the tree can react, how the tree will react next May, June, as the buds on the tips start to elongate. And I should get a lot of growth much, much closer to the trunk than I had previously on the tree before I worked on it. I'd like to refine this image even further, get it absolutely spot on, very, very precise. But I feel that I've removed that much foliage already, and I don't want to risk putting too much wire onto the, the foliage, the youngest foliage here, because that can risk dieback. Removing too much of the foliage is going to put too much stress on the tree. And I'm better just to wait, let it react over the coming few weeks, and then, as I say, next year when it has its growth flush. And come around June, I should be able to take the tree again and to see where it's grown, where I can prune it back. Some of these shoots are still Messy and it needs some elongation. But I'll be able to, with that increased foliage mass from growth next year, I'll be able to, um, have a look. I will be given a lot more options for absolute refinement. The tree's had a huge amount of work on it this year. The, uh, the repotting back in In late July would have been a huge shock to the tree as a whole, but it had recovered well, and it had had that 4 months to, to recover before this pruning, um, and styling in November of the same year. But now this is the time where I just step back and let the tree recover and reinvigorate itself.
More from Harry
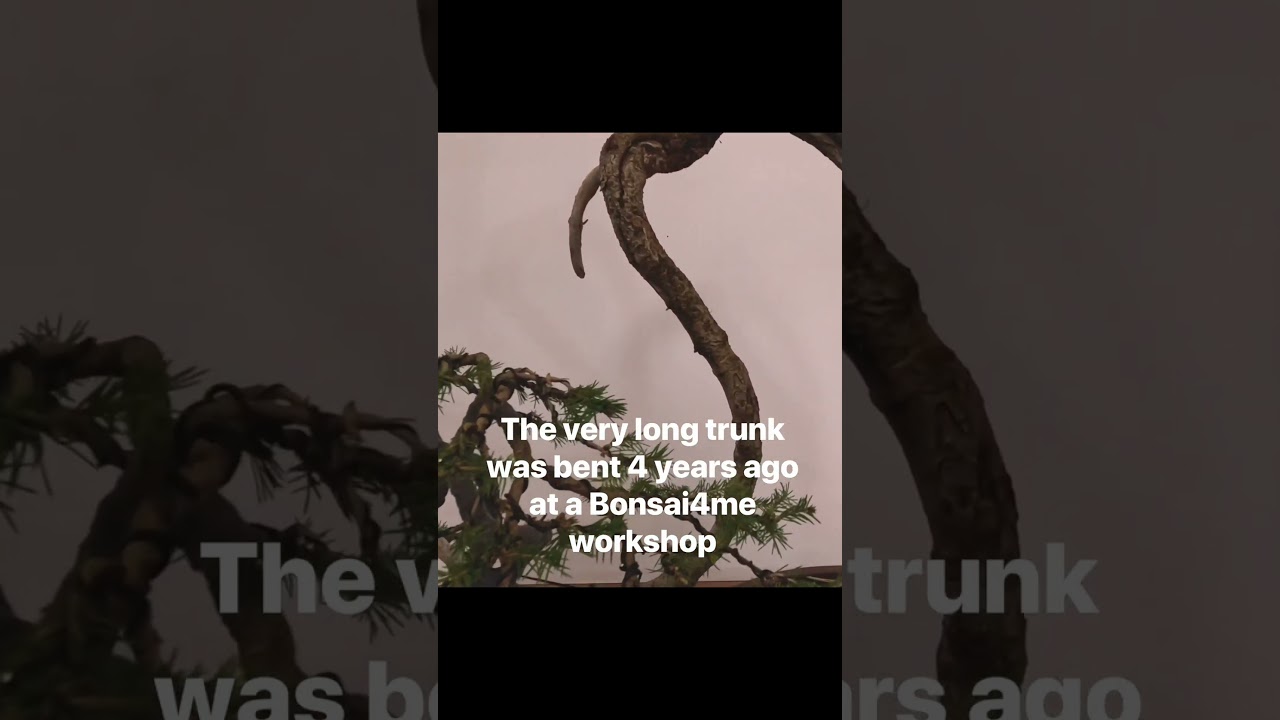
A couple of Norway Spruce bonsai from Saturday’s Bonsai4me workshop. @bonsai @tree @spruce

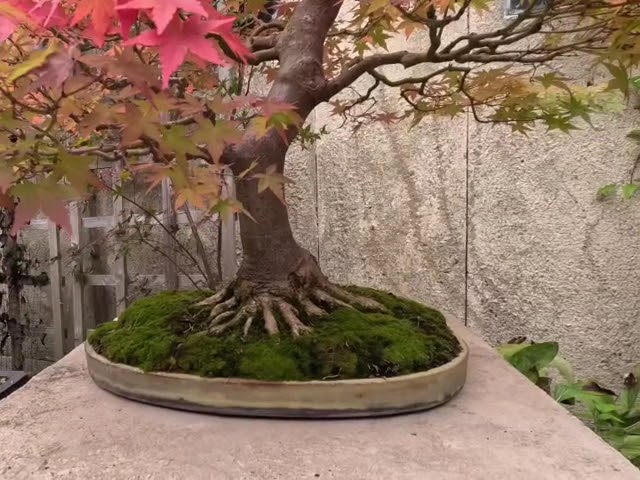


Yamadori Hawthorn bonsai hunting! From collection in Jan 2020 to a bonsai pot in Sept 2025. #bonsai
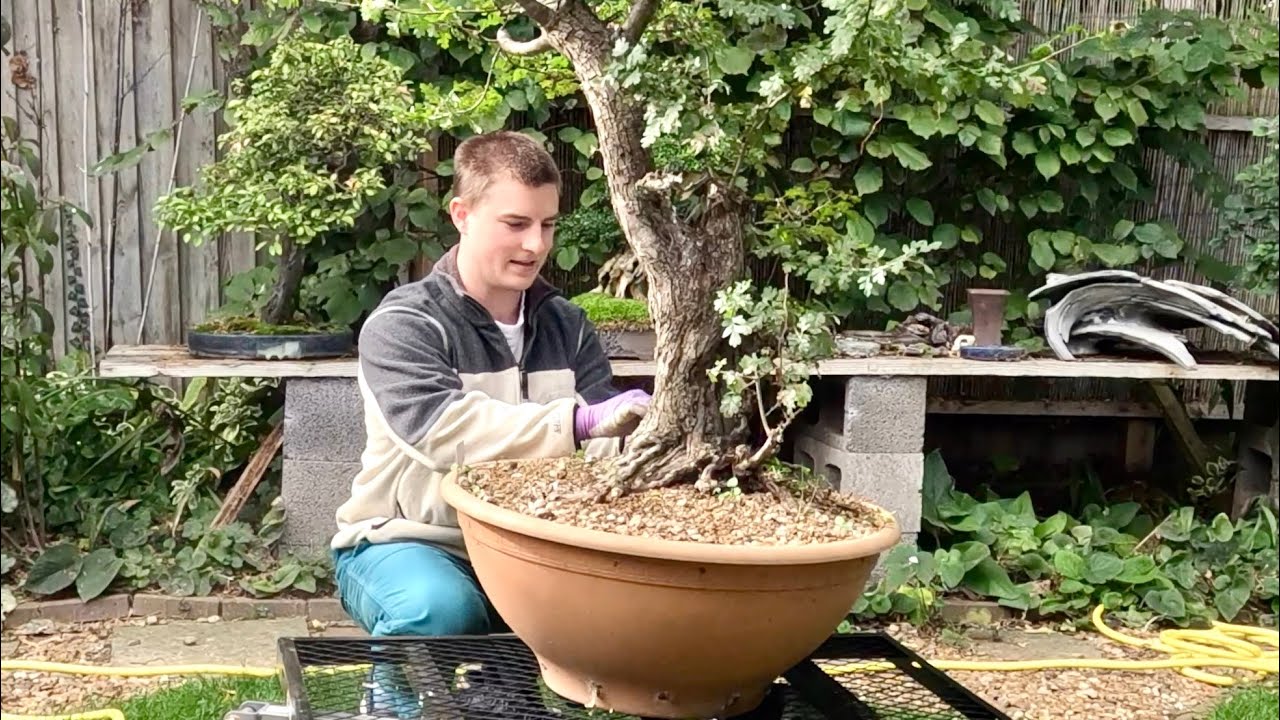
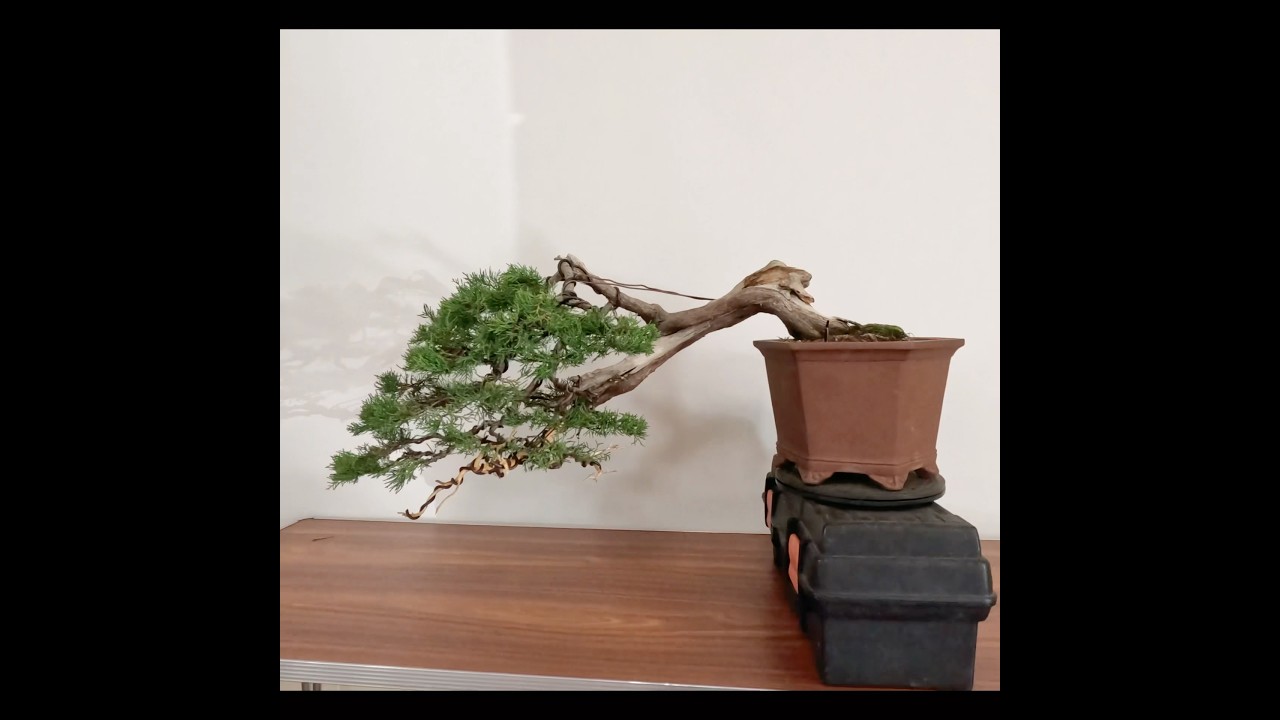
Here are a couple of Juniper bonsai we styled on Saturday at the Bonsai4me workshop #bonsai #juniper

Putting my Japanese Black Pine next to the waterfall at TheJGarden! #bonsai #pine #garden #japanese


A taste of yesterday’s Bonsai4me workshop here in Aylesbury, with a wide range of bonsai! #bonsai

This approx 150+ year old Hawthorn bonsai I collected 8 years ago being reworked this week #bonsai