In this instructional video Harry Harrington demonstrates the full workflow for carving deadwood on a collected English/field elm (Ulmus minor) bonsai. He begins by evaluating the tree’s condition, removing excess suckers and double‑branch growth, and deciding on a trunk line while preserving potential secondary and tertiary trunks. Harrington explains how to respect sap flow and cambium health when making cuts, and emphasizes honest representation of the tree’s trauma rather than hiding large wounds. He outlines the biological reality that only the outer bark and cambium are living tissue, allowing interior wood removal without harming the tree. The video then covers tool selection and safety (draw knife, Makita die grinder, Dremel, eye protection) and details the three‑stage carving process: roughing out bulk material with a Makita, smoothing with a Dremel and knives, and refining grain and texture. Harrington describes creating natural deadwood features—bark, shell, and hollows—using rebated walls to conceal depth and enhance visual mystery. Timing considerations are discussed, recommending midsummer for optimal cambium healing and warning against early‑spring cuts that can cause excessive bleeding. Throughout, he provides practical tips on grip, handling of power tools, and debris management, culminating in a realistic, aged‑looking deadwood bonsai.
Chapters
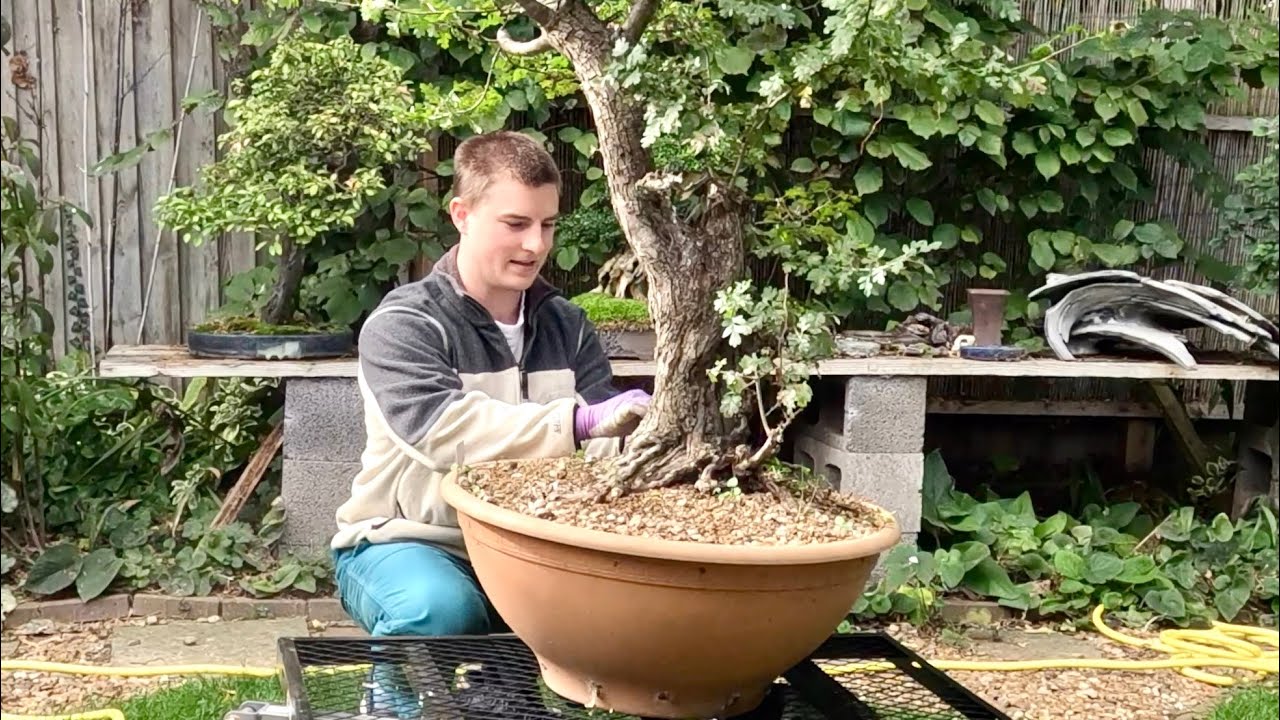
And in this lecture, I will be discussing the carving of deciduous trees, when to do it, and how to do it. So this is collected material just from a roadside in the southeast of England. It's an English elm, or a field elm for those in Europe, Ulmus minor, and they're very, very fast, vigorous growers, excellent subjects for bonsai. When they are collected from the ground, they literally can be dug up, a very dense compact root pad, put it into a pot, and they will grow very quickly. This is an excellent subject with Very mature bark, plenty of new branches to choose from, but we have a large wound, a large trunk chop where the person who's actually collected this tree has chopped it here. This is the main subject for today. We'll be addressing this large wound that will not heal over in 10, 20 years of growth. The tree has been growing very, very quickly. This year, uh, it was pruned back very, very hard in the spring, and now's the time when the tree has so much vigor we can start addressing which branches or which new shoots will build up the branch structure and choose the trunk line and start the carving process. Now, at the moment, the tree has way too many branches for a final design, and my first job will be to just simply prune back those branches that I don't need anymore.
Could you explain a little, like, which kind of branches you prune and what you keep?
There are many branches that have come out of the callus tissue where there's been a wound in the past, and most of these are suckers that I can't use in the final design. However, this is— while this will make an excellent main trunk, this has great potential down here as a secondary trunk and possibly a third trunk at the back. So I'm going to leave some growth here for the potential of a triple trunk bonsai design. One of the very, very useful characteristics of an elm is that if you need to create a shoot or a branch anywhere, an elm will always bud out from callus material. So if you create a wound in any particular area, albeit a small wound, there will pop new buds. Having removed the suckers at the base of the tree, it's possible to see more and more of the trunk and to start to develop an idea of where the actual front of the tree will be, whether it'll be this, which is my first inclination, on the opposing side. The back side of the tree does lack the surface roots and the bari of the opposing side, which will make this my first choice. As I work up the tree, I'm going to start removing doubles, and that is, is where more than one branch emerges from the trunk at any one point. So these thin branches can now be removed and allow me to see the branch structure that will remain. Now where we have some large branches coming, emerging from the trunk, we need to start making some decisions as to which of the multitude of branches we keep. Lower down on the trunk, I'm going to remove the smaller branches. Whereas higher up, I will try and keep the lighter branches and try and balance out the vigour of the tree as a whole.
There you go.
With more of the trunk visible. And the branches visible that we have available to play with, I want to now have a look at where we're going to do the carving and how we're going to make the— this very obtuse cut at the top of the trunk look more natural. When you have a chop as big as this, there's no point in trying to hide it from the viewer. It's something that there's no point in lying about. We need to show that the tree has had some kind of trauma. In the past and has regrown. And being honest and showing that deadwood and that there is a wound is the best way forward. The trick is, is to embellish that deadwood that you can see rather than have a flat pruning wound. We want to have something that looks like it's rot and rotted and looks natural and makes the tree look older and older and older. Now I need to find my trunk line, and the design that I have in my own head is that there's several ways forward here, but the design I have in my head is to use these upper branches as the new trunk line, or the continuation of the trunk line. We can now remove these shoots and create very, very acute taper down here, or we can start turning these shoots into branches that make up part of the the overall design. And this is now where I need to consider where we're going to prune through. Deciding where to carve, you first must consider keeping the branches and the trunk alive. The sap flow will be rising from the roots Along the trunk and out into the branches. If I was to interrupt the sap flow directly underneath the branch, then I would lose the branch. So I must cut the bark off to the left or off to the right. And I will start making marks with a chalk here, and you can see where I intend to remove the bark and the cambium layer. I'm following the plates of the mature bark, and rather than creating a smooth or a rounded line, I want a line that moves with the plates, the natural plates of bark. And I will take a V out of the top of the trunk here. And use this shoot as a branch and this shoot as the new trunk line. This shoot will therefore need to be removed because this will be carved.
And prune it. Okay, nice.
Having made the decision to, to split the top of the trunk into the new trunk leader and a branch, I'm going to then look and see if I can thin out and create some taper to this trunk as a whole. By taking this line up on this side, which isn't supporting any growth anymore, I can make the trunk look more tapered before we start creating the hollow. And to that end, I'll put another mark roughly here. With this wood removed, We'll have a little more taper. The wood removal can then continue into the center of the tree. Now it's worth noting for those who may be unaware of the biology of trees is the entire core, the center of the tree, is there and is just structural wood to hold up the tree if it were 150, 100-foot tall. The only live part of the tree is around the very, very edge, so this is the only area in the cambium and the bark that we have to have any concern for the health of the tree. Any wood that we remove on the interior is purely structural. So I'll start the carving process on this tree, having Made rough indications as to where I want to remove the bark and the bark layers that I want to retain to keep these, the new trunk line and these branches, these future branches in place. We need a nice cut through, clean cut through the cambium layer to ensure that the cambium layer can heal very, very quickly, and I'm just going to simply use a sharp knife. And cut through the bark and then deep down into the cambium layer. Press down hard through the cambium and the bark. And peel back the bark and the cambium layer.
This is perfect. Nice.
I prefer to use a draw knife, which is a hooked knife, excellent for removing cambium and bark. As we're in the middle of the growing season, The cambium will be able to heal itself immediately. In the middle of the winter, interfering with the cambium layer can result in dieback as the tree is not able to respond immediately. Anytime that you have a— the tree is active It is able to respond to the cuts that you are making through the cambium layer, but be wary of cutting in spring, early spring, as the sap is rising, as it will lead to excessive bleeding on some trees such as Acer palmatum, Japanese maples, and all coniferous species. The best time for carrying out this work is midsummer, where the tree takes a pause from growing and will callus very, very strongly on any wounds that are made at midsummer. Having cleaned back all the bark And the cambium layer underneath. The wood is now ready to carve. Ensure that you cut through the bark and cambium deeply to avoid any unnecessary tears. You expect the cambium to just fall away. Having established our trunk line, the branches that we're likely to use for the final design of the tree, and some branches that will emerge from the top of the trunk, we need to start looking at deadwood design. And deadwood design can be broken down into 3 basic layers. You have your natural bark, which is already in existence. You have your shell, which is the Wood underneath, and then you can create hollows which act as a darkened foil, bringing out the texture and the grain in the actual shell of the wood. At this point, we have just established where we're going to have our bark and wood line, and I'm now going to start making some marks as to where I want to put hollows into the wood. And I'll now start to mark out where I'm going to make cuts that go down into the wood and create hollows. These are a rough guide at this precise time, but shows the difference between the bark, the shell, and the hollow itself. So I'm going to break down the stages of carving into 3 different parts. The first will be roughing out, and for that I'm going to use a Makita. It's a Makita die grinder, which can remove a substantial amount of material in the process that's known as roughing out. And this is literally taking out the bulk of the material and creating a general shape on your future deadwood piece. Makitas are very substantial, they remove a lot of wood, and you need a good cutting part to work with them. And then the Dremel and the knife work will be coming for the smoothing of the woods, and then the refinement stage where we start adding some grain. I'll discuss the various options for the Dremel carving machine later on in this lecture. So I'm going to begin the process of roughing out the tree. And creating some hollows and excavating out a lot of wood. There are very, very few bits that are capable of removing a large amount of wood using a Makita. So the bit I'm using for roughing out that fits into the Makita has a 6mm shaft. These are thicker shafts that can cope with some very, very aggressive carving. A lot of these Bits are initially designed for carving down welds on metal welds, so they're very, very capable of coping with wood, even if it's from yew or boxwood or other very strong woods. It's worth doing some research online for the best bits. This is a bonsai nibbler, but there are alternatives at online bonsai stores. One of the things that I would say at this point is it's useful to learn how to actually hold the Makita or the Dremel later on in the correct manner. If you try and approach the tree freehand like this, you have very little control over the bit and the bit skipping. What can happen is the carving bit can hit a piece of wood, and so in some cases you can even get Old nails or screws in the piece of wood, and it can skip off, and you can cause a lot of damage with the bit running across the bark and through the cambium layer. My preferred method for holding the Makita is very similar to an artist, where you use your 2 smallest fingers to balance and grip onto the tree. And you use your forefinger and your thumb on the Makita or the Dremel at the front to grip really hard. And this means that it's very tactile through the machine and into the wood. And if you have a, a skipping bit, you can retract immediately. I'm right-handed and I will use my right hand to steer the bit. And to move around the deadwood. It goes without saying, use some eye protection. If you don't wear glasses ordinarily, get some safety glasses. Over the years, I've had many pieces of wood and pieces of metal, particularly off the wire brushes, going into my eyes, and it does hurt. So I'll now begin the, the process of roughing out and making the, the rough design of the piece. All the time feeling around the wood, feeling where the soft areas are and where the hard areas are. If there's any soft pulpy wood, I'll take more of that out because that's harder to protect, and to keep the really hard good grain if I come across it. Periodically use a brush or a vacuum cleaner to take away all the debris that's appearing around the work you're creating. Now notice that where I'm creating a crevice, I'm then rebating around the surface of the wood. Having these Rebated walls ensures that the, the viewer of the tree, when the deadwood is finished, cannot see the distance between the surface of the shell and the depths and adds an element of mystery to your carving. As you can see, my roughing out is starting to develop some distinct hollows, but I'm also leaving this shell And as will become obvious as I continue the carving, this shell, it's useful if you can leave this entirely natural at the moment.