A decade-old Scots pine from the French Alps gets repotted in September with a custom soil mix of lava, pumice, akadama, and charcoal. The creator shows how to reduce soil without cutting roots, backfill carefully to remove air pockets, then let it recover for six weeks in slightly dry conditions before frost arrives.
Chapters
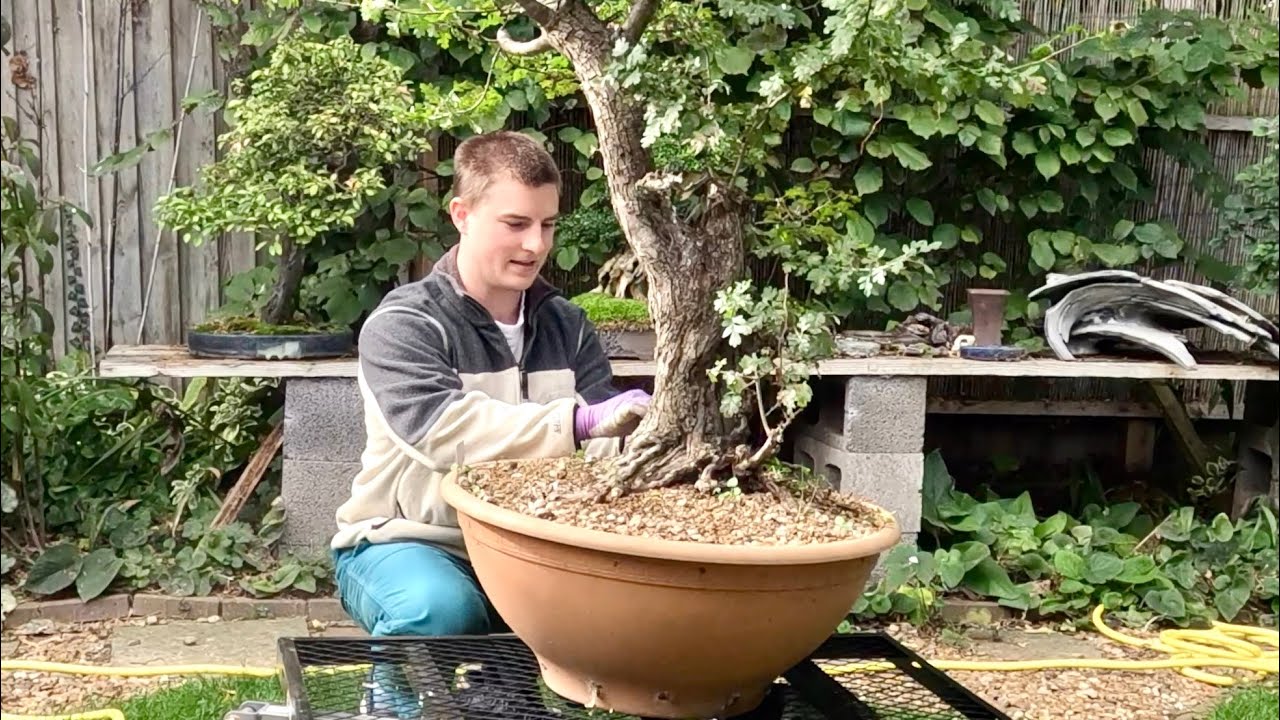
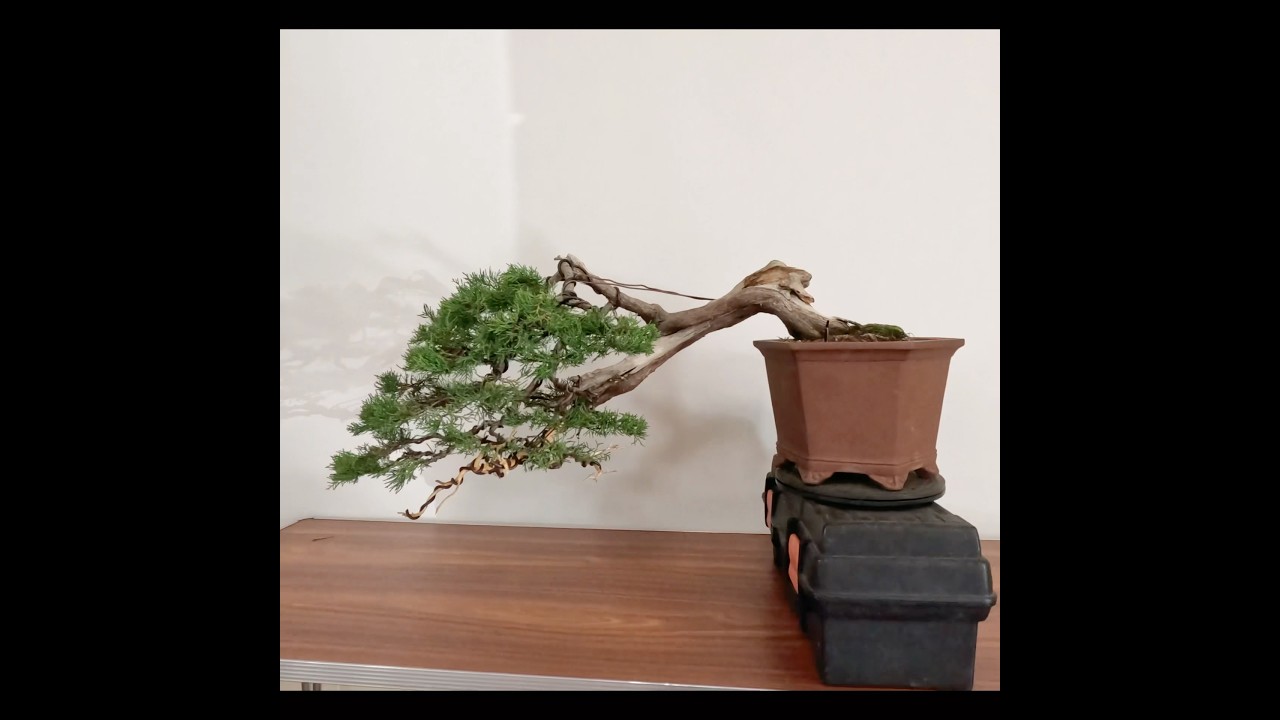
So this is a Pinus sylvestris, or Scots pine bonsai, that I've known for around a decade. Originally collected in the French Alps, it has a beautiful trunk line and wonderful bark. 2 years ago, in September 2020, I purchased the tree, and when it came to my garden, it was looking a little sorry for itself. But with the help of apprentice cider bass, it was de-wired and needle plugged. I wasn't happy with the angle that the tree was planted at, and as September is an ideal month for the repotting of pines, I carefully adjusted its growing angle without root pruning. I was, however, pleased to see the health of the roots that were very strong. The following December, I wired and restyled the tree. 2 years on and the tree has done very well, doubling the amount of foliage that has nice short healthy needles. The branches have dropped a little after dewiring recently and that will need to be rectified again in the future. Looking at the deadwood at the base, you can see that some carving I carried out during styling 2 years ago has weathered nicely. This carving work was carried out by stripping the wood by hand and then machine carving a hollow through it. Today I'm going to move the tree into a large mica bonsai pot. In preparation for a final ceramic bonsai pot in another 2 years' time. Extra holes are drilled into the base of the mica pot to ensure good drainage. I then use a shallow bottom layer of medium-grain sieved lava, pumice, and akadama. So inspecting the surface of the soil of the pine shows that there is a strong presence of mycelium in the substrate. The threads of mycelium are the roadmap along which bacteria and fungi flow within the soil, and its presence, particularly in the upper layers, shows me that the soil mass is very healthy. The mycelium does a lot of hard work for the roots of the pine and is essential for good health, and this is why you should never bare root a pine or any other coniferous species for that matter. Removing the pine from its pot is a little tricky, particularly on my own. The mycelium and roots have attached themselves to the walls of the pot, and I end up having to use the blunt side of a folding saw to separate them. Note that I avoid touching the very old mature flaking bark of the tree for fear of dislodging it. Instead, I use the various jin around the tree to pick up and move the tree around. With the pot quickly discarded onto the floor, the tree is placed on a turntable ready for a reduction in the volume of soil so the tree can be moved to a shallower pot. The old soil consists of good quality inorganic soil that falls away and old mountain soil that was still around the roots. This also falls away from the lower parts of the root ball. My aim is to not have to cut the roots, but to reduce the amount of old soil so that the tree and its roots will fit into its new container. I find this is a much safer way of repotting conifer species that will continually adjust the overall volume of live roots anyway. If you look at the soil that has fallen away from the root ball, you will see that the old mountain soil has turned from a thick congealed clay into balls of soft clay. This is a result of a product from the hydroponics industry known as Canazim. Canazim contains a lot of potassium, and potassium is an enzyme activator, meaning that it speeds up the natural biological processes, including the breaking up of thick organic soils, as has happened here. It is a very useful way of helping to reverse some of the problems caused by congealed clay soils. Because the soil is so healthy and and full of biological activity, I decide to reuse some of it, but sieve it first to remove the dust and the smallest grains that might otherwise clog up the new soil mass. The tree is offered up to its new pot. The loose trailing roots that have had the old soil removed from around them are simply found a new place within the confines of the pot. I could cut them, but I feel this is unnecessary for the health and future vigour of the After establishing that I have the planting position correct and I have tied the tree into the pot, I start backfilling with soil. I'm using a mixture of the old inorganic soil plus additional lava, pumice, and akadama. Roughly all with a 5mm medium grain size. The new soil is carefully worked in and around the roots with a wooden stick. I need to avoid leaving air pockets within the root ball, but at the same time I need to be careful not to damage delicate roots. Once the pot has been backfilled, I also add some activated charcoal. This is a product that I used many years ago following the advice of old Japanese bonsai articles and have returned to using in recent years. Activated charcoal brings a lot of good things to all soil mixes. It cleans the water applied to the tree as well as the soil itself. It creates a very healthy biosphere within the pot, storing and making beneficial bacteria and fungi available to the roots. It balances the pH of the soil to keep it sweet and also enables increased uptake of nitrogen from the soil by the tree. It really does have a lot of benefits for bonsai. I'm using charcoal from ProBioCarbon, but any activated charcoal sold as being safe for plants is suitable. Finally, I add some Oceana slow-release fertilizer to speed up recovery of the root ball. Oceana, as an organic fertilizer, has an NPK of around 5-5-5, which is not strong enough to burn the roots, and its immediate use is highly recommended, although not absolutely essential. The Scots pine is thoroughly watered in using rainwater. This watering is especially important because it flushes out any dust in the soil and settles the grain of soil together, removing any large air pockets within the soil mass. The watering also activates the various ingredients in the soil, such as the charcoal, the fertilizer, and the mycelium. Water heavily from each side of the pot towards the trunk so you don't have to send soil flying outwards. The tree is placed back on the turntable. My work for the day is complete. The tree will be allowed to recover for at least 6 weeks, and I will keep the soil on the slightly dry side to encourage a faster colonization of the roots within the pot. This means allowing the soil to dry out to a depth of 1 or 2 inches before watering again. Repotting at this time of year is much safer than in spring, mainly because root growth is so much stronger in the late summer, but also because there is little threat of any frost for at least a couple of months. One of the problems with repotting coniferous species in spring is that there is little way of knowing how quickly the soil will be warm enough to motivate root growth and frost damage is a real possibility. All being well, I may try to detail wire and refine the tree in 2 to 3 months' time, but I am still very happy with its appearance now. If you have enjoyed this video, please like and consider subscribing.