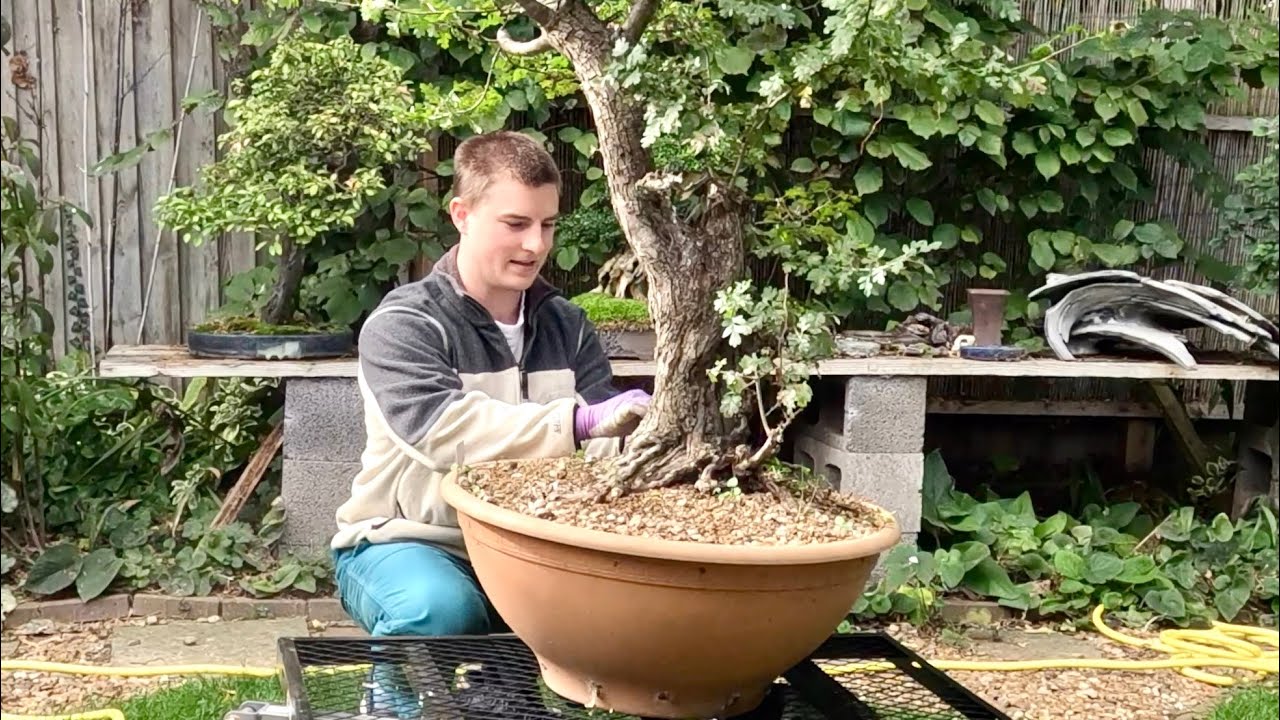
In this instructional video, the presenter demonstrates the repotting of a large Escallonia bonsai that suffered trunk rot due to wet, airless ground soil retained from its original planting site. He explains how the heavy, coagulated clay soil draws moisture into the trunk, causing decay, especially in the species' softwood. The repotting process focuses on carefully extracting the inner core of this problematic soil while preserving the healthy exterior roots. Using a thick wooden stick instead of a metal hook provides tactile feedback and minimizes root damage. After removing the bulk of the clay, the pot is filled with large‑grained pumice (6–14 mm) to ensure maximum aeration and drainage, appropriate for Escallonia’s low water needs. The soil is then thoroughly watered to settle and flush fines, and a handheld compressor cleans remaining clay and rot from deadwood, which is later sealed with cyanoacrylate. Finally, an unsieved layer of akadama is added to the surface, allowing finer grains to infiltrate the pumice and promote a healthy root mass. The presenter notes that, given the tree’s development stage and pot size, another repotting won’t be needed for 5–6 years, and he encourages viewers to consider removing old ground soil from their bonsai to prevent similar issues.
Chapters
So hi, this is a huge Escallonia that I styled last autumn. This is the Escallonia when it came to me as a commission piece, and then after styling and carving the deadwood last autumn. And today I'm going to repot it, remove it from very, very poor quality soil. And I believe that it's probably the soil that the tree was growing in, in the grounds, that's still in there. And what's happening is, is, um, this wet coagulated soil taking a lot of moisture up into the trunk and causing the trunk to rot. This is made worse by esculentum having relatively weak softwood. After cutting the tying-in wires, it's a job getting the tree out of its pot and onto the turntable. The clay soil means that the whole tree and soil mass is very heavy. There are plenty of healthy roots around the outside of the root ball, so my aim today is to Carry out a slightly unusual repotting and leave those healthy roots around the outside alone, bearing in mind that this is also a newly styled tree. So my focus for this repotting will be to remove as much of the inner core of ground soil as possible. I use a thick wooden stick to gently tease out the soil. It is slower than using a metal root hook, but this wooden stick gives better feedback to your hands and your fingers and results in less broken roots and faster recovery for the tree. As I reach the inner core of the root ball, I start removing the heavy airless clay soil. This situation is something I find time and time again with bonsai, even those sold by professionals and nurseries. The root ball has never had the original ground soil thoroughly removed and instead has been repeatedly repotted simply by changing the outer layers of the bonsai soil. In the confines of a pot, airless clays and other types of ground soil will cause problems with rot, poor distribution of moisture after watering, particularly during the summer, and poor growth in the tree. Note that it is important not to remove too much of the original soil in one go when repotting coniferous species such as pine, juniper, and larch. Here I'm offering the tree back into the pot and slightly altering the previous growing position. Note that on this occasion I have decided to leave alone the live roots circling the exterior of the root ball. The Escallonia will produce a naturally fibrous root ball, and there is abundant space in the container for new growth for several years. I start by filling the pot with a large-grained pumice. These 6 to 14 mm grains allow maximum aeration and drainage in the soil and are perfect for species such as Escallonia that require relatively little water. The pumice is carefully worked in around the roots, again with a wooden stick to avoid excessive damage to the roots. Take care to avoid leaving air pockets within the root ball. The soil is then heavily watered to settle the soil in to around the roots and flush through any fines in the pumice or the existing soil. Using the hose, I try to remove any remaining ground soil from underneath the root ball and the deadwood. I then start using a small handheld compressor I use to clean the deadwood, old bark, and any remaining clay from the base. The compressor also removes a few areas of rot from the deadwood. This wood will later be treated with cyanoacrylate or super glue. After thorough watering in, I then add a layer of unsieved akadama. As well as having a pleasant appearance, the smaller grains will travel into the upper layers of the pumice and help produce a healthy root mass. Repotting of the escalonary is now finished. Due to the stage of development of the tree and the size of the pot, I I think it's unlikely to require repotting for at least another 5 or 6 years. I hope you've enjoyed this video, and I hope you'll be thinking this spring about removing some of the, the old ground soil that may be in and around the core of your bonsai.