Harry Harrington repots a 14-15-year-old field spindle bonsai grown from a stump, using wooden chopsticks and a nylon toothbrush to preserve its refined nebari while pruning circling roots. He uses a 50/50 takadama-pumice mix and places it in a blue Yamafusa pot, timing the work for early March at bud-break.
Chapters
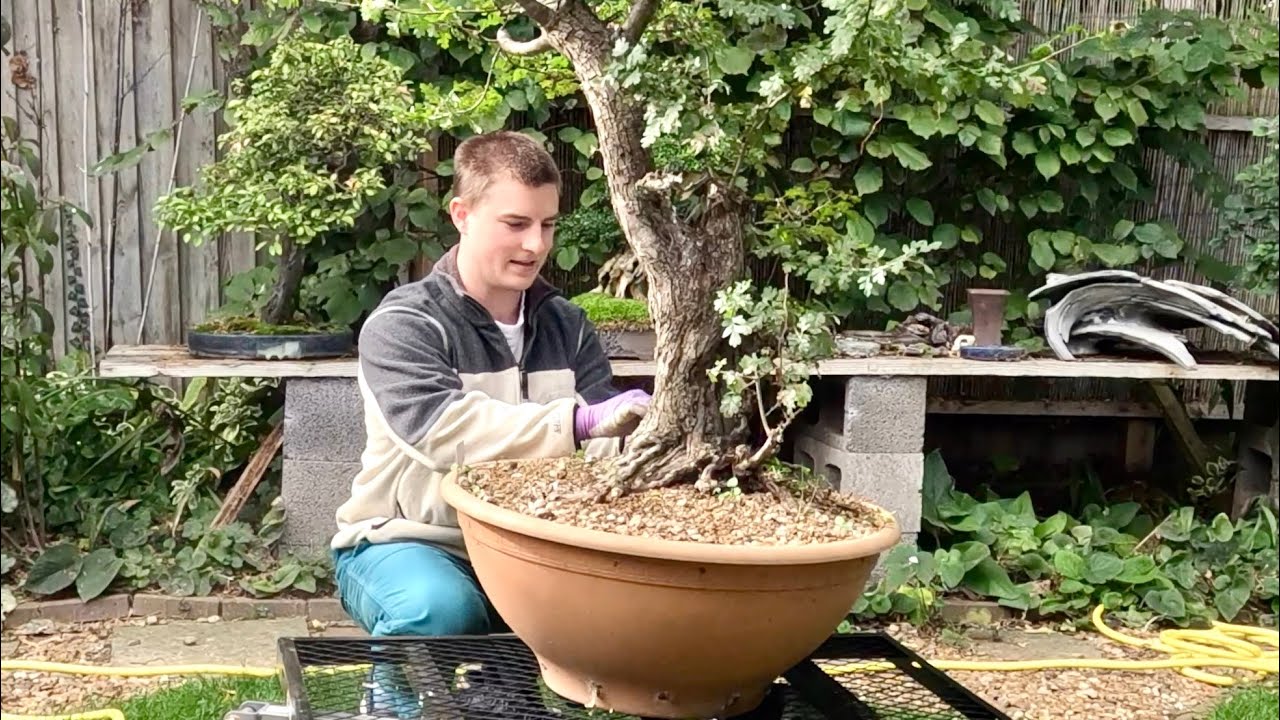
Good morning, my name is Harry Harrington, and today I'm coming to you from my garden here in Aylesbury. And the subject of this video is the repotting of a Euonymus europaeus, or field spindle, a tree that isn't commonly used for bonsai but is absolutely fantastic and has the most, uh, Beautiful berries that appear in August, September, and will stay on the tree through the winter. So the bonsai was developed from a stump that I dug up around 14, 15 years ago and planted the stump on top of a tile to ensure that it had lots of lateral roots. And the Root ball has become, and the nebari has become very refined. So today I want to repot the tree without disrupting the nebari and the very fine root ball that has developed over the past 14 or 15 years. This means giving some new soil to the tree so roots can grow into, but not allowing so much soil and so much disruption that I. Spoil the nebari or encourage really coarse growth. Last year I used a mixture of very fine akadama and biochar from ProBio mixed in around 50/50 proportions, and this has led to a very, very healthy surface— soil surface where lots of mosses have grown and And there's been an incredible amount of new roots growing through and around the soil surface, something that's absolutely ideal when you're developing the nebari for a deciduous tree. But first of all, we'll just get the tree out of the pot and see how well it's developed over the past year or two. As can be seen, the tree has become very, very root-bound, and there's a fantastic amount of very fine fibrous roots growing in there. But there is a point where if I don't introduce new fresh soil for new roots growing into, there won't be any new shoots or branches appearing in the top growth. This can lead to a tree that becomes quite weak, just issuing new leaves each year instead of actively growing, and it's at that point that you could start losing branches. So ensuring that you repot every now and then is a very good idea. So I'm going to start this repot by carefully removing the, the moss and the soil from the very, very surface of the root ball just to see what's happening there. And I'm only using a wooden chopstick. Really important that you only use wood and avoid using metal, as the wood gives better feedback and doesn't rip away the roots. If If it takes a little longer to clean everything up, then so be it. I'd rather spend 30, 40 minutes doing a job that would take only 10 with metal, but not destroying years of development of that nebari. That's the most important thing, is protect the roots that you want to keep. So with the mosses on the soil surface gently scraped away, we can see that there's a lot of lovely roots there that we want to arrange. We want to remove any really sort of thick, coarse roots and balance out the nebari. So I'm just using an old toothbrush here just to gently brush away and push all the new growth on the soil surface so it's radiating out from the trunk. It's very simple, just with a nylon toothbrush. As can be seen in this shot here, the root ball is very, very shallow, and the roots underneath the root ball would typically be supporting and supplying sugar and starches up to the branches in the apex. Those branches, we do want to try and suppress the growth. It's the lateral roots that we're going to enable to grow into new soil by giving them new soil that will be strengthening the lower branches. So what I'm going to do today is actually not really prune the lowest parts of the root ball. I'm going to sit them back in the pot so the, the roots supplying the apex are still restricted, whereas the lateral roots can grow into new soil and extend those lower branches. Now we've established the surface roots of the tree, I'm going to go in again with a wooden chopstick and gently start breaking up the very edges of the root ball. As you can see, um, I'm not using too much force and I'm just teasing out those roots that have started to circle inside the pot. These are the ones that I'll be pruning. With the roots that circle the root ball pulled out and allowed to sort of hang outside the silhouette of the root ball, I can now just cut away Along a direct line around the root ball that will then sit back into the pot. As I've already mentioned, I'm not teasing out or touching the roots at the bottom of the root ball. I want them to remain pot-bound so they have no fresh soil to grow into, and this should just hold back the top growth in the apex of the tree. The spindle is offered up and placed into its, uh, Japanese Yamafusa pot. A blue color that is unbelievable that you— unfortunately I can't capture it very well on video. And you can see where I put the root ball into the pot, there's around an inch of room all the way around the edges of the pot. This will allow some new root growth and new top growth, but not too much. This is a refined tree, and I don't want coarse extending growth. For the main body of the soil, I'm using a baked takadama and pumice 50/50 substrate from Ibuki. This is really quite a hard, fast-draining soil, such as the spindle-like in nature. With the tree tied into the pot, I never cut the ties back really tidily. It's very useful to be able to pull over those excess wire and just hold down the nebari so it's on exactly the right plane. Finally, a mixture of the fine biochar and some very fine akadama is mixed together into a pot, and this is my surface dressing. It will hold more moisture and stop the surface drying out when it gets very hot during the summer. But the layers underneath, the layers of soil underneath, are still very fast-draining, and there's no need to be concerned about overwatering or the substrate as a whole holding too much water. It's just keeping that soil surface really nice and damp. And roots love growing into it. So hopefully, year on year over the next five ten years, the nebari will just get better and better. The biochar and akadama mix is then spread very gently over the soil surface. I want the all those fine new roots to be covered. But only just. Finally, I spread a very, very fine layer of Oceana Root Boost over the soil surface. This is a very, very mild fertilizer with many amendments such as seaweed and fish bone meal, really encouraging very active biosphere within the pot. After thoroughly watering the tree into its pot and then ensuring that all that soil has settled well The tree is then placed back onto the pedestal. We're just at the beginning of March here in the UK, so this is still a little bit early to be repotting. The ideal time would be just as those buds are actually opening, but I've got a huge amount of repotting ahead of me, and there's a point where I do need to start. I will of course protect the root ball and the tree from frost For the next week or two.