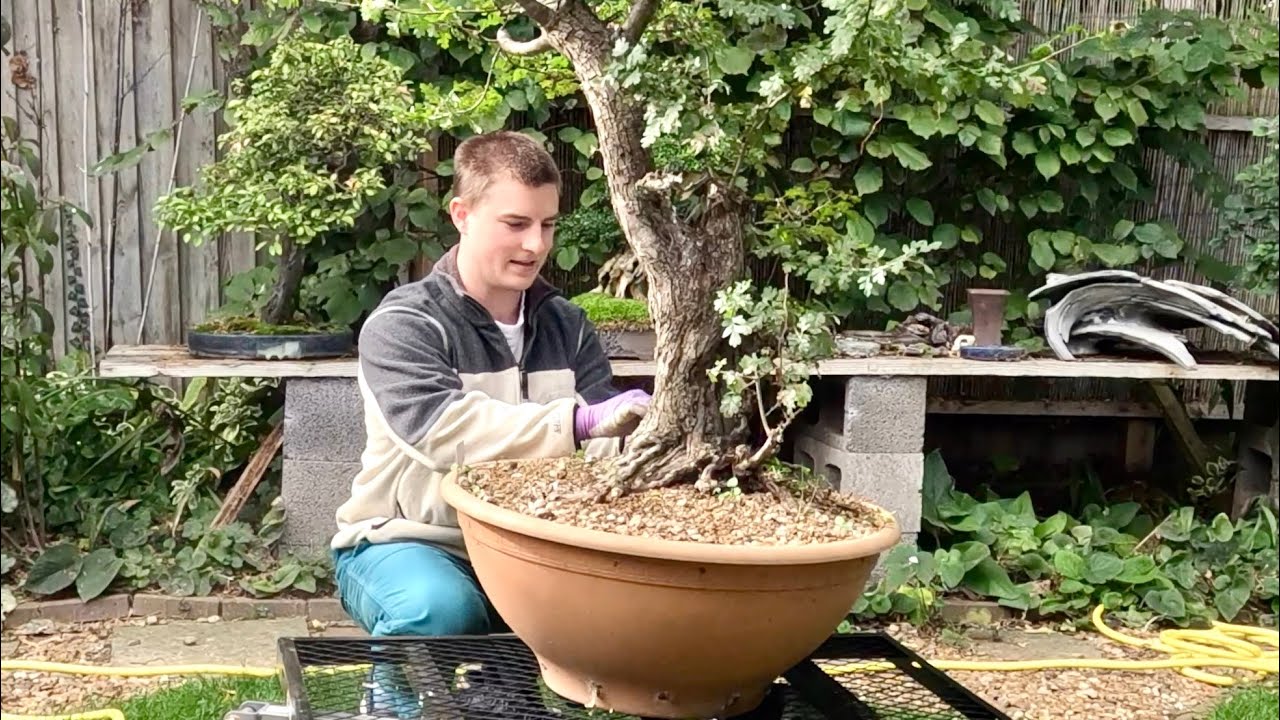
In this instructional video, bonsai artist Harry Harrington walks viewers through the comprehensive styling of a large Scots pine (yamadori) bonsai in his Aylesbury studio. He begins by recounting the tree’s provenance—originally worked on by renowned Japanese bonsai master Takeru Shibata and later by UK artist Kevin Wilson—before describing its current condition after five years under his care. Harrington explains why late‑summer (August) is the optimal time to repot pines, detailing the physiological reasons (root growth, sugar storage, low transpiration). He then demonstrates the meticulous branch‑preparation phase: removing excess needles, ensuring every junction bifurcates into two shoots, and creating flat pads for future foliage. Specific needle‑count guidelines (≈12 needles per tip, half‑dozen clusters) and the impact of needle removal on back‑budding are covered. The wiring segment showcases his preference for high‑quality copper wire (from Abuki, Poland) for durability and subtlety, and the use of ultra‑fine 0.5 mm wire for tip work, with step‑by‑step illustration of lifting shoots. Harrington discusses the aesthetic design of the crown, light distribution, and the intended flow of foliage across the trunk, noting asymmetries that reflect natural light direction. He outlines the feeding strategy: minimal fertilization through spring, a gentle seaweed feed, and a heavy fertilizer pulse in late August to stimulate bud formation, aiming for two buds per tip to double ramification. The video also provides a project‑management snapshot—approximately 4 hours of detailed pruning, 14 man‑hours of wiring performed with two apprentices, and a total of about 20 hours of work. Throughout, he emphasizes practical tips, material recommendations, and the creative decision‑making that defines high‑level bonsai styling.
Chapters
Welcome back to my studio here in Aylesbury, and today I'm introducing you to a beautiful Scotch pine. Its previous owner had taken it to Takeru Shibata, a famous Japanese bonsai artist, who gave, uh, An initial chopping down of the height of the Yamadori and put an original design, an initial design into the tree. A few years later, it also went to Kevin Wilson down in Norfolk, who also worked on the tree, and now it's come to me about 5 years ago. Where the tree was looking a little rough around the edges and needed quite a lot of work just to reinvigorate it and push a new design into the branches and lifting them up. Now, it's, it's 3 years since I put that initial design into the tree, and the, the wire's been taken off. And it's quite natural for the, the new growth and the old branches to just drop it. The tree needs sharpening up and that design putting back into place. But there's a considerable amount, um, there's a considerable amount of new growth that also needs refining. So this video is going to show you that, that process of Preparation of the tree and the needles and each individual shoot to form some really nice pads that can be placed and getting a really refined design across the entire trunk and bring the tree back up to its top quality. The pine was repotted 18 months ago, taken down from quite a large big black tub and planted into this, this current mica pot. The work was carried out in August, which is an ideal time for repotting all pines, contrary to to what people have been doing for many years, which is repotting pines in, in the spring as they might do with deciduous trees. Actually, late summer repotting is the best time for all pines, and that really is across the board. At that point in time when the, the new buds have set on the, the tips of the new growth, root growth is at a premium in all pines. The tree sat there, it's generating sugars and starches, and any disturbance to the roots, it's able to recover and repair any damage immediately. Because the needles have evolved to transpire very, very little moisture, the fact that it can be hot at the end of the summer isn't a problem when it comes to repotting pines. The tree is able to contain enough moisture and supply enough moisture up from the roots despite the disturbances. You can see more about this process in a related video that I've put out on YouTube and we'll put here. Where you can see, uh, the repotting of this particular tree. One of the things I absolutely love about this pine is the— as well as having a very, very solid base and a big sweep round of the trunk all the way up to the top, there's also some beautiful deadwood. Some of it's been created by Tearing away of the old branches and pulling out the natural grain. And as the, the gin have aged, they've cracked and really taken on a natural appearance. The word that I'm going to be featuring in this video, um, being recorded in January, can actually be carried out anytime from sometimes late July, but certainly August, all the way through the autumn, but really needs to be carried out by February. The The sign that the tree is ready to be styled or worked on is the appearance of new buds on the tips of last year's growth. When you've got those buds there, it signifies that the tree can be repotted and you can start plucking needles and wiring. And also importantly, the branches have finished swelling for the year. Um, on the back of new growth that's appeared. My first task ahead of actually wiring and styling the tree is going to be preparing all the branches. So the tree's just been allowed basically free growth over the past 2 or 3 years. And I'm going to work through every single branch and make sure that every single junction just divides into 2. Where there's a 3 or a shoot growing upwards, I'm going to remove it. You want every single junction to divide into 2. And that's the point where I can start to build up flatter pads using some wire. Now, if we look at the shoots, we've got last year's growth, which is here, and then the previous year's shoots. Now, I'm going to be pulling these off. To create a, a cleaner profile on each of the, the individual branches. This allows us to, to wire right up to the tips, and it gives it a cleaner appearance. It also promotes the possibility of some back budding along this section where I plug some, some needles. This loss of some foliage on the tree will also motivate the roots and the tree as a whole. In spring, when the sap rises, it's going to have less foliage, and there'll be a— the foliage and the roots will be out of balance with each other, and the tree will try to find more budding points. What you would really hope is that each tip will have more than one bud. So you want each tip next year to divide into 2 to increase ramification. Now I've been using the Danubacteria on this, this tree for 3 or 4 years now, and unfortunately it means that the growth each spring, the candles that extend Are of the same length. They're very, very balanced between the, the lowest weaker branches and those up in the crown. So over the past couple of hours, I've, uh, been slowly pulling away at the old needles, and you can start to see the branch structure a lot more clearly, and you can start to see where it'll be much easier to apply wire and then start to lay out the branches. Show exactly which needles I'm plucking again with another example up here in the crown of the tree. So we've got the oldest needles which are closer to the beginning of the trunk— at the beginning of the branch, sorry. And they're the oldest needles. The newest needles are out on the tips. These ones are essential for pulling sap along the branch out to the tips, and these, these needles need to be absolutely protected. The inner needles, their removal may prompt some back budding, but it also makes the the branch is much easier to wire. Now you need to leave a certain number of needles at each tip. The more needles you leave, the, uh, stronger each individual shoot or tip will remain. However, they look tidier by coming down to quite a Um, a small number of needles. I would say always err on the side of caution. If you've got a weak branch, leave more needles on. But typically, uh, half a dozen clusters of needles or pairs of needles. Scots pine will have 2 needles per cluster. So that will leave you around a dozen needles on each tip, and that should be sufficient to keep the, the strength of each shoot and the tree overall. Now if we look here again, there's a junction with 3 shoots, and we want every junction to divide into 2. You want them to bifurcate. So I'm going to remove this upper shoot, and it's important, though we will lose some ramification, it's utmost importance to make sure that everything bifurcates all the time. Otherwise, it can lead to abnormal density in the branch or that area where you've left a 3 or even a 4. This, this branch network, it is now ready to have wire applied in the next day or two as I'm styling the tree, and that should be fairly straightforward, and then it can be laid out. Finally, after around 4 hours work, the entire tree has been detail pruned, all junctions reduced to 2 so they bifurcate. And then all but the, the newest needles have been removed. This allows a considerable amount of light into the center of the tree and ensures that any inner buds will receive light next year and they won't weaken and die off. My next task is going to be to wire the tree, get as much wire on as possible. Some of the, the primary and the secondary branches are set really nicely, and I won't bother with those. But certainly I'll need to put wire out to the tips of everything, make sure they're really set in place. And I think for this tree, it may be around the last time that I'll need 100% wiring, but Back budding and these interior branches aren't— isn't really necessary. It's very difficult to accomplish, and when it happens, it's the signs of a very vigorous tree, but it's not necessary. I'm going to be laying out these branches so this will become a, a pad, and then above this foliage network will sit above it. Making a hole. If I start getting an isolated bud here or here, they actually just become complicated and complex, and you can't see the, the overall design as clearly. They're not necessary, and people become obsessive about choosing bad budding when they really don't need to on pines. Now I'm using copper wire to, to wire the tree. This is mainly because the, the wire will be on the tree for 2, possibly even 3 years, and the copper will blend into the background and won't be as prominent as anodized aluminium wire. This copper wire from— this is from Abuki in Poland. It's superb, it's very easy to, to use, won't tear the bark, and I strongly recommend using a good quality copper wire rather than some of the cheaper brands that are available. That will cause damage to your tree. Now the branches are wired out to near the tips, but the actual tips containing the buds, it's always a good idea to use a very, very fine Uh, gauge wire, and that's something I'll show you in a moment. Now, this Scots pine has very small needles already, and the needle clusters are very sort of well behaved. Nice short straight needles, all generally growing in the right direction. So I'm going to use a small gauge wire, and this is 0.5. Come to the end of the branch and just lift using the wire itself, and you should get a nice gradual lifting of the shoot as well. You want that, that finest, youngest growth just reaching up towards the sunlight. And you get a really nice natural appearance. And if I lift the, the branches that are, uh, growing above this first branch, this lowest branch, you can start to see how the buildup of the, the pads begin. This one will need some wire, but The branches above would start to sit in and behind over these bare areas, but don't be scared of having bare areas and bare branches on a pine. They show age. A juvenile pine will have lots of little shoots on the primaries much closer to the trunk. An old pine will have these old wizened branches that twist and move. With such a huge number of branches to apply wire to and prepare the tree ready for styling, I've been very lucky to be joined by 2 apprentices, Sean Stulp and Toby Wilson, who spent the, the day here just literally banging wire onto the branches. We're not really worried about the, the primary branches and the heavy secondary branches. As they're already set, but everything else needs a new layer of copper wire so I can then lay out the foliage precisely as I want afterwards. My thanks go to Toby and Sean. We got, uh, around 14 hours, man-hours, of wire onto the tree, um, into just one short day. So here's the, the Scots pine after all the work from the 3 of us, uh, yesterday getting the wire onto these lighter branches and certainly out on the newest growth. And this is going to allow me complete control over every single shoot throughout the tree, precisely where it's, it's placed or laid out, as this process is known. And this is where the really sort of creative part of bonsai comes into play, where I can change the shape and the manner of the tree, the, the visual flow of the foliage, which for me is coming out towards the left towards me. The trunk takes it right out in this direction, and therefore I'm going to have a flow of of foliage coming further out here and being much shorter on the right-hand side. Now, a lot of the branches have been kind of roughly placed as we're applying wire. It actually makes life easier to, to get wire over the next layer of branches as you, you work your way up. So there's already a feeling of how the, the finished tree will look. But it can be refined much, much more with a few more hours work. One thing that I will say is ensuring that, for me, building the crown— the crown is something that's almost a deciduous apex, what would be described as a deciduous apex these days, where there's a series of lifting shoots at the top. And the dropping branches need to drop down and then back up. You want the, the youngest juvenile, most vigorous parts of each branch to be lifting up slightly as you'll get in nature. You can see how the, the pads are being built up from the side, but if I take a look in from above, I'm distributing each of these tips so each one has its, uh, its own space. And they spread really quite wide. It's just they're very, very shallow in depth. Finally, laying out of all the branches is complete. This has been a relatively short period, or part of the overall styling process, actually just Placing and positioning each of the tips. Work is always— the hardest part of the work is always cleaning off the old needles, pruning, and applying the wire. And there's always the pleasurable bit where you get to, to lay out the branch structure itself. There's a few places where I can see tufts of growth coming out of the silhouette, but I'm relatively happy. I have the highest point of the crown relatively close to the base, but then it's a very, very powerful base that can carry a crown that's slightly off-center. The left-hand side of the foliage mass is quite steeply dropping. Down to the first branch. This indicates that the, the main source of light is on the left-hand side and the tree is growing towards the left, or the movement is towards the left. The right-hand side, the silhouette is, um, drops very, very slowly and shallowly, and that's where those branches would in theory, only be getting light that comes over the top of the canopy. So those branches are growing up slightly towards the light, and they don't have that. Care this year is going to be exactly as I've done in the past 3 or 4 years, which is no fertilizer, Possibly a gentle seaweed fertilizer in March, April, just to encourage as much back budding as possible. But generally no fertilizer all the way through from the the buds extending into candles and the candles extending into new growth. Once I get the the new buds at the tips of each shoots— new shoots, I should say— at the end of the growing season in August, then I'm going to feed very, very hard. And by this withdrawal of fertilizer, I ensure that the, the needle length stays nice and small. And then when we get to August, the heavy fertilizing should hopefully Motivate the tree to produce as many buds as possible. And the ideal is that I have 2 buds per tip. So each— so next year, 2025, each shoot will divide into 2, doubling the amount of ramification I have. I hope you enjoyed watching this process and get a bit more of a feel of approaching, um, A large pine styling, one that's taken probably around 20 hours despite the tree having been styled 3 or 4 times already in the past decade.