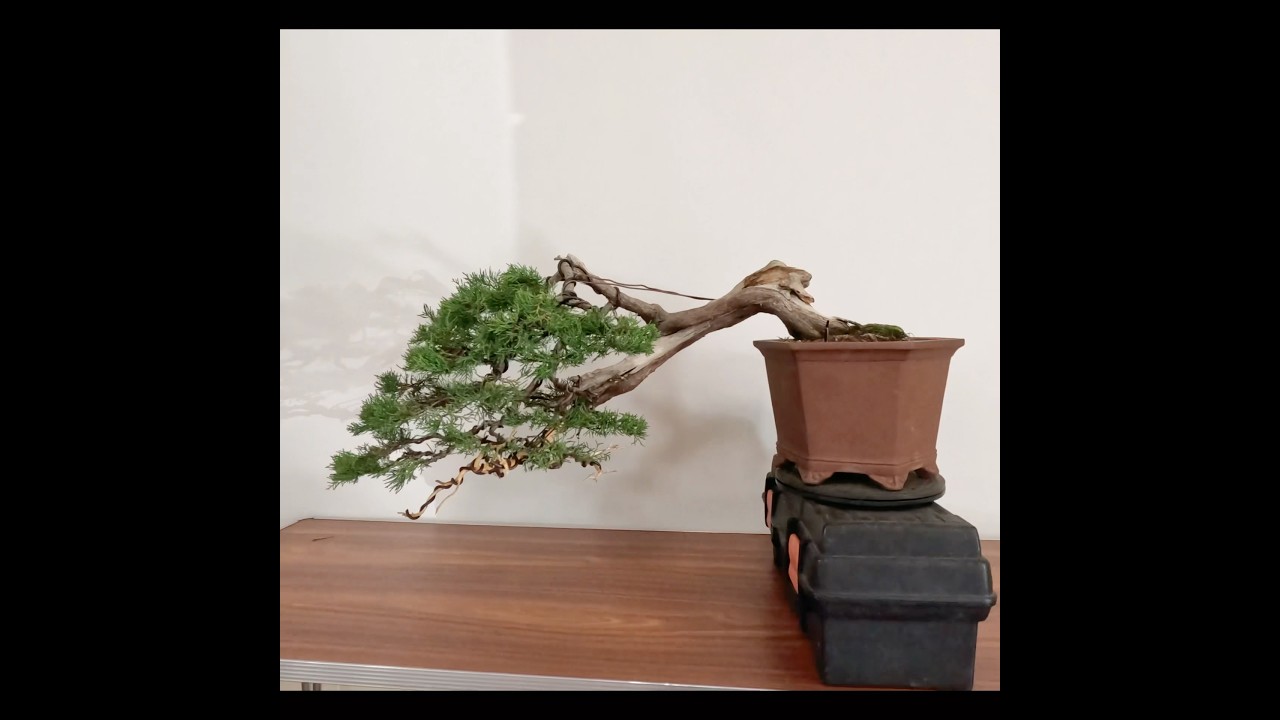
In this tutorial Harry Harrington works on a European larch (Larix decidua) bonsai that arrived with a poorly balanced design. He first evaluates the tree’s trunk proportion, noting an overly tall, skinny trunk and an off‑center apex. He proposes reducing the overall height to achieve a more powerful trunk‑to‑height ratio and re‑establishes a new trunk line by pruning back the upper branches. Harrington explains the two distinct growth types on larch – flowering spurs that only produce a rosette of leaves and juvenile vegetative shoots that can extend in future seasons – and stresses the need to retain vegetative shoots on each branch. He then details branch pruning to create taper, encourage bifurcation, and position branches for a left‑leaning style, while noting that heavy winter pruning does not weaken the tree because stored energy resides in the roots and trunk. The next phase involves creating natural‑looking deadwood (jin) by stripping bark and cambium with a draw knife, trunk splitter, and pliers, emphasizing randomness to avoid artificial appearance. Harrington plans to let the wood dry and later carve additional detail. Finally, he applies coiled wire to set the branches, achieving a design where the crown sits above the base, branches flow leftward, and a rule‑breaking internal character branch is retained for overall visual balance. The video ends with a brief reflection on the styling process.
Chapters
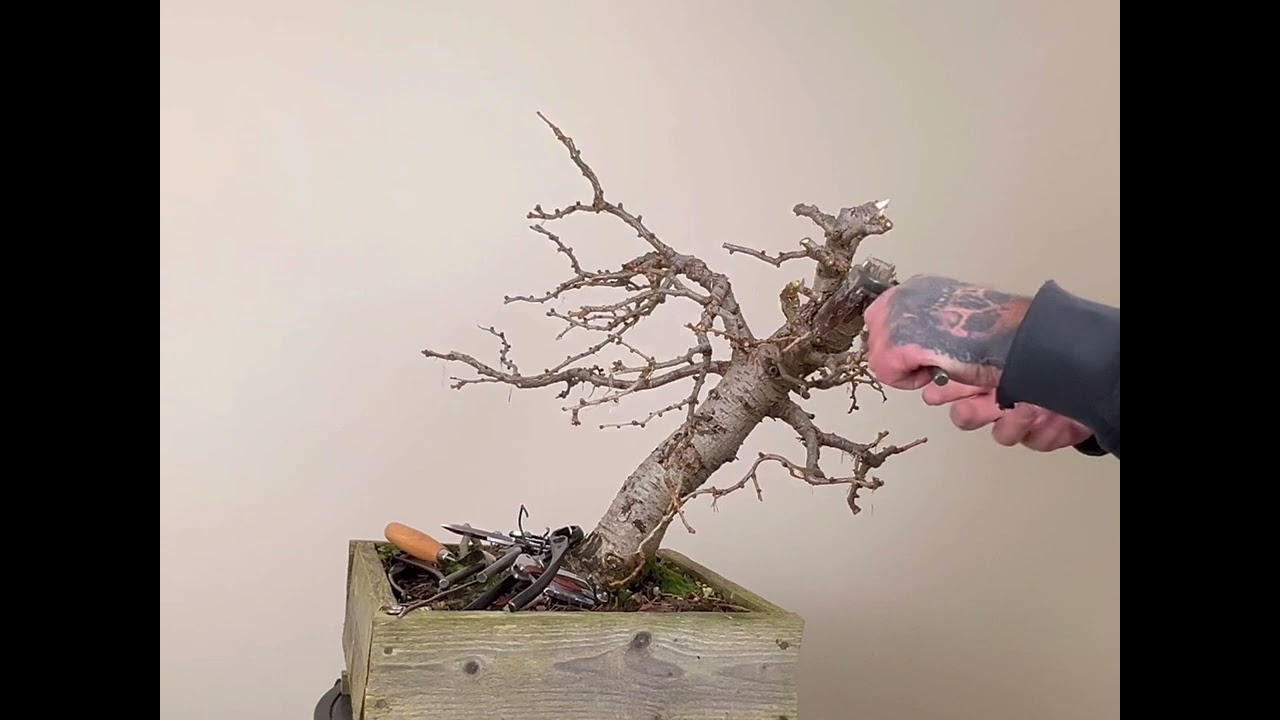
So hello, um, today I'm going to be working on this larch, uh, Larix decidua. It's a European larch. You can tell that by the kind of, the kind of sandy brown new growth as opposed to the reddish growth of a Japanese larch. And, um, it's a commission that's come to me, and I think a very good example of approaching fairly raw material and really stamping a, a good design on it. Now, at the moment, uh, the tree's in a training box. It feels that the current design that's been put in Feels slightly awkward, and a lot of that is due to the, the current apex being really quite off-center from the, the base of the tree. Now, for a slanting style like that, the ideal would be that there's branches that come way out here To kind of visually balance the, the tree and show why it's not just simply falling over. There's not particularly a strong enough base or root network on top that would show that the tree could lean that far and be able to carry its own weight. Now, with most bonsai design, the absolute ideal is, is whatever convoluted turns that the trunk might take to the top, having the base— the, the apex of the tree above the base really does make a much more settled image, unless you can then compensate with long branches. The other thing that's kind of going wrong with this tree at the moment as it is is simply the, the trunk girth, its diameter in comparison to its height. Now, I haven't actually measured this, but I would imagine this is around— that the overall height will be around 13, 14 times the width of the base, and that makes the trunk look relatively young. And the trestle, the tree less powerful. If I was to reduce the height of the tree down to somewhere like here, in proportion to what would be the new height of the tree, this trunk would actually look quite powerful. And I think that that's something that you really need to start exploring if your trees look like the if the trunks. Look rather skinny on your bonsai, try to look at reducing their height so that the trunk diameter is in proportion to the overall height of your design. So important is this, uh, need for a good, a powerful, um, trunk diameter to height design in bonsai. I'm literally going to remove all the upper branches and bring the trunk line down to what's a relatively thick, uh, branch here. And this will become the new trunk line. And then you can start approaching which branches to keep, which branches to wire, and also how to address what will then be effectively deadwood above that point. Now I am pruning the, the branches back, so there's a possibility of creating jin up here. And rather than just leaving a, a simple stub, leaving some tapers, you can actually have tapering jin. This is far more effective. So that's a basic pruning back of the, the upper parts of the, the tree, and I'm left with a really nice branching network to build a branch structure. Strictly speaking, this network of branches is slightly higher than the new trunk line, but I'm going to keep them so I have the possibilities as I'm styling to keep some branches coming out on this level above here. One thing that's vitally important to understand with Larix or larch Is there are 2 distinctly different types of growth. You have— if I can come in here— flowering spurs, which will have no new wood on them. They're just on this, this, uh, grayer colored wood only, and then we'll open a rosette of leaves each year. And that rosetta leaves will sit there and they will function manufacturing starches and sugars, but they won't extend. The second type of growth you have are the juvenile vegetative growth spurs. Now this branch is a good example where you have this, this younger fawn-colored growth from last year. There's some there. They're the points where the tree will extend out, will open a rosette of leaves in the spring, and then will grow again. Now, it's vital that you don't remove all of these shoots, these juvenile shoots, off a branch, leaving yourself only flowering rosettes, because then the branch is set. It won't change or develop in the future. So try to leave at least a couple of vegetative shoots on every branch so you can continue to develop. So we're now going to start branch pruning. Um, the, the branches, if possible, particularly on the right-hand side, need to be brought in much closer to the trunk. The left-hand side, which will be in the direction of movement, of the trunk can be longer and they can flow out. But I also want to prune the branches so that there's taper, um, in the actual wood. So a long section like this that's grown all in one season has very, very little taper. If I cut to here, then that starts to introduce some taper. If I cut to here, I'll also ensure that that junction bifurcates, it divides into 2 instead of there being 3 or more shoots. And that's going to be one of the principles I'm going to, to use as I'm pruning, also ensuring that I do have these vegetative shoots that can extend in the future. The heavy reduction of branches at the moment in, in January doesn't particularly weaken the tree. The strength of the tree during the winter is stored in the root system. And the trunk. So we can carry out this major reduction in old budding points and branches now, and then when the sap does rise in the spring, it's going to have less budding points to, to swell new buds in anticipation of the summer growth. This will mean that the tree is much more likely to pop new buds to back bud. And there is the possibility that some of these flowering spurs that have done nothing but open a single rosette of leaves each year, they may become vegetative as well, which is always a bonus. So for the next stage of this styling, I'm going to start creating the deadwood, all of these network of branches are going to be killed off by removing the bark and the cambium layer underneath and trying to create the image of a tree that was once taller and has had some kind of trauma, whether it's been struck by lightning or has simply been cracked in a heavy storm. There's no point in trying to hide the fact that the tree was once taller. There's too much um, wood here, and the wounds will be far too large to heal over and create a natural finish. So I'm going to just try and make the deadwood look more natural and less artificial, not man-made. Now I've got a draw knife, which are fantastic for pulling bark and cambium off. Live branches. I've got a trunk splitter, um, although knob cutters can also be used for just breaking the wood. And then of course some pliers, just peeling the wood back and creating some taper as though the wood has always been well tapered. So So one of the most important elements when you're creating deadwood is to be— try to be quite random. Don't make perfect collars between the, the, the live bark and what is the new deadwood. Um, in nature, really good deadwood is entirely random. It's a dieback, it's a death of a limb, and it's not precise. And this is what we need to replicate in bonsai to make it look natural and not man-made. Because the wood on this tree is relatively young and I've just reduced live branches, which is still very, very soft and sappy, there's not much more I can do in terms of creating very refined deadwood. And because I've got this tree for the entire growing season, I'm going to leave the reduction pretty much as it is now, let the wood dry out over the next few months, and then I can go back in there and machine carve some, some holes to create a little more drama, a little more excitement, and remove more of the man-made marks that I've just created. So the next stage of this, uh, styling is to start applying wire to all of the branches so then I can manipulate them and position them precisely where I want to. So after applying all the coiled wire around the branches, I've been able to lay out the branches exactly how I'd like to see them for this bonsai design. Uh, the movement in the tree is very strongly out towards the left. That brings the crown directly above the base, and we have a flow of branches tipping down towards the light, and really quite short branches and lack of branches on the right-hand side. This all marries up and works together and is very pleasing on the eye, and it's also something that would naturally occur with a tree If it was full size in nature. There are problems with the, uh, design or the bonsai. The, the main character branch actually comes from the inside of this turn, um, something that's a bit of a no-no in bonsai normally. But to remove this branch right now would lack— the tree would then lack any branches down here, any foliage down here, and the tree would be lesser without it. So sometimes you need to disobey the rules simply because removal of a branch that is otherwise breaking a rule would lead to a lesser tree. Now it may be in the future future stylings. Once this network here has filled out, and possibly those dropping branches coming in off the— of these, uh, higher primaries and secondaries, this can then go. But it's not something that you need to worry about too much if there's a fault on the tree. I hope you enjoyed this, uh, quick— relatively quick styling session. And, um, I will see you soon.