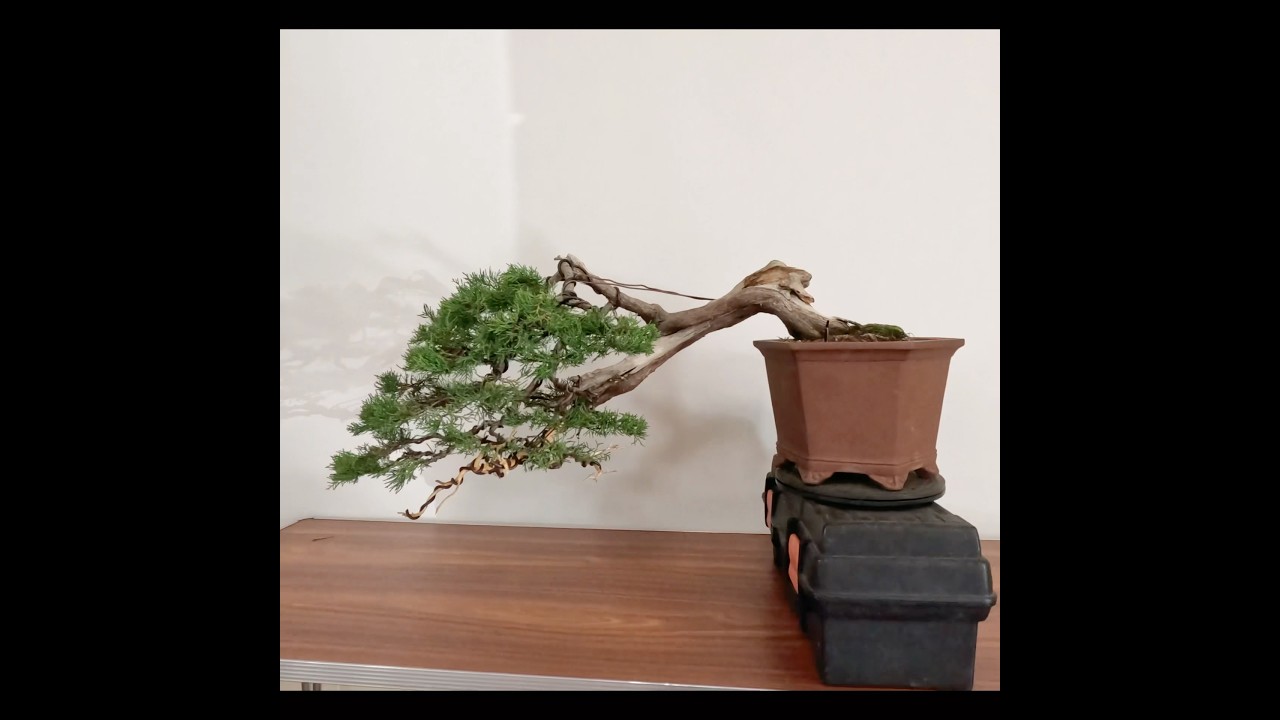
In this final installment of a commissioned larch bonsai project, Harry Harrington walks viewers through the August finishing work. He assesses the tree’s health after the growing season, carefully removes copper wire that has begun to cut into branches while leaving wire in place where the branch has not yet set, and explains the risks of premature wire removal. He revisits the deadwood (shari) he created in January by stripping fibers to expose natural grain, noting that the shari has fully healed. To improve the tree’s form, he reduces excess weight and refines the taper of the trunk. Harry then demonstrates carving the shari with a high‑speed Dremel, using the tool to hollow out man‑made flats and blacken the wood, creating a visual foil that highlights the natural grain. Throughout, he emphasizes careful, incremental work to preserve the tree’s shape and aesthetic appeal.
Chapters
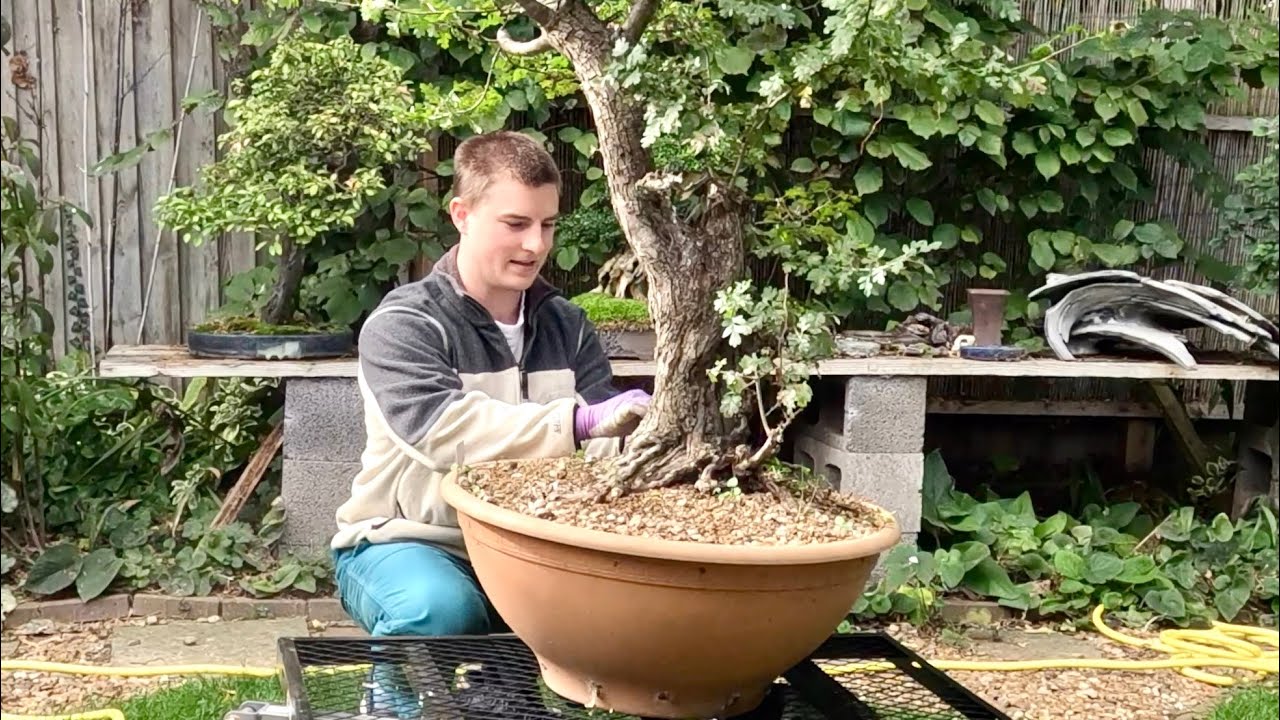
Hi, my name is Harry Harrington and welcome to my garden where I'm recording the 3rd and final part of this larch project, which is actually a commission for a customer that I received in January. And this is when I carried out my initial styling, as you'll have seen in the first part. And the culmination really, now we're in August, is Working over the tree, making sure everything's basically neat and tidy, making sure there's no wire cutting in, and checking on the health of the tree in general. By the end of August on larch, on most, most deciduous trees in the garden in the UK, things have stopped growing. So you're kind of— you can establish a full stop to the season. Season and the appearance of the tree itself. One thing I do need to do though is to finish off the work on the deadwood. The deadwood was created by hand back in January where I stripped away the top of the trunk and tried to pull some fibers just to expose some natural grain lines.
There's still quite a lot of weight and a lack of taper going on in this area here, and I want to take out some of the heaviness with the wood and create that improved taper.
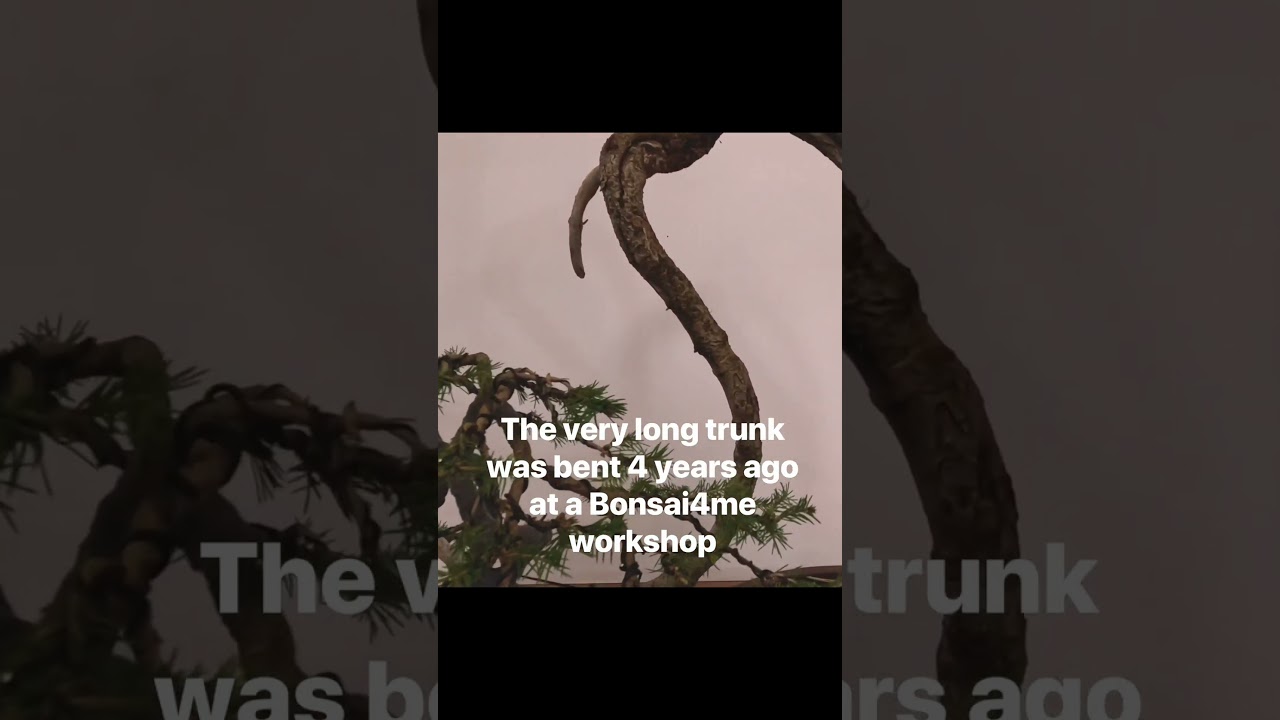
I won't be lime sulfur in the wood. Um, it's weathered down nicely during the summer months and the, the sun and the heat and water falling on the wood, and it's slowly drying out and taking on a nice pink Now something I wanted to point out is I showed myself putting quite a lot of this copper wire on the initial structure, the initial design back in January, and I've been slowly taking the wire off over the past 8 months, but really carefully. I've only been taking the wire off Where it's starting to cut in, and other areas where the wire hasn't cut in, it means the branch hasn't definitely set, and it's better, it's safer to leave the, the wire in position. I have starved trees for people in the past who've caught one coil of wire cutting into a branch, and they've panicked and they removed all the wire from the entire tree. And the rest of the tree, it just hasn't been ready. And the entire bit, the entire bonsai loses its shape. Branches start peeing up everywhere. If we get in a little closer to the deadwood that was created and the shari back in January, you can see how well the larch will heal. Calico, as I was picking it up a bit better. And this shari that I created down the woods in January is completely healed over. So I am going to peel some of this back and see if we can find some, some new wood underneath and see if we can make the tree a little bit more interesting. But you can see where there's There's still some tool marks that will need to be carved out, machine carved out. So I won't go into great depth with regards carving. There's a few carving videos on YouTube, but the way of approaching a piece like this is to take away and hollow out the flats, man-made areas. And by carving out that deadwood and allowing the, the bit in the Dremel to literally scorch and blacken the wood, you create a visual foil for where you pulled fibers and just reached and created some natural grain. So I'm using a variety of pieces in the Dremel here, running at very, very high speed. You can see the smoke that it creates and the blackening of the interior, and it creates a pleasing effect.
Having finished creating all the hollows, I then take an ordinary wire brush mounted to a Dremel And just smooth out any remaining angular lines, man-made tool marks, and just brush down the wood. Occasionally you'll pull out some grain which is advantageous, and it's just clearing up those burrs and little pieces of wood to finish off and tidy up the deadwood. With the carving complete and a better appearance for the deadwood, it's time to reflect on the overall styling of this tree over just a very short 8 months. It's, um, it's always very useful to learn by watching styling activities on raw material, but it tends to be the, uh, the next The following year that gets overlooked, particularly in YouTube videos. And it's nice to be able to show how an initial styling can then set up the tree, and you can continue the development and really take it up another level in the months after original styling. I hope you've enjoyed this film, and I will see you soon.