A guide to wiring and bending a pine bonsai using 2 mm aluminium wire and a double-wrap technique on primary branches. The instructor demonstrates how to reposition branches and bend the trunk forward while monitoring the cambium layer to avoid splits, emphasizing incremental pressure and stopping at any sign of cracks.
Yes, I can.
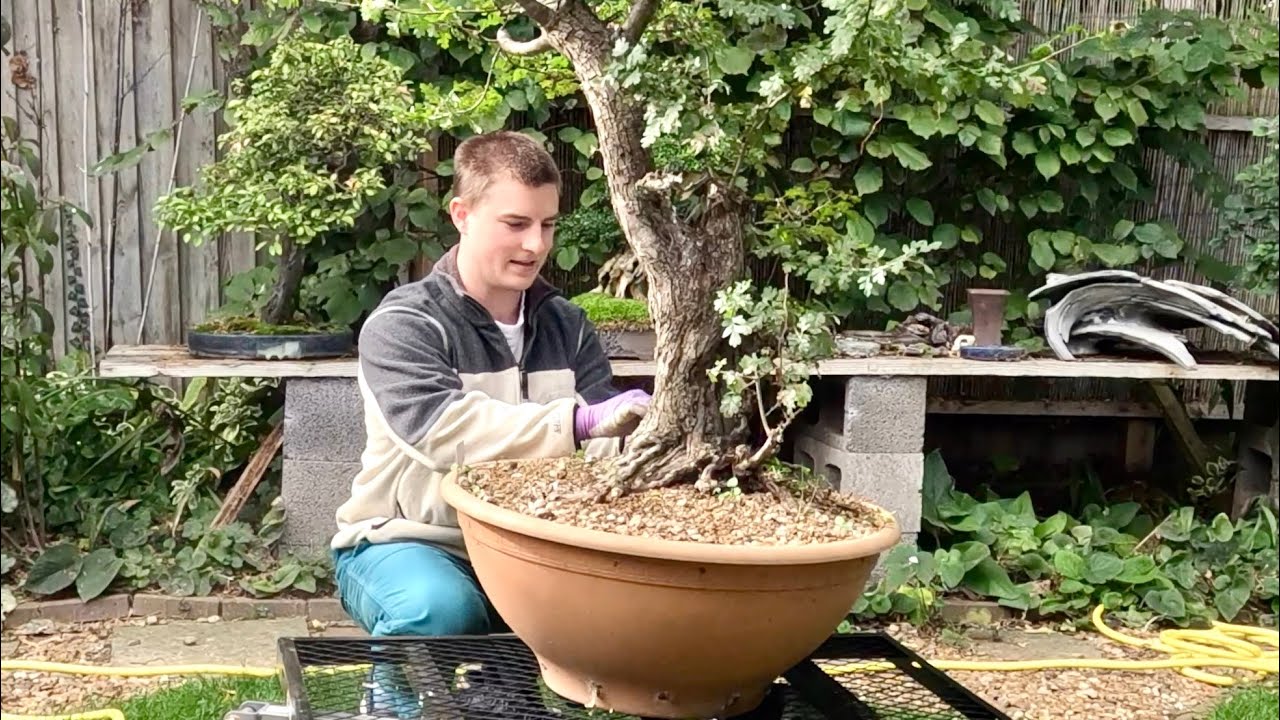
While I'm adding this, uh, this wire, I would like just, uh, like a few words, say a few words on my reason for using aluminium wire rather than copper wire. Something that, um, I do partially out of habit, but it's also most people come to me for one-to-ones and lessons are used to using aluminium wire, which is easier to apply and far easier to apply neatly, whereas copper wire is an acquired skill, particularly to apply neatly. Over the years, I haven't found that using aluminium wire is disadvantageous other than The black of the aluminium is not as well camouflaged as copper wire, as the copper wire starts to colour up over time. But on the majority of the trees that I'm working on, which are the deciduous, it can also be essential to use aluminium wire, which is far less likely to damage the, this relatively soft bark of a deciduous tree. What is essential when you're applying your wire, when you're coiling, is to make sure you never cross your wires. It's something that looks unattractive and is never necessary. Study the wire that you've put on already and just follow the path of the coils, whether they're clockwise or anti-clockwise. For this next length of wire that I'm going to apply to this primary branch, there's an interesting technique I'd like to show you. I can see with this primary branch that I will need a certain amount of strength on with 2 wraps of wire that can then lead and be divided into these 2 thinner secondary branches. Now, rather than apply 2 individual wraps of wire, you can apply a double wrap simultaneously. So take your gauge wire. Gauge wire. In this case, it's a 2mm gauge. Give it a gentle squeeze and apply the wire as you would a single strand. Anchor it around the trunk. Double wrap it around your primary. Now this is particularly useful where you have a, a much longer primary and you can run your double strands down the length of the branch before then separating off as the branch bifurcates. This is a useful technique where you can avoid putting a heavy gauge wire down to the first section after the bifurcation and then have to add in a thinner gauge for much considerably thinner secondary branches. So I have now applied the wire to the trunk and to the primary branches, and as indicated before, I've applied the wire to the primary branches simply because it's easier to apply wire now than potentially when I've vent the trunk, and the movement in the trunk makes applying wire to primary branches far more difficult. Now I want to bend the trunk forwards and towards the left in the direction of movement, and I need to move the primary branches down and out of the way first to give me more room to bend the trunk. So I'm going to start placing the primary branches in rough positions. At the moment, this lowest branch has a dropping, a weak movement, and I would prefer to drop it quite acutely from the trunk and to bend it as though the branch has been struggling against the forces of Gravity, and it's growing up towards the light. It's a far more natural branch line to put into place. I'm securing the wire at the base of the branch. This is the danger point in terms of a bend like this where the branch can come away from the trunk. So I have my finger placed here almost as a fulcrum. And I can feel what's going on as I bend downwards, and I'm making sure that that bend is directly from the trunk straight downwards. Keep watching the cambium layer and the bark, and watch out for any splits that start to appear. When— if you have a split appearing, you need to stop bending in that position. Otherwise, there's the potential of damaging the cambium layer to the point where you lose the branch. The branch is now dropping considerably, and I have a gentle rise in the primary. I'm then going to put my finger behind the branch and use it as a fulcrum and gently squeeze to put some movement towards the back, and then use my thumb as a fulcrum to move the branch back forwards. And this gives a pleasing sweep and some movement in the branch as a whole and removes any straight lines. And I'm going to work my way over all of the primary branches up to the very top, primarily to move them out of the way so I can then move the trunk. These are temporary positions, and there will need to be some mild adjustment— adjustments once I've reduced the heights, the visual height of the trunk itself after putting the bend in. So again, I'm securing the base of the branch against the trunk and squeezing down, ready to stop the bend if there's any signs of cracks or damage in the wood. Successful manipulation of the primary branches as you're putting those bends in can also include placing the foliage in appropriate areas Around the trunk. We can bend this growth, for instance, towards the right, which leaves us foliage in the future for laying out pads across the entire back of the tree.
Okay.
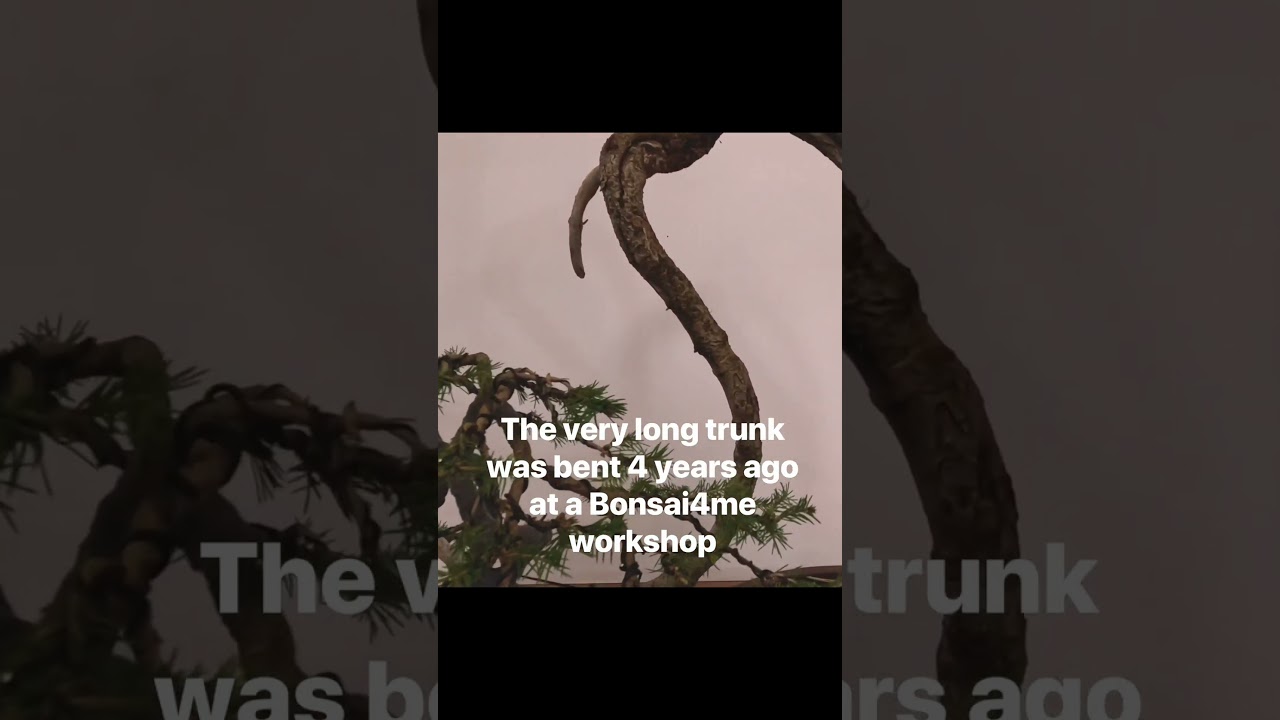
So with the primary branches now dropped as we would see them in nature, so they're dropping from their junction With the trunk downsweeping and starting to lift, we've brought the foliage down quite a considerable amount already. In the future, in working future years, we'll then bring the secondary branches even further downwards. And with extension growth that we'll have over the forthcoming years, we could, if we wanted to, Bring the lowest level of foliage as far down as here. Very much as I have described in the past with deciduous trees, sometimes particularly Yamadori, you have to use the branches that you are given with the, with the natural tree. And rather than worry about where the branches come from, it's where they end up, and that is the most important factor. Is where you place the ends of those branches. So having bent this, this example branch into position, you can now see that the, the secondary branches further back along the primary can one day be tiered out. Into multiple layers all the way down the length of the trunk. So I'm going to turn the tree slightly to the side so hopefully you can see more of this bend. Now we have a lot of holding power in terms of wire around the trunk pushing the The bend into the trunk. It's important that you aren't simply pushing with no way of stopping that push if there are any cracks. We're going to listen out for the wood cracking or any sudden movements in the trunk. If this occurs, we need to stop immediately so that we don't open up any new large cracks. That would then lead to the loss of the top of the trunk. So I'm going to put my thumbs as a fulcrum on the inside of the new bends, and I'm laying my fingers along the length of the outside of new bends, and I want to gently squeeze the trunk. I'm And I'm ready to stop if there are any cracks. And I'll just release off and see if the, the bend is going to hold into position, which it is successfully. Reposition my thumb and my fingers along the outside of the bend and squeeze again.
And relax.
Now I want to change the position of the bend slightly towards the left of the tree to indicate the, the movement more. I'm using my thumb as a fulcrum. And my fingers laid on the outside of the bend, and I'm going to squeeze towards the left slightly.
And relax.
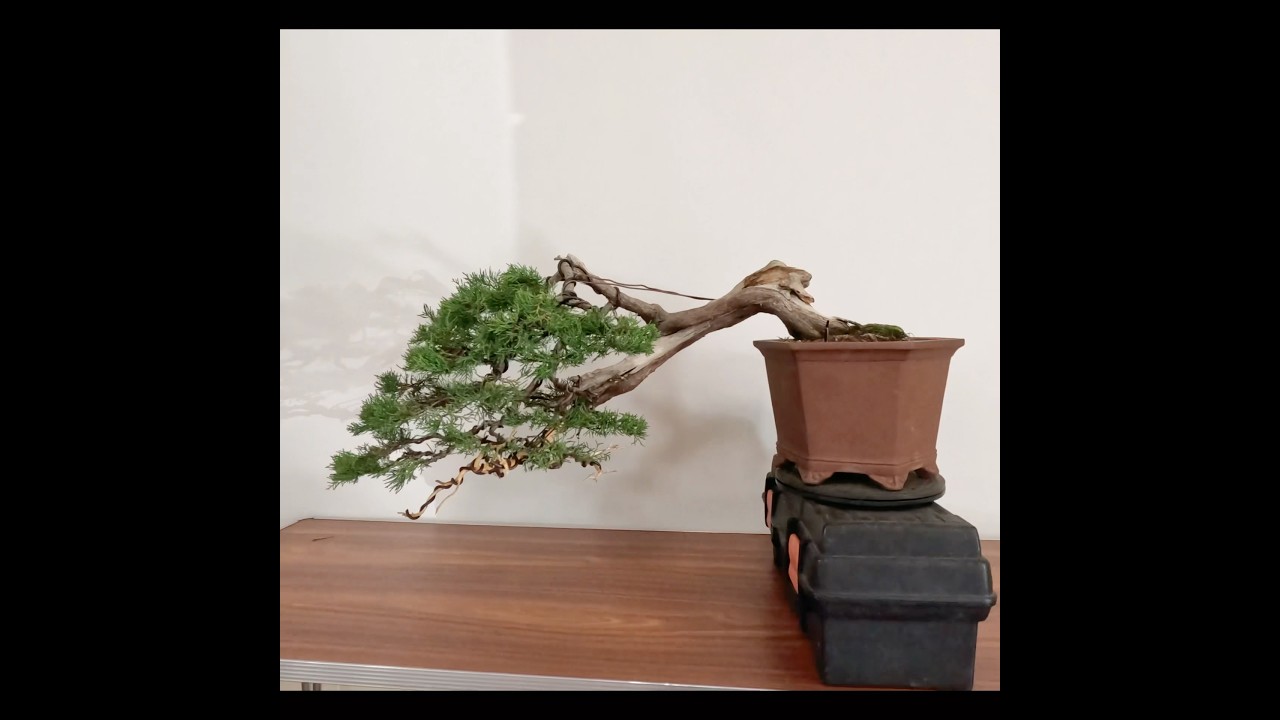
Returning the tree back to the front view. We can see how the dynamics of the primary branch positions has now changed, and I will move these 2 wide top primary branches into their new positions and see if I can create the beginnings of a new apex. We now have 2 primary branches that will be used in the future to make a relatively small crown. This is a literati-style tree, and by coiling this primary branch at the very top around, we disperse the secondaries that can be placed in the future to create a crown. So coming back to looking at the tree from the front, and we can see the effects of this, this bend at the very top of the trunk. We've reduced the overall height. We'll have a crown approximately this height, and we disperse the primary branches.