
Throw Away Your Paint Sets! You Only Need THESE 3 Colors for a Perfect Sunset 🎨
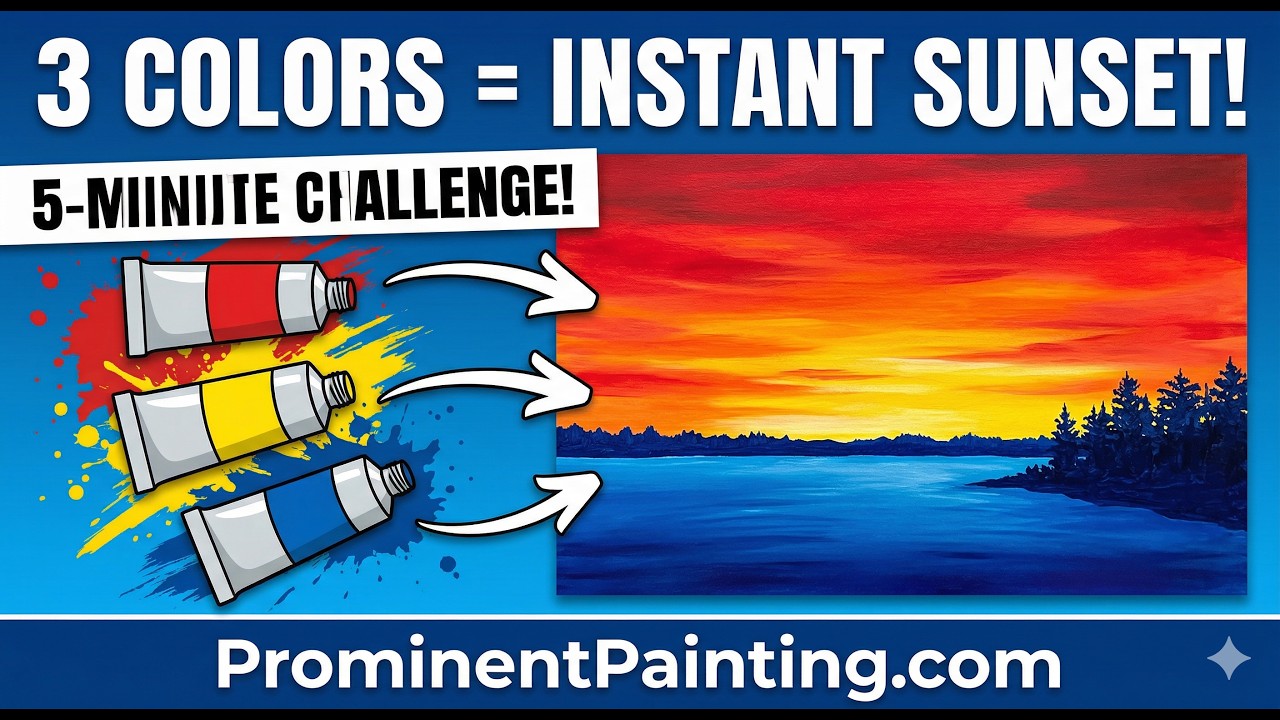
Howard Farmer shows how to paint realistic sunsets with just yellow, red, and blue acrylic paint. He pre-mixes five sky colors using specific ratios, applies them wet-on-wet with horizontal sweeps, then adds silhouetted hills and trees in purple-black. Adjusting the pigment ratios shifts the mood from calm to dramatic.
Chapters
We are going to build a realistic sunset landscape from scratch, and we are going to do it in under 5 minutes using exactly 3 primary colors.
You only need a few tools: a small canvas, a cup of water, some paper towels, a medium flat brush, and a small round brush. Keep your workspace strictly limited to 3 paint tubes: yellow, red, and blue. Do not bring any other pigments to the workstation. By forcing yourself to use only the primary colors, every hue you mix shares the same chemical DNA. This limitation ensures natural color harmony across the canvas and prevents the disconnected tones that often occur when using too many pre-mixed tubes. Step 1 is your physical setup. Position your canvas horizontally and squeeze yellow, red, and blue paints onto your palette in completely separate piles. Before mixing anything, Remember the rule: always pull microscopic amounts of dark pigment into your lighter colors, never the reverse. Dark paint overpowers light instantly.
We start by formulating our horizon color. A large base of yellow combined with just a microscopic speck of red gives us a light orange. Next, we build the mid-sky transitions. A 1:1 equal split of yellow and red creates a deep orange. Reversing that ratio to be predominantly red with just a touch of yellow yields a warm pink-orange. We calculate the upper atmosphere by introducing our third color. Red mixed with a single drop of blue makes a light purple.
For the very top of the sky, a base of pure blue with a touch of red gives us a deep purple.
Notice that none of these 5 mixtures use all 3 primary colors at once. Mixing yellow, red, and blue together simultaneously results in a flat gray. Pre-calculating these 5 distinct values on your palette allows the actual painting process to happen in under 2 minutes. Now we apply the paint.
Take your flat brush and lay down that lightest orange mixture in a 2-inch horizontal band right along the bottom edge of your canvas. Without waiting, load the deep orange and paint a second band directly above the first. Intentionally overlap the boundary of the bottom stripe while the light orange is still wet. Sweep the flat brush left to right across that overlapping boundary. Dragging the wet paint blurs the distinct layers into a smooth transition. Continue this rapid upward progression using the rest of your prepared palette. Apply the pink-orange, then the light purple, and finally terminate the gradient at the top edge with your deep purple mixture. You must maintain a steady rhythm here. This entire blending phase has to be completed before the acrylic binder begins to dry, which would lock the gradient layers in place. This rapid wet-on-wet horizontal application mimics how light scatters through the atmosphere, creating the soft transitions seen in a natural sunset.
With the sky finished, switch to your small round brush. Combine equal parts of your Pure Blue and Pure Red pigment to yield a dense opaque purple-black. Locate your horizon line. Gently tap the bristles against the canvas to form the irregular shapes of rolling hills. Build a few basic tree forms extending upward from the hills. Paint simple vertical lines for the trunks and use abstract, clustered dabs for the branches. Resist the urge to paint individual leaves or bark texture. When an object is severely backlit by a bright sky, its internal details become optically invisible, A flat, stark silhouette is the accurate way to capture this lighting. For a final atmospheric touch, apply minimal pressure with the very tip of your brush to draw a few tiny curved lines representing distant birds. If you want clouds, clean your brush completely, load a slightly lighter version of your sky pigment, and gently dab it into the upper atmosphere while the layers are still wet. These undetailed black foreground shapes are the anchor of the image. By placing stark contrast over the bright horizon, you visually push that blended gradient backward, generating an immediate illusion of depth. Step back and look at the canvas. Those 5 distinct horizontal bands have now fully merged into a single cohesive landscape. You can shift the mood of future paintings by changing your initial pigment ratios. Increasing the yellow creates a calm evening. While maximizing the red yields a more dramatic sky. To preserve the final piece, lay the canvas completely flat in a safe spot and allow it to dry for 24 hours to prevent the layers from shifting. Mastering this three-variable system establishes a repeatable process for mixing and blending that you can apply to other landscape subjects.
