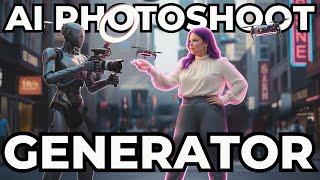
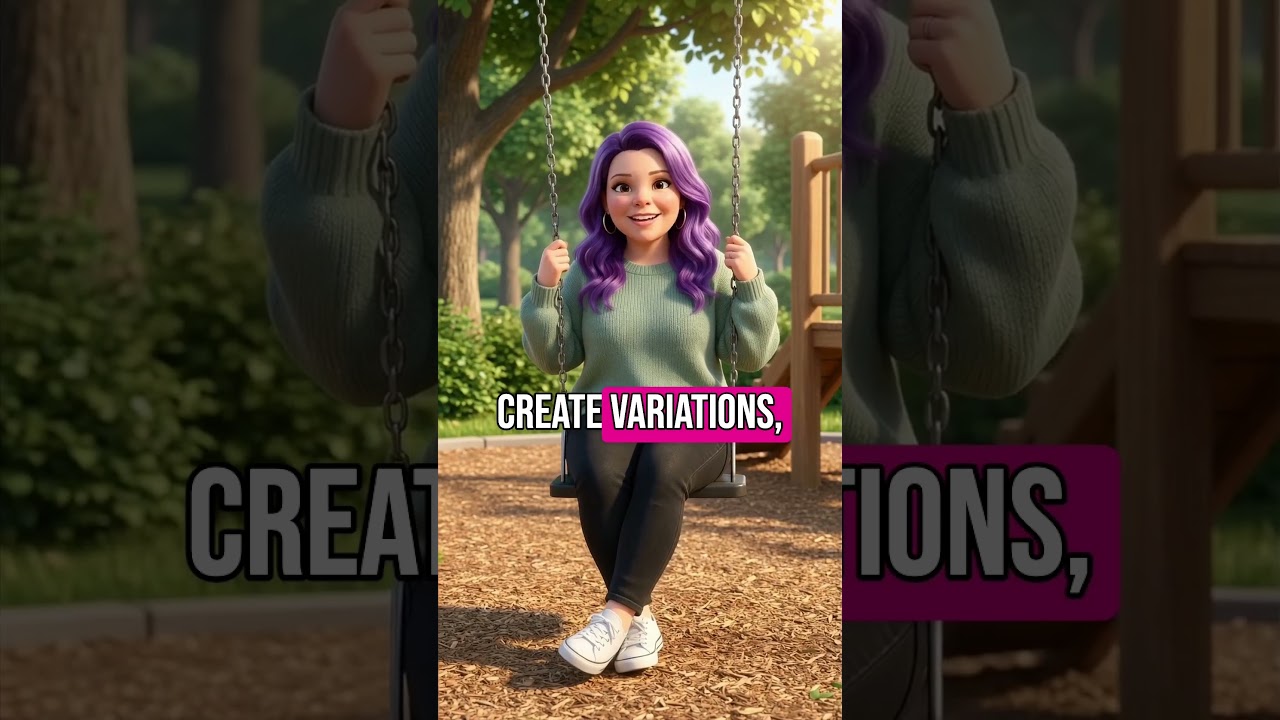
This is a step-by-step YouTube tutorial by Brittany Long (CEO/founder of Impact Driven AI) that shows how to create an AI-generated brand photo using Gemini’s Nano Banana image-editing tool (and compares results with Foul AI). The video covers planning an AI photoshoot (defining purpose, message, environment, subject pose/attire, action, text, and image style), demonstrates prompt examples and iterative refinements, and concludes with an invitation to a paid AI Photoshoot Lab course.
Questions this video answers
Help over 1 million women make money and save time with AI by 2030.
Gemini (Nano Banana) and Foul AI.
$97 (promo: use code "YouTube" to pay $67).
Chapters
In this video, I'll show you how to create your first image for your AI photo shoot. My name is Brittany Long. I'm the CEO and founder of Impact Driven AI, a global AI education company. Now, we haven't met yet. I teach practical AI education built on best practices from myself, a former award winning educator serving women all over the world. Our goal is to help over 1 million women make money and save time with AI by 2030. In this tutorial video, I'll show you how to create your first AI photoshoot image with whether you're wanting to update some photos for your website, a funnel, social media or something else. Now, today we're going to be using a tool called Gemini and within Gemini we're using a tool called Nano Banana. There's a few reasons to use this tool, one of which is that you can use it for free and create these images for free. It's also really, really easy to use once you get the hang of it. So let's get started. Here are the steps to take. First, you're going to think about the purpose. What is it that you want these images for? Do you want them for the website, funnel, social posts or something else? Once you know the purpose of the images, not only is that going to help you determine what size image you should be making, but it's also going to help you determine what kind of image. Step two is going to be communication. What do we want this image to communicate to the viewers or readers? Do we want to communicate authority? Leadability? That's going to change. The kind of prompt that we use for the image next is environment. What kind of background do we want in the photo? Then person? What do we want their face to be doing? Do we want them to be making a serious face? Smiling, smirking? What is it we want them to be doing? Next we want to think about what the attire that we want them to have. If you don't specify this, typically whatever attire is on in your reference photo and I'll show you that in a second, that's going to be the attire that it gives you. So if you don't want that, then you have to specify what kind of attire you want for the image. And then finally, action. Some of the ones that I've done in the past is somebody at a camp, they had their leg up on a rock. That'd be an example of an action. Next we want to think, do we want words on this image? Yes or no? If yes, you're going to put the words in. If no, then you don't have anything to do there. And then finally, what size and type do we want it to be? Like it's been shot on a digital camera. Like it's been shot on a film camera. Like it's been shot on a phone camera. What kind of size and type of image is this supposed to mimic? Let me show you an example. This is one I made with Nano Banana. And you can see I asked it to put words here and also behind. I also asked it to look like it was shot on film and have the woman standing on a rock while holding a pennant. First things first, we're going to go to gemini.google.com Once you're there, you'll see something that looks like this. You'll click Create Image. If you don't see Create Image, you're going to click Tools and then Create Images. Next, you're going to upload a photo of yourself. A nice photo is great. A selfie is also great. Then once you have the image, we're going to give it the prompt. Now, again, we want to think about purpose. Is this for the website funnel or social post? Let's just say this is for a social post. I'll say it's for an Instagram post. So here I wrote create an Instagram post image using this woman for the photo. This image will go on my website in the About Me section. Now, we want to know do I want authority, relatability, or both? I'm going to actually say both. For the environment, I want it to feel a little bit futuristic, but also a little bit realistic. So I'm going to add that in so actual environment, we wanted to have the person. So face, attire, action here. I said the woman should be sitting outside. So sitting is the action, but in a slightly futuristic setting. That's our environment. She should be wearing a neon holographic dress. That is the attire. And sitting on something weird or unexpected. I added that she's smiling at the camera confidently. And I also want to mention this weird or unexpected part. Typically, if I want to stop someone's scroll, I add something weird or unexpected. And this is no exception. Now I have to decide if I want words on this image because my purpose is website. I don't really want words on the image. And then finally the size and type. And so I finished this out with the image looks glitchy, like it was taken on a digital camera that's fallen on the ground too many times. There's a slight double exposure of a futuristic city in the background. All right, so we've set a size up here. We've said what we want to look like. Let's go ahead and give it a try. Right. So here is my first image. It's definitely very glitchy looking, but it does look a lot like me. I like that it has me sitting on something kind of weird. I like that there's a futuristic bit in the background. All right, now, maybe I don't want it to be glitchy and I want it to look like it's on film. So here I said the same thing. Create an Instagram post image using this one for the photo. The image will go on my website, et cetera. But I added this. The image looks like it was taken on film. There's a slight double exposure. So now if we click this, you can see there's a slight double exposure. We have the face. Now this face to me is a little bit off, so I might try again. But overall, I don't hate it. I love that there's a holographic piece. Now, to fix this, I can add a few things. I can either change it so I have the woman is size 1416. I can change out the picture. Typically, if it happens where it doesn't look exactly like I want it to look, it's because I haven't given it a good reference photo. Ideally, we want a reference photo that just has you in it and not all these other people. And so now it gave us this. You can still see there's still the double exposure there. Looks like it was taken on film. She's sitting on something interesting. It's still a little bit bigger than I am, but I like it enough that I could use it if I wanted to. Now, let me show you how different it is when I'm just using one photo, and it's a photo of me only and no one else. I'm using the same exact prompt that I used before. Let's see what we get this time. Now, if I want something that's a little bit less futuristic, here's a few just to kind of show you. So we had our futuristic, glitchy one. And then I did one that had more of a film style. So we had that. I asked for something. Oh. And then I wanted one that looked a little bit more professional and a little bit less futuristic. So I said, create Instagram posts using this woman for the photo. So you'll see that this is a photo of me by myself. This image will go on the website in the About Me section. It should communicate both authority and Relatability. Sitting outside a natural setting, wearing a flattering dress, sitting on a big rock, smiling. The image looks like it was taken by a professional photographer. The woman is a size 14 16. Flattering photo shoot. Cinematic professional photography. And there we go. If we like it, we can use it. If not, we can ask for adjustments. Now, the tool I showed you how to use today is called Nano Banana and you can find it for free in Gemini. Google.com there's one other place you can find it and that is actually my favorite place. It is called Foul AI. And the reason I like this one is because first of all, I can choose more than one image. It will generate a few different options for me and I think it looks a little bit more realistic. So I prefer to do it that way. But if you want to go the free route, Nano Banana is a great option. So here obviously I wouldn't put this part in. I would just screenshot this, but this is my very, very favorite way to do it. Again, that's using Nano Banana Edit Inside File AI. Now, if you like this, but you want to get even better results, I do show you how to do your own photo shoot from start to finish, not just one single image using both Nano Banana and File AI. Now if you like that and you want even better results both with Nano Banana and with Foul AI where you have more control over everything, then I want to invite you to the AI photoshoot lab for only $97. Normally one, you're actually going to get it for less. When you use the code YouTube at checkout, you'll get it for $67 more than half off. In less than one hour, you'll have a finished brand photo shoot that you can use for your website. Slide Decks, Summit Graphics, Bonus graphics product mockups, Instagram and YouTube, thumbnails, contact page, about page, blog post, graphics and more. The best part is that you'll have lifetime access so you can go back and watch again anytime you need a new photo shoot or even just a new image. I'll put the link in the description below. Thanks so much for watching. I'll talk to you soon.