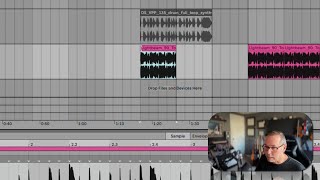
In this segment of the free Ableton Live 12 music production class, J. Anthony Allen explains how to manipulate clips using a "six corners" framework. He describes the four standard clip corners plus two additional corners on the clip header, detailing how dragging the header reveals more of the clip or extends looping, and how the corner points trigger and shape fades with adjustable control points. He emphasizes the importance of the Command‑Z undo shortcut for iterative editing. The lesson then previews additional editing tools—specifically the split and join functions—to prepare students for building and arranging a track.
Chapters
All right. I like to think of clips as having six corners. You've maybe heard me say this before, but let's go down to this clip here. So we have these four corners, and then we have two corners at the top of the header part of the clip, and they all do different things. So the header part of the clip, if I put my mouse over it, I can click and drag to pull out more of the clip. Now, this is either going to just expose more of the clip that I've hidden, or it's going to continue to loop the clip if it is set to loop. Okay, let's go back. The same thing is going to happen on the left side where if I pull back, it's going to expose more of the clip or loop it if it's set to loop. Now, the corners here are going to trigger a fade, so I can fade that way. And now I get this point in the middle where I can kind of craft that fade a little bit. And this point at the end where I can control the fade a little bit, too. Okay. Same thing on the right. I can do a big, long fade, craft that fade with this extra point and adjust it with this point on the right. And always remember, of course, command Z, undo. Command Z is going to be your best friend as we start making tracks, which we're going to do in just a few minutes. Okay. A few more editing tools. I just want to get us really comfortable throwing clips around, flipping them backwards, moving them around, chopping them up, and then we're going to dive into working on a track. So next, let's talk about split and join.