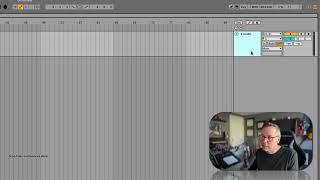
In this segment of J. Anthony Allen's Ableton Live 12 class, the instructor demonstrates how to correctly configure a single microphone for recording. He explains why a mono mic should be assigned to a single input channel (avoiding empty stereo channels), shows how to select the appropriate input channel, and interprets the tiny input level meter as a basic signal indicator. He then reviews routing the track's output to the main mix, emphasizing that most tracks should output to "Main" unless using groups. A practical tip follows: rename the track before recording (using Cmd+R) so that resulting clips inherit meaningful names (e.g., "vox") instead of generic "Audio 1" labels, preventing confusion when multiple recordings are made. Finally, he introduces monitor modes, noting they can be confusing and promising a dedicated future video to explore them safely.
Chapters
If I record myself right now, stereo, what it's going to do is it's going to record this mic on channel one and then channel two is just going to be empty. So you're only going to hear my voice on one side. And it's kind of annoying to deal with that. So don't do that. One microphone means just one channel. So I could use channel one or two. We can see here that my microphone. This microphone is coming in on channel one. So let's select channel one. Okay, now we see it coming in there. Now that little level meter is just impossible to read, right? It's just so tiny. There's nothing there. Think of that as just kind of like a signal indicator just to showing you that like. Yes, there is signal coming into that. Okay, so my input is set up listening to the right input of my interface and it is this microphone. Now let's look at our outputs at the bottom here. Main. This track I want to come out main. That's going to send it to my main mix down here. Okay, and that's great. We'll leave that just how it is. Almost always you want your output to say main. Unless you're doing something with groups or something like that. We'll talk about that later. Okay, now before I record Pro Tip, rename your track. So I'm going to just click on it and press command R. That's going to say rename. And I'm going to rename it what it is. And the reason for that is that once I record it, it's going to make a clip and it's going to name that clip like vox. If I set it up right, if I don't rename this track, it's going to record that clip and it's going to call it Audio one. And I'm going to record another thing, it's going to call it audio 1 dash 1. And then it just gets confusing. If I rename the track first, it's going to more accurately name the clip. Okay, so next thing to deal with is monitor modes. This can be a little bit of a head scratcher and I think we talked about monitor modes in the first class, but let's devote a whole video to it here because it can be kind of a dangerous thing. So let's go a new video and work through that.