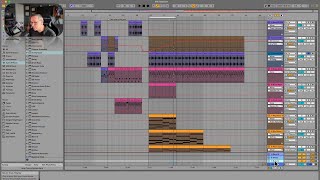
In this tutorial segment, J. Anthony Allen walks through Ableton Live’s signal flow and demonstrates how routing can be altered using return tracks and sends. He explains that an audio track’s signal passes through its effects, volume fader, and then to the master output. By inserting return tracks (via Create → Insert Return Track), each track gains a new send knob (displayed as a negative infinity symbol). Turning up a send routes a portion of the track’s signal to the selected return track while the rest continues to the master. Allen shows how to add multiple return tracks, adjust send levels, and use a return track with a reverb effect to apply the same reverb to several tracks efficiently, avoiding the need to duplicate reverb settings on each individual track. He demonstrates soloing the return track to hear only the reverberated signal, illustrating practical workflow benefits of shared effects.
Chapters
Routing. Okay, so let's take a step back to where we talked about the signal flow of live. Let's use this track as an example. Okay. Okay, so this is an audio track. So this track is going to play and then it's going to go through any effects down here, and then our volume here, and then it's sent to our main track or our master. Now we can kind of interrupt that flow with routing. Okay, so these little negative infinity things. So let's talk about how this works. We have by default, set up into a default session. We have two return tracks. Those are these down here. Okay. We can make as many of these as we want. We just have to go to create and insert return track. Okay, now I have three. Our new one is called Creturn. Now, you'll notice when I made a third one, a third negative infinity popped up on all tracks. Okay. If I make another one insert return track, a fourth one pops up on all tracks and a fourth one down here. Okay, So I can send this signal down to any of these if I want by just turning up some volume here. Okay, so let's say I want to send this to my a return track. Let's give it some volume. That's how much volume is going to get sent there. Okay, now my volume is still going to go out normally to my master track, but it's also going to go to this return track. Okay, so why would I want to do that? The reason is I can put some effects on these return tracks. So this one by default has reverb on it. So this is a cool trick because let's say there's a bunch of different stuff that I want reverb on throughout my session. I can put a reverb effect on any track I want. But if I want the same reverb for all the instruments, I'm gonna have to keep track of what my settings are, what my dial is on all the different tracks that I put that reverb. Or instead of putting a reverb on all these tracks, I could just send some of the signal for all the tracks that I want to have reverb, say these top three down to this return and then put my reverb there. Okay, so now this track has nothing but reverbed tracks. Okay, let's solo just my reverb.