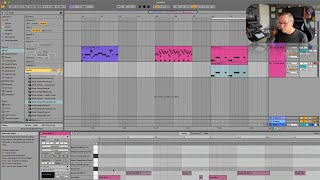
J. Anthony Allen shows how to use Take Lanes in Ableton Live 12 to record multiple drum takes, pick the best one, and isolate individual elements like hi-hats into separate clips for targeted effects like delay.
Chapters
One last thing about recording drum racks, don't forget that you still have take lanes when you're recording MIDI or any drum track. So I can go to show take lanes and I can see the different passes I made of this loop and I can kind of go back and say, like, this one was the best, but I'm going to get rid of my overdubs there. So I kind of have to keep my overdubs on there if I want them. But if I don't want them, I could easily just go here and say I want that and use this kind of like a rewind button. So I want that. And then lay my overdubs down in a separate track. This can be handy sometimes. So if I duplicate this track and I just delete this other stuff, then in this one, I just focus on those hi hats. And I do copy paste, paste, paste. Now I have the hi hats as their own clip and I can control them a little bit better. This is sometimes better, not always, but sometimes because I could maybe put delay on this or something like that, and it'll probably sound a little bit better. Okay, this needs some work, but it gets you the right idea. Explore what you have in your take lanes if you're not happy with it. And separating elements into separate tracks can be good. You don't have to do that, but sometimes it can be good for putting effects and things on parts of your beat.