How to Make Paper 3D Art | Shadow Box Tutorial | Paper 3D Effect | Paper Layer Art | Free Template
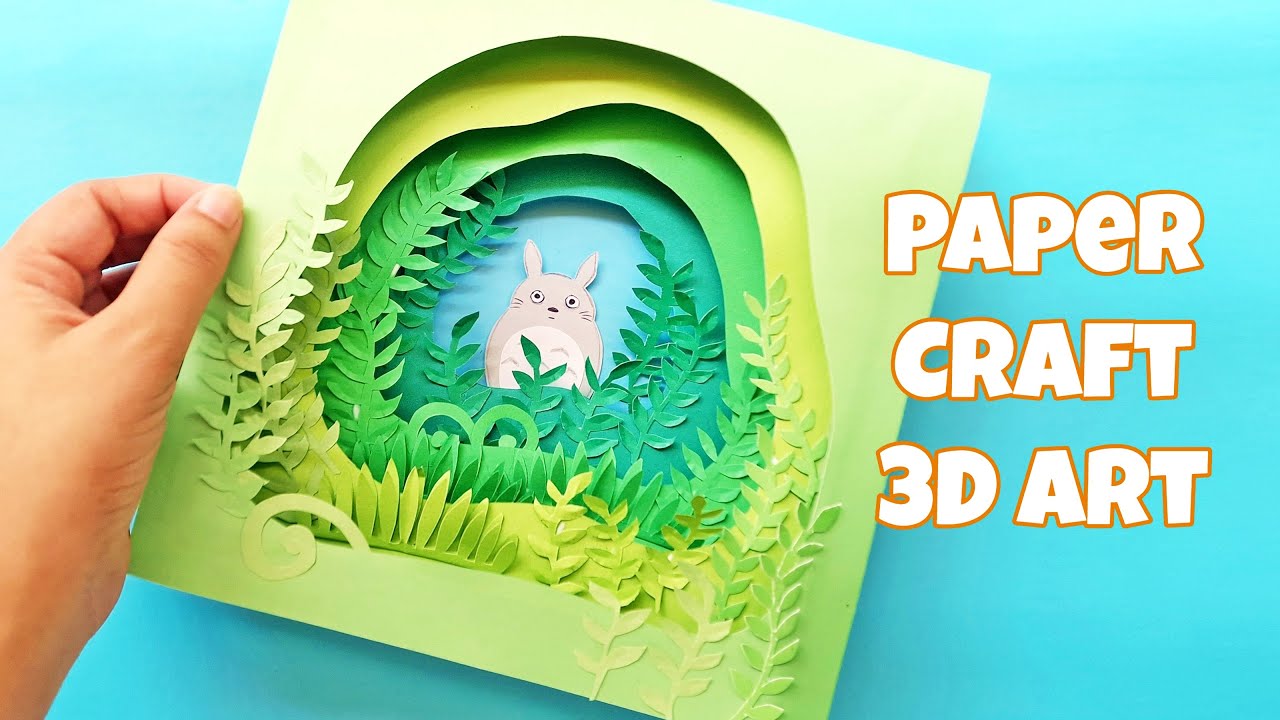
In this instructional video, the creator walks viewers through a step‑by‑step process for making a paper 3D shadow box. The tutorial begins with selecting four shades of green (or blue) paper for the base layers, tracing and cutting nested patterns using an X‑Acto knife, and stacking the cutouts to form a concentric design. Next, the presenter prepares 3 cm × 16 cm thick paper strips, marks a 1 cm gap, and creates indentations to fold them into 3D strips that are glued to the edges of each base layer, giving the piece depth. The video then shows how to draw, cut, and crease vines and leaves from the cutout paper, adding them as decorative foliage on each layer. Finally, a Totoro character is added using a free template linked in the description, completing the background scene. Throughout, the speaker encourages viewers to experiment creatively, leave feedback, and subscribe to the channel.
Chapters
More from Muhaimina

Easy to Make Beaded Earrings | Easy Pearl Beaded Earrings | DIY Jewelry for Beginners | DIY Earrings
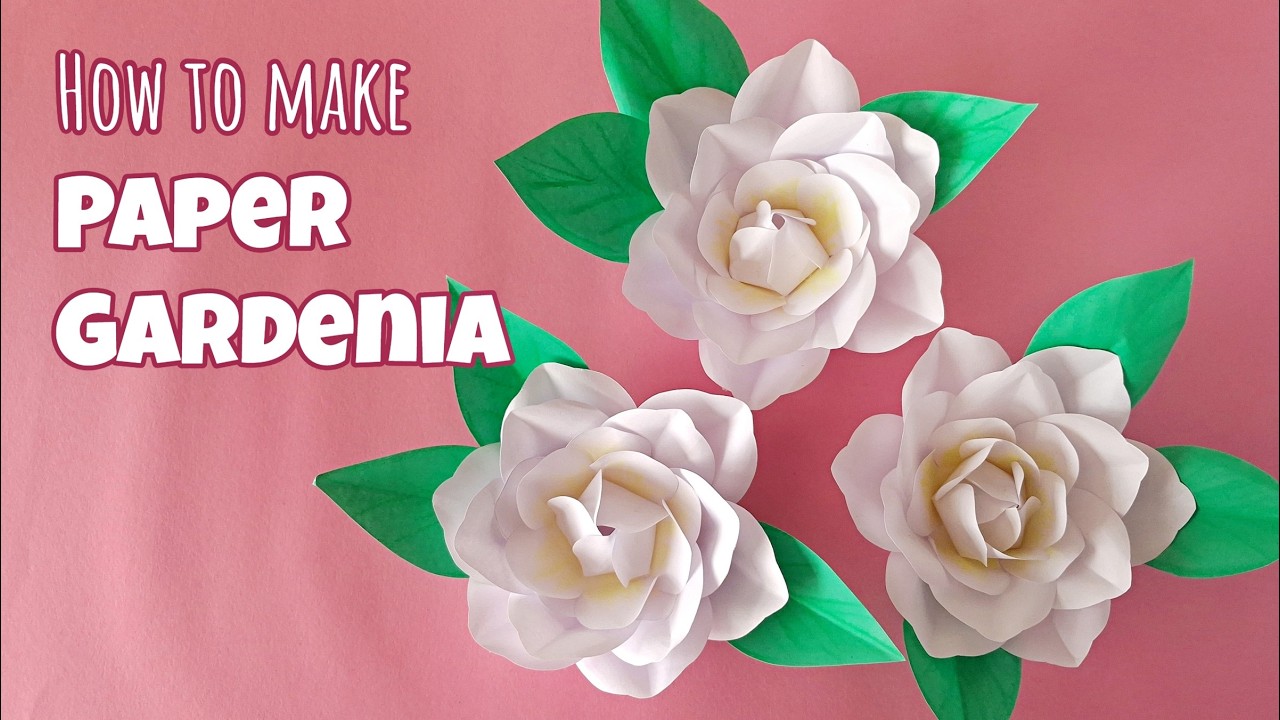
How to Make a Paper Gardenia Flower | Easy Paper Flower Tutorial | Realistic Flower Craft Tutorial
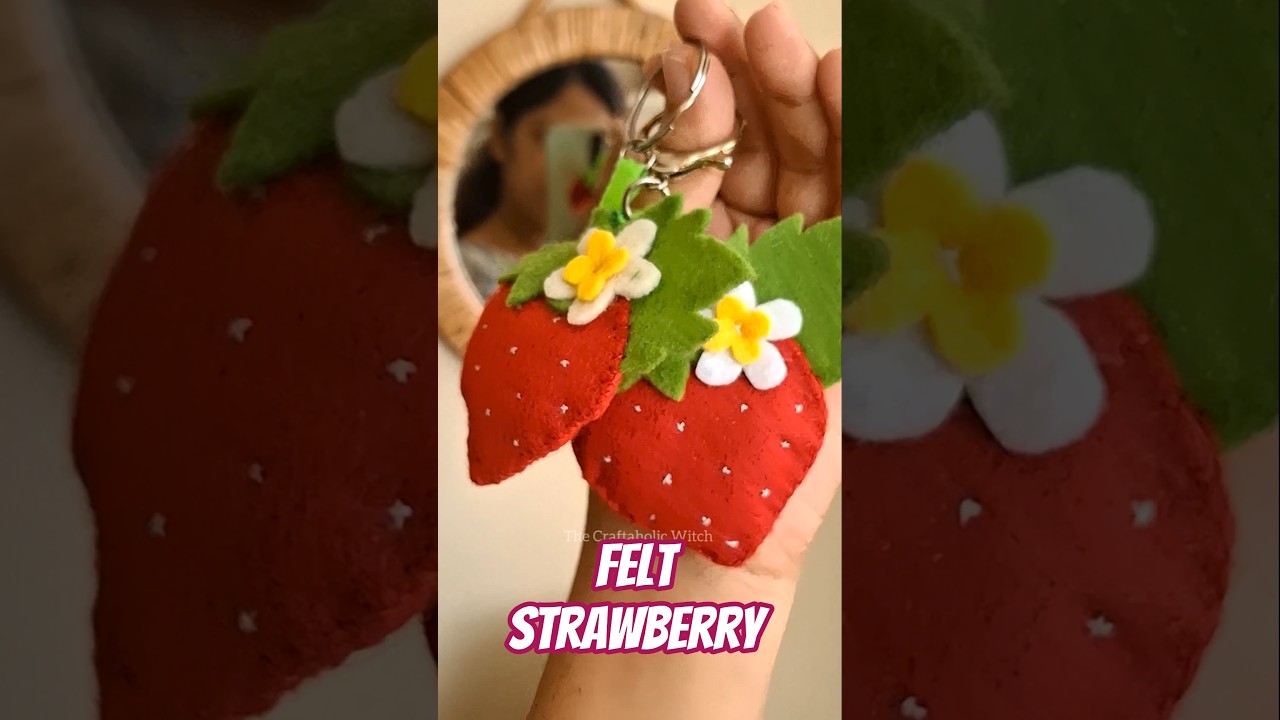
felt strawberry #feltcrafts #feltcraft cute felt craft idea | easy felt craft | easy felt pattern
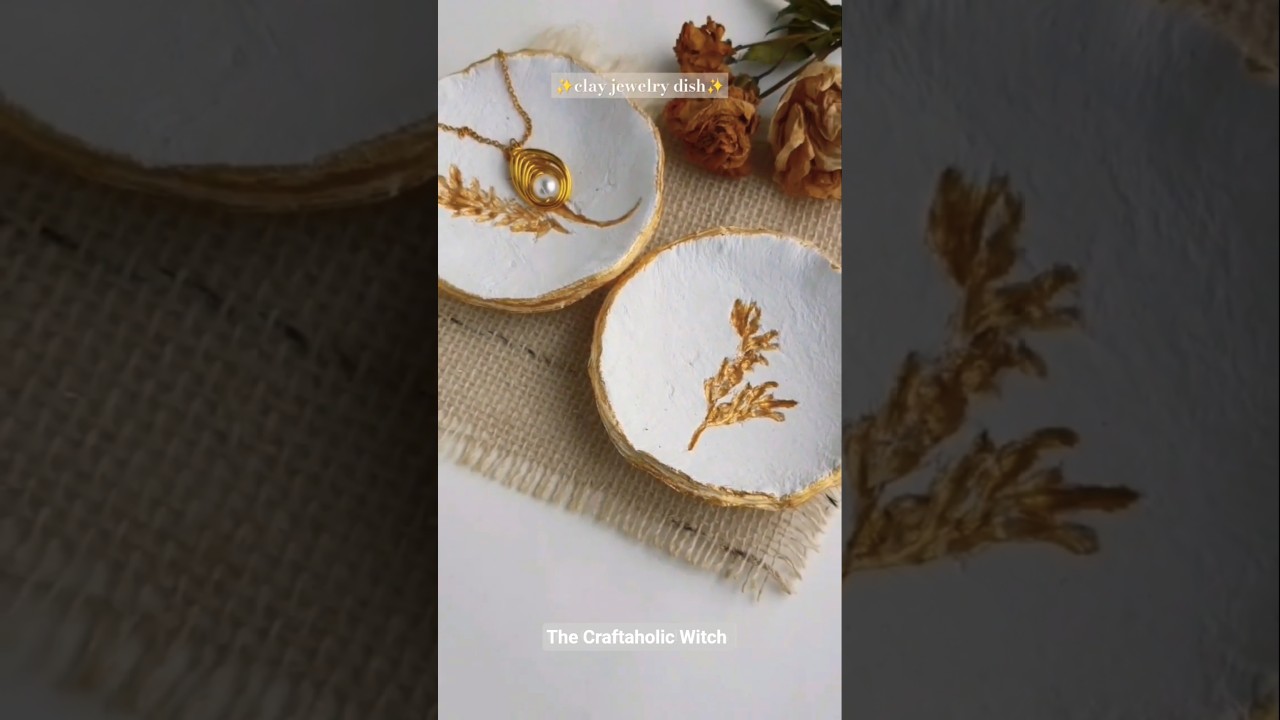
clay jewelry dish #claycraft #airdryclay #clayvideos #clay #clayart #claycrafts #trinkets #trinket

DIY Beaded Earrings #diyjewelry #diyearrings #beadedjewelry #beadedearrings #earrings #jewelryinspo
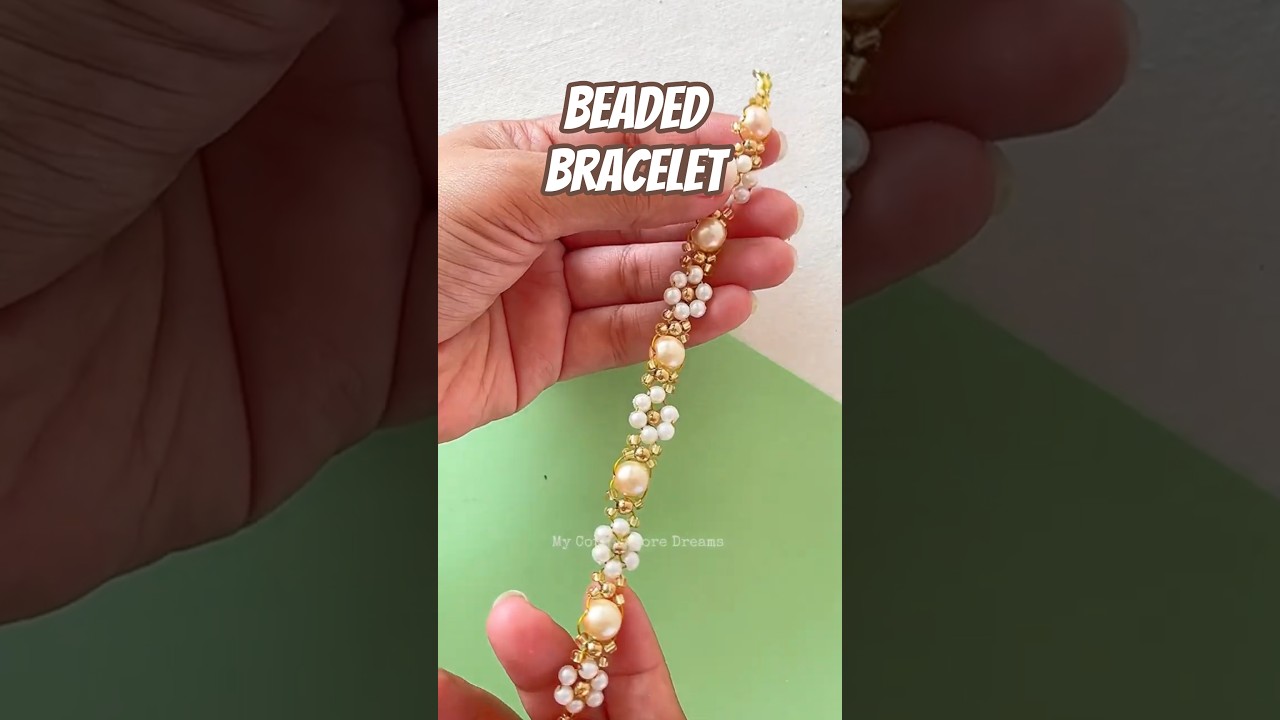
diy beaded flower bracelet #bracelet #bracelets #beadedbracelet #braceletmaking #diybracelets

easy tissue paper flower 🌼 #paperflower #paperflowers #tissuepaperflower #flowercraft #diyflowers
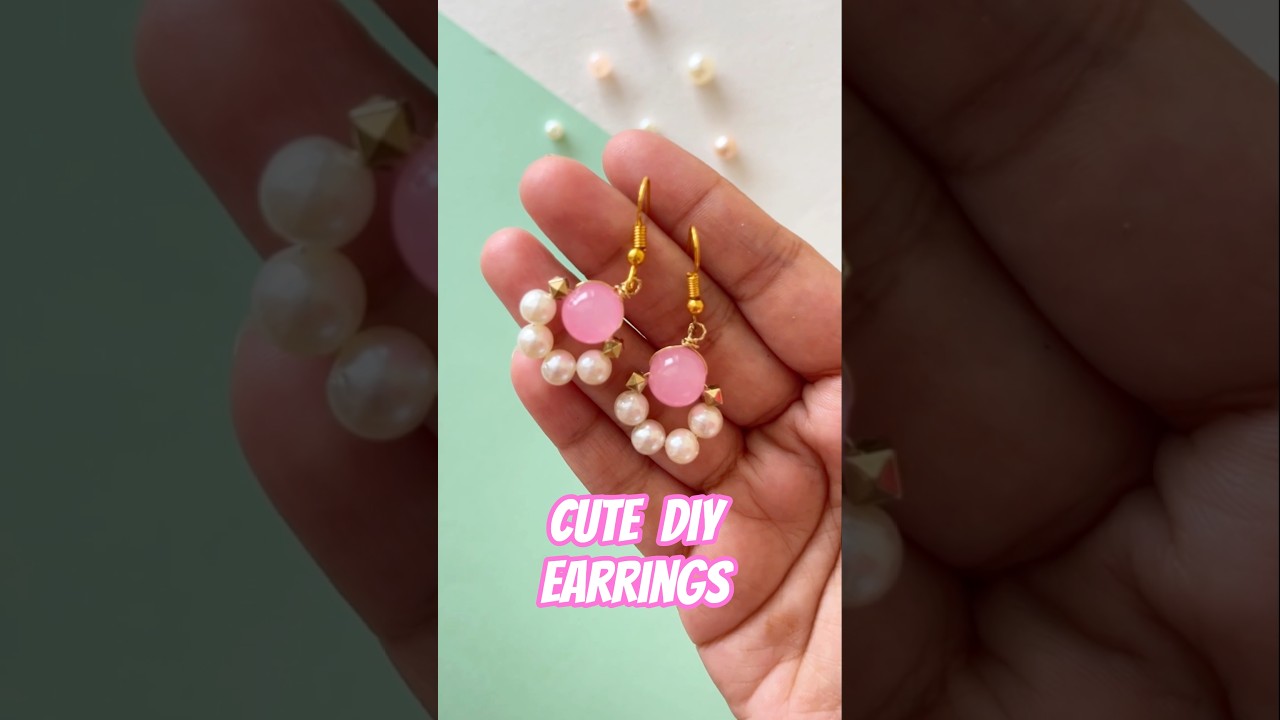
Make a Pair of Earrings with me #diyjewelry #earringsdesign #diyearrings #handmadejewelry #earrings
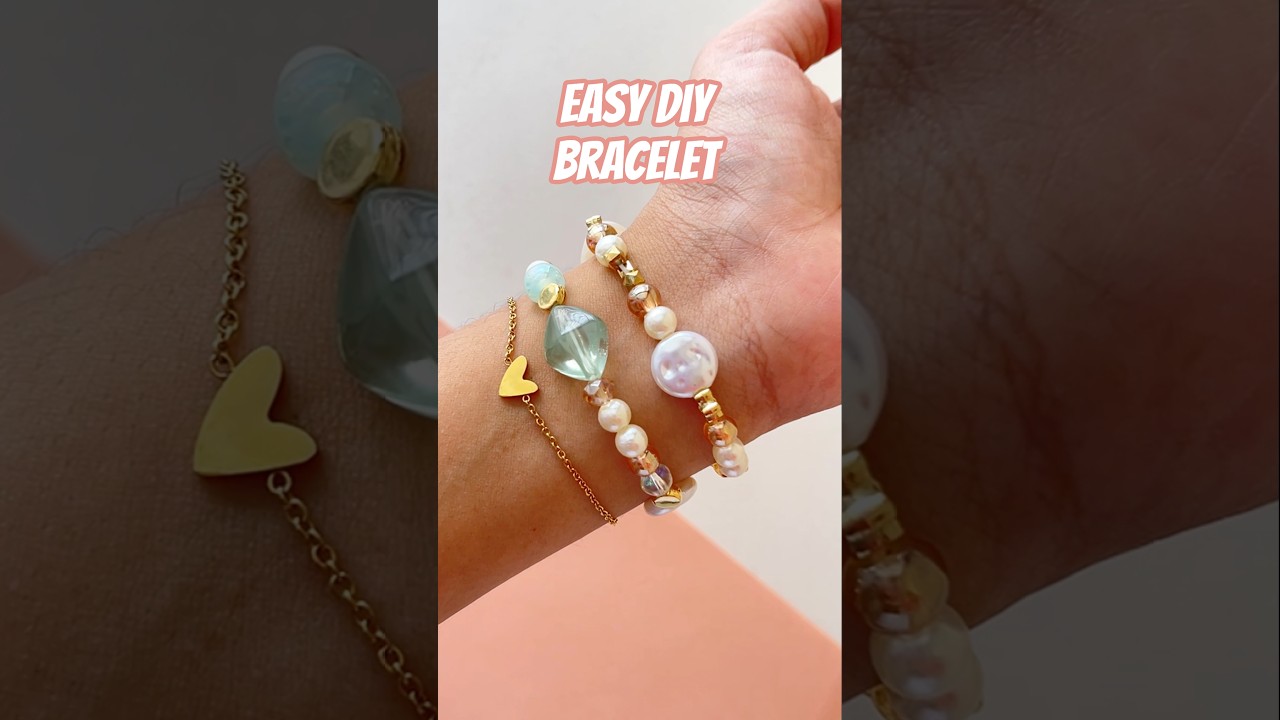
easy elastic bracelet #bracelet #bracelets #braceletmaking #beadedbracelet #diybracelets #fypシ゚viral

Craft Paper Gardenia with me #paperflower #flowercraft #flowermaking #paperflowers #diyflower #craft