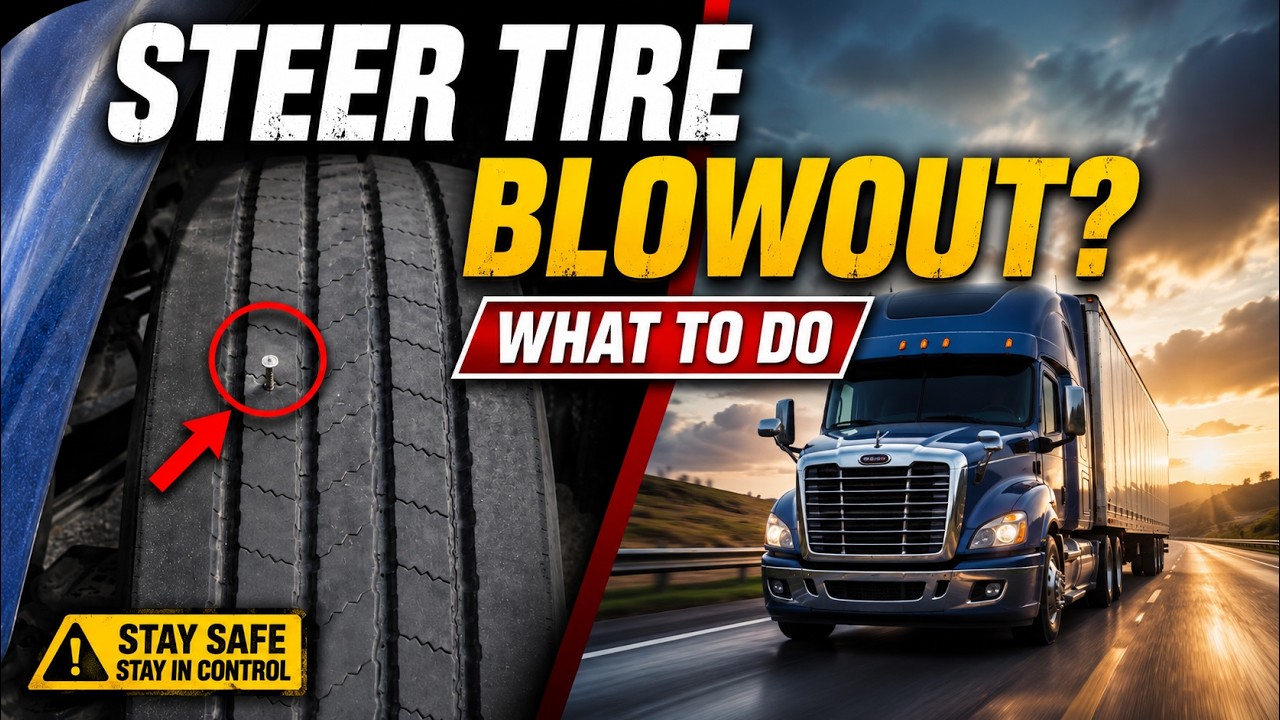
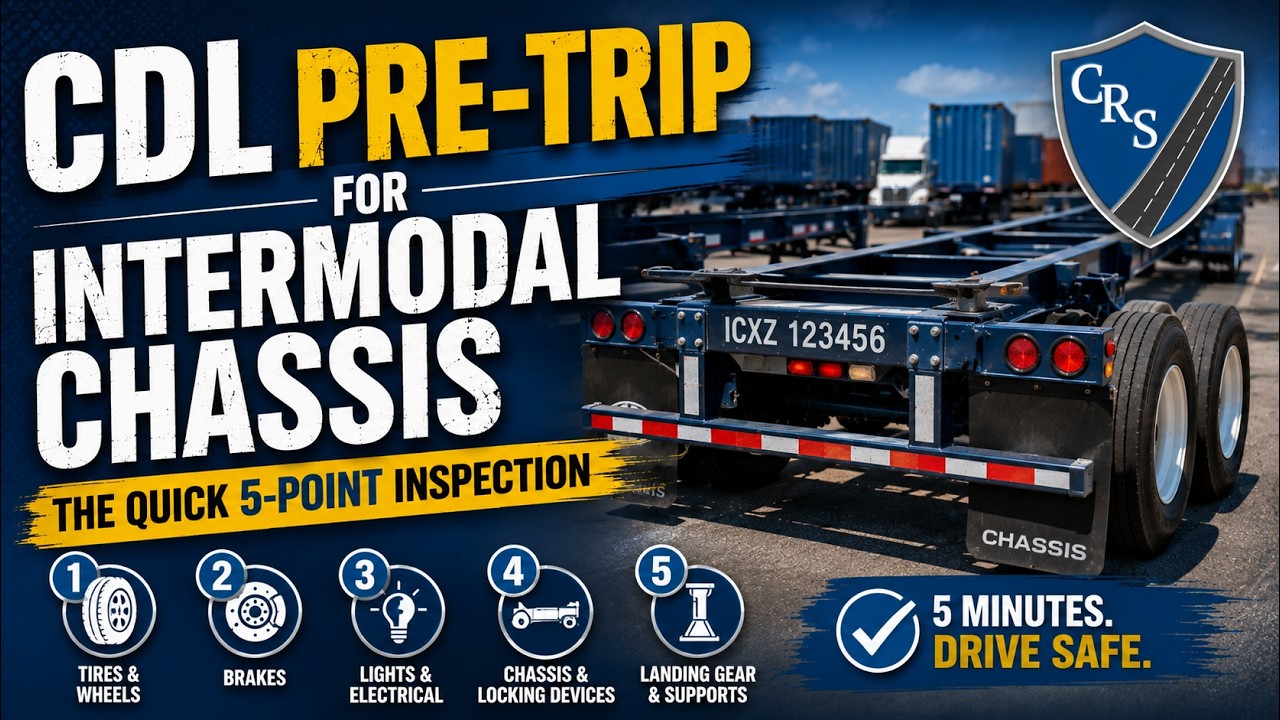
Samuel Tucker walks through a complete DOT pre-trip inspection for commercial trucks, covering documentation, tires, lights, mirrors, fluids, brakes, and trailer coupling. Catch out-of-service issues before you roll.
Chapters
Let's explore some pre-trip inspection basics. Whether you're a seasoned pro or just starting your journey in the world of commercial trucking, one thing remains constant: the importance of a thorough pre-trip inspection. This crucial routine not only ensures your safety but also the safety of everyone sharing the road with you. Let's review the steps of a comprehensive pre-trip inspection, ensuring you're well-prepared for your next trip. Step 1: Documentation Check: As you start your inspection, make sure you have all your documentation, including your driver's license, medical card, bills of lading, and required ELD documents. Step 2: Walkaround Inspection. Begin with a thorough walkaround inspection. As you walk around your truck, pay close attention to these key areas: Tires: Examine each tire for damage, low pressure, or excessive wear. Don't forget to check your spare tire as well. Lights: Ensure all lights are functioning correctly, including headlights, taillights, brake lights, and turn signals. Mirrors: Adjust your mirrors to the correct position, ensuring you have a clear view of the road and surrounding areas. Leaks: Look for any signs of fluid leaks, both under the truck and around the engine compartment. Wipers: Inspect wiper blades for wear and ensure they are in working condition. Horns: Test your horns to ensure they're audible. Exhaust: Check for any damage or unusual noise from the exhaust system. Step 3: Engine Compartment. Open the hood and inspect the engine compartment. Fluid Levels: Check engine oil, coolant, power steering, and windshield washer fluid levels. Top off if needed. Belts and Hoses: Inspect belts and hoses for signs of wear, cracks, or damage. Ensure the battery is securely mounted, terminals are clean, and connections are tight. Verify that the air compressor is securely mounted and in good condition. Step 4: Cab Inspection. Now, it's time to hop into the cab and continue your inspection. Ensure all gauges and warning lights are functioning correctly. Your ABS light should come on and then turn off shortly after starting your truck. Steering wheel: Check for excessive play in the steering wheel. Brake check: Fully depress the brake pedal and check for any unusual resistance or noises. Go pedal to the metal at least once per week to help fully engage your slack adjusters. Seat belts: Verify that seat belts are in good condition and properly functioning. Emergency equipment: Confirm the presence and accessibility of emergency equipment like fire extinguishers, fuses, and warning triangles. Step 5: Trailer Inspection. Moving on to your trailer, here's what you need to look for. Coupling System: Inspect the coupling mechanism, ensuring it's secure and properly latched. Landing Gear: Check that the landing gear is in the fully raised and secure position. Suspension: Examine the suspension components for damage or wear. Brake System: Ensure all brakes are in good working order. Listen for any unusual sounds, Especially at the glad-hand connections. Make sure your pigtails are up off of the truck deck as well. Lights and reflectors: Like with your truck, verify that all lights on the trailer are functional and that your reflective sheeting is also in good condition. Tires: Perform a thorough inspection of the trailer tires, including each wheel end. Step 6. In-cab inspection. Back in the cab, complete your interior checks. Gauges and warning lights: Make sure all gauges are reading within acceptable ranges, and no warning lights are illuminated. Seat adjustment: Adjust your seat to a comfortable and safe driving position. Step 7: Brake test. Perform your brake tests to ensure your brakes are operating as they should. This should include checks of both your parking brakes and the air brake system daily. You should be conducting a full brake system inspection weekly, including a visual inspection of all brake components. This should include brake lines, hoses, tubes, pads, shoes, rotors, drums, and slack adjuster pushrod stroke. Step 8: Final Walk Around. To wrap up your pre-trip inspection, take one last walk around your truck and trailer to double-check everything. Look for anything you might have missed, Like loose cargo straps or unsecured items. By conducting a thorough pre-trip inspection every time you hit the road, you're not only ensuring your safety but also preventing potential breakdowns and accidents. Remember, your diligence keeps you and everyone else on the road safe, so please make this a habit you never skip.