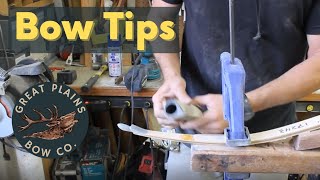
Instructional video transcript showing a hands-on tutorial for shaping and finishing bow tips on a youth bow. The speaker narrates step-by-step actions: cleaning ends, shaping with files and disc sander, creating string grooves, sanding through progressively finer grits, checking symmetry, and preparing the tip for finish; ends with a safety caution about lacquer thinner.
Chapters
Bullseye. What we're going to do here is just clean up these ends right here form these right here. And then we'll go tip it out over there by the vise. That step's done. We got those shaped and now we'll take the tips of the vise and spring driven. You want the bad news or the worst news? I don't want to hear any bad news. Shape these here. The side string groove in this holds the limb in here. That way we can mill that. It's that step. Now we head over to the disc sender. What we're going to do here, we're just going to shape this side and then we're going to actually shape the final shape of the tip. I'm going to come in here first. Get this very even, nice taper all the way to the very point. All right. Now I look at the back side of it and see if I'm symmetrical which looks like I'm a little bit off. So clean that up a little bit again. Now I need to take a little off there. Alright, that's perfect. So now I got that shape. Now I'm going to come in the back here and wrap. Alright, that'll work. I'll do the rest with files. Gotta put the string grooves in first. We'll do that. We're gonna come in on this here. Get pretty aggressive with it. Okay, that side's done. Come in on this side. We want to make his front foot even. Okay, Big file, everything symmetrical all the way down. 120 sandpaper. Now I want to look down here and make sure that those are perfectly in line because if they're affect the dealer. All right, that looks really nice. Now we want to deepen this screen groove. Looks even. Back to 120 on a new part. 220. And that's done. It's ready for finish. Oh, don't ever get lacquer thinner in your eyes. It's awful.