In this instructional gardening video, the presenter demonstrates how to plant bare‑root purple violets (Viola spp.) to improve a shaded, east‑facing hedge. She explains why partial shade is optimal for flower production and overall plant health, then walks through the step‑by‑step process: loosening soil, digging a shallow hole, dusting the hole and roots with mycorrhizal inoculant, positioning the crown at soil level, pressing soil to eliminate air pockets, and using temporary leaf cover as mulch. The presenter notes that the violets were sourced from TN Nursery, describes the visible root growth through cardboard packaging, and advises against removing the cardboard. She emphasizes planting bare‑root perennials in late winter to early spring (Zone 8A) and warns that planting later in warm weather reduces success, recommending transplants instead. Finally, she invites viewers to follow her channel for more gardening guidance and promises a future update when the violets bloom.
Chapters
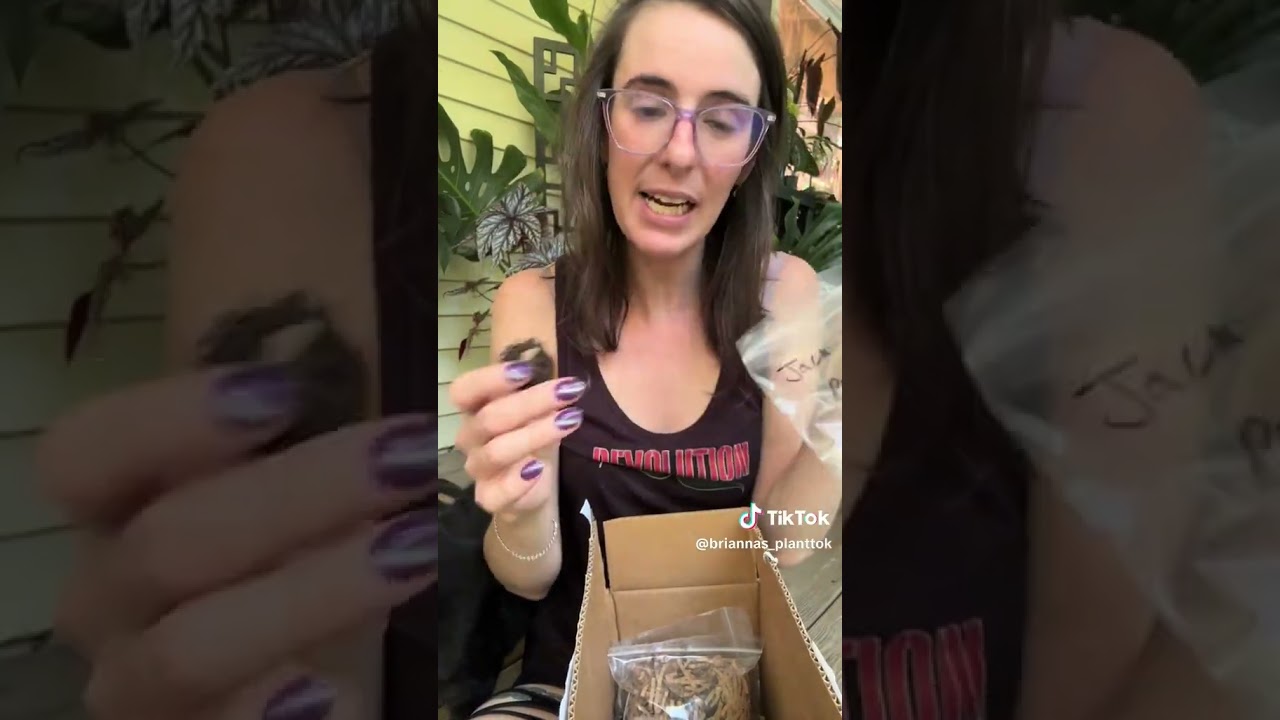
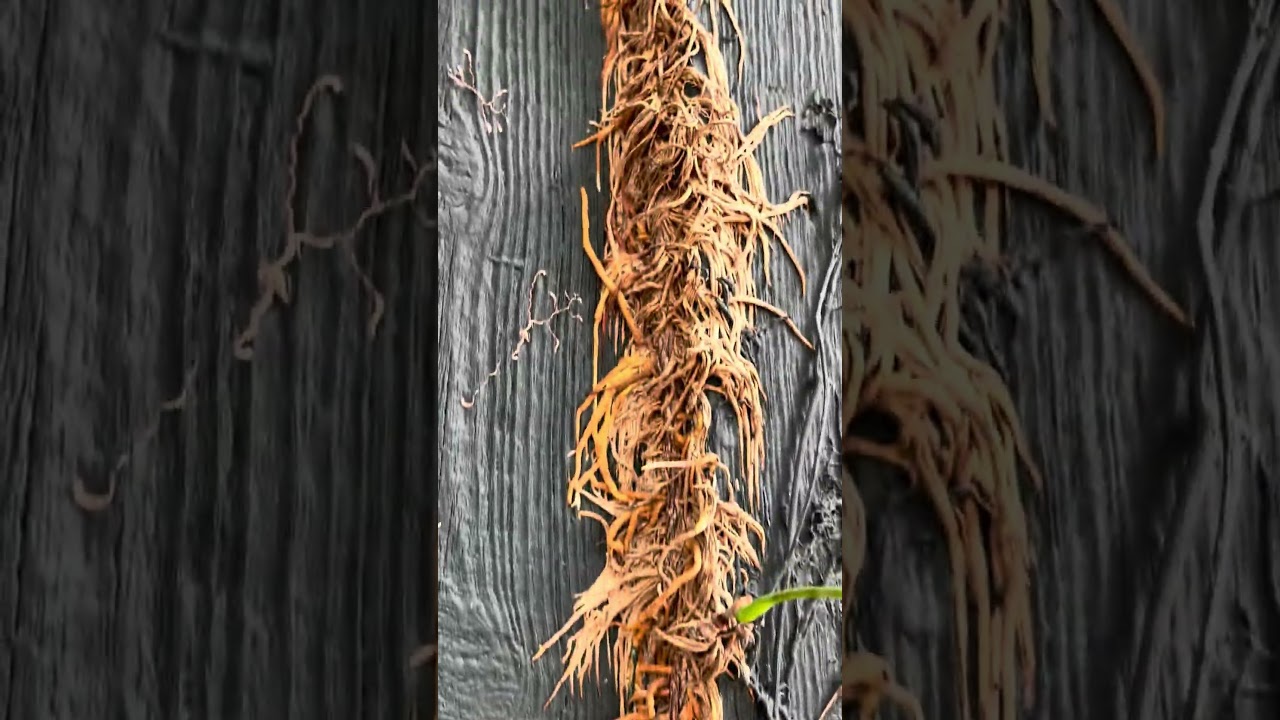
Planting bare root purple violets. I want to spruce up this dead hedge right here, which is eastward facing, so it doesn't get a lot of sun. As soon as these trees fill in in the summertime, this area gets shaded right around 12 o'clock, 1 o'clock. Purple violets are going to be a great ground cover to put in this area and kind of fill it in, and they thrive in partial shade. Partial shade is where you're going to get the most flowers, but also the plant's going to be healthiest. They don't like a lot of sun. Another good place would be to plant them in the tree line also, but again, more shade equals less flowers. So let me show you how you get these planted. First, going to loosen up the soil and dig our hole. And not going to lie, I might have left these a little bit too long. They're already starting to sprout in the bag. I got these from Tia Nursery, so if you're looking for bare root plants, perennials, shrubs, apple trees, go ahead and check them out. They're here on TikTok. And the roots are actually growing through the cardboard shred, so I don't think I'm going to take the cardboard off. And because these are bare roots, we— and they have this little crown right here at the base— we're not going to plant them very deep at all, right up to the bottom of these where the soil line is. Before we plant, I'm going to dust the hole with this mycorrhizae. These are beneficial micro— they really only work if they're spread onto something living, like living roots. So only use this when you're transplanting something live, like don't do it if you're planting seeds. So I'm just going to sprinkle some into the hole, not much, and I'm also going to sprinkle some right onto the root ball. And now we're just going to put it right into the hole, again not too deep. We want the soil right at the base. Cover up. Kind of press her down to make sure there's no open air pockets that are touching the roots. We don't want that because she just got planted too and she hasn't really been introduced to the sunlight yet. I'm going to kind of COVID her up just a little bit with the leaves, and when she gets established and starts putting on new growth, we'll just remove the leaves and add a better mulch. And that is how you plant bare root purple violets. Now the planting season for bare root plants like what you just saw is late winter to early spring, so don't try to plant any bare root plants once we hit like the middle of spring, especially when the heat sets in, it's too late, just get transplants. But historically, if you get bare roots in the ground, they will establish better and be healthier than a transplant would. I'm in Zone 8A. I'm just getting to the point where it might be a little too late. So if you're in a cooler zone, go ahead and get your bare roots ordered. You still have time to get them in the ground. I can't wait to show you what these guys look like when they bloom. So if you want to see what they look like, or if you're a new gardener, make sure you're following my page. I'm here to help you grow a happy, thriving garden by teaching you of what you need to do, when you need to do it, and how to do in order to make your garden thrive. So again, make sure to follow along, and I'll see you in the next video.