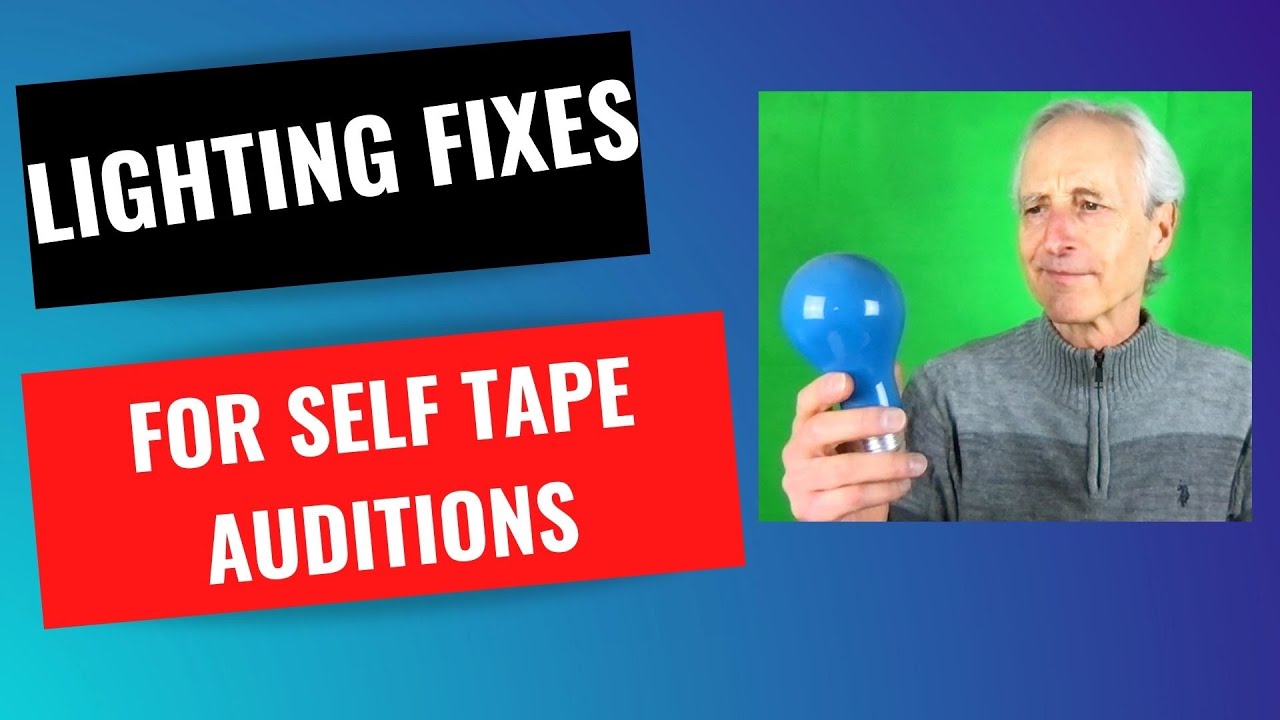
Aaron Marcus shares two lighting fixes for home auditions: position lights at a 45-degree angle instead of overhead, and have someone make small adjustments while you record. He also recommends closing windows to control ambient light and testing your clothing and framing.
Chapters
Hey, I'm Aaron Marcus, and if you're watching this on my YouTube Acting and Modeling Quick Tip channel, make sure you click the subscription button and the little notification bell, and that way every time I upload a new video, you'll be notified. Um, if you are having problems with your lighting— and let, let me just back up for a second, uh, just to share a personal story with you. So I shoot all of my home auditions and my vlogs, and when I'm doing— using Zoom, I use my Mac. I've got a MacBook Pro, and it has always worked great. And in December, I decided to get a new one. Mine was just— it was getting too old. Bought a new one, and the camera just doesn't work well. It just picks up things, it overrides things, and so I was struggling a lot with the lighting. And I tried out all different kinds of things, and I want to share with you, if you are having problems with lighting, here's something you want to do. What I did was I went to a local camera store. Actually, it's where I bought all my lights from. And on a little bit of a side note, and look, everybody does things differently, but when I went to this camera store originally when I was buying all my equipment, I knew I could have bought things, or at least I thought I could buy things a little bit less expensively if I went to, you know, some online places. But my feeling was, look, these people spent time with me, they gave me great information, and I wanted to support their local business. So that's what I did. And I went back to them recently because I was having problems with my new camera, that built-in camera on my Mac. And apparently a lot of people are. There's just something with this new camera. You can't make any adjustments to it, and it's really tough. And so I've been struggling. I've spent literally at least 3, 4 weeks completely changing my lighting setup and Up until very recently, I have to say I wasn't 100% happy with the way things were looking. I feel much better about it now. So what I decided to do was, you know, I went online and I'm watching YouTube videos and people are giving suggestions and, and, you know, that's helpful to read and watch and learn about, but they're not necessarily correct. And also sometimes things are just different from person to person and place to place. So what I did was I recorded some things from home. I went into the store and I played the videos for one of the people, you know, one of the guys working at the store, and he had some suggestions. I thought I was going to have to buy a new lighting system that would work better with my Mac, and he didn't think that that was necessary. I showed him the bulbs that I have. I showed him the location of my home office, where I place things. And he had a couple of really good ideas, and I want to share some of those with you. One is, whenever you are setting up lights, it seems like— and this is what I've heard from a lot of people, including the people at the camera store— always have your lights at a 45-degree angle. Now, when somebody says something like that to me, my brain just goes into sleep mode. I didn't do all that well in geometry in school, so He was saying, well, you know, that's, you know, it's half a 90-degree angle. And I said, see, that doesn't work for me. This is what works for me. I am shooting this audition right now. I am standing right now. You are the light. Where is 45 degrees? So he walked over. So essentially, I've got one light here. I've got one light there. That's a 45-degree angle. And so that, that worked for me. And so I immediately start working with 45-degree angles. He also suggested having the lights above me and shoot down. I tried that and it really didn't— it didn't look great for me. And so here's what I want to suggest that you do after you learn And by the way, I do have a video that you absolutely want to order and watch. It's How to Shoot Auditions from Home That Casting Directors Will Love, and you can see the, the link here. The best case scenario is if you have someone that you can work with, and while you are sitting in front of whether it's your camera, your phone, your computer, however you're shooting, your auditions, you sit there or stand there, however you're setting it up, and have the other person adjust the lights. Have them make small changes one at a time and see if you look better. Do you look worse? And, um, for me, because I was doing all this on my own, um, it was, it was hard. It was very time-consuming. You know, I would— do something, I would get up, move the lights, shoot it, describe where the placement was, and then come back, look at it, try some other locations. So, you know, and what I also found is sometimes it will change from day to day. Sometimes you still have to make different adjustments. Sometimes it's the clothing that you wear. If you are having sunlight come into your room. For me, I don't. I close off everything and everything is illuminated just by the lights. And I like that. I have more control that way. If I have to shoot something late at night, I'm not dependent on the sunlight. But anyhow, even when it's set up like this and I've got everything dark in the room except for the lights that I'm using for these auditions, Sometimes they also have little adjustments to them. So, so those are the 2 things I would suggest. Try to go to a store, show them what you're doing. You know, actually shoot it so they can see it. Show them the location, how far apart, you know, the lights are, the kind of lights that you're currently using, and get help that way. And the other thing is get somebody to help adjust and slightly move the lights so you can clearly see it, and then shoot each one and clearly describe the location where it is. Maybe you need to mark something on the floor. But those are 2 great ways to help make sure that your lighting is really good for your home auditions. Having said that, once again, you know, here's the link. You definitely want to watch my video. You're going to learn everything from what kind of equipment do you need, how much do you really need to spend, how you can do things economically, and techniques to use. What do you do if you have a last-minute audition and you don't have a reader and you absolutely need to have a reader with you? You can't record yourself. Don't do that. Where should your eyeline be? How loud should you be? How loud should the other person be? Do you need another actor reading with you, or can you just have anybody read the lines? What's the framing? framing of the shot. These are the kinds of things you're going to learn in this video, and you absolutely need to know how to shoot great home auditions in today's market. So anyhow, if you are watching this on YouTube, please subscribe, click the notification button. And also, I'm building this community of people who are helping each other, sharing information with each other. So share this. you know, throughout all your social media platforms. Let other people know about this channel. And if you're not watching this on YouTube, you will see a link below that will take you to my YouTube channel, and that way you will have access to over 222 free acting and modeling quick tip videos. If you have a suggestion just for another topic, just go to my website, howtoactandmodel.com, And you can let me know or leave a comment if you're watching this on YouTube, and I'll see if I can do it. See ya.