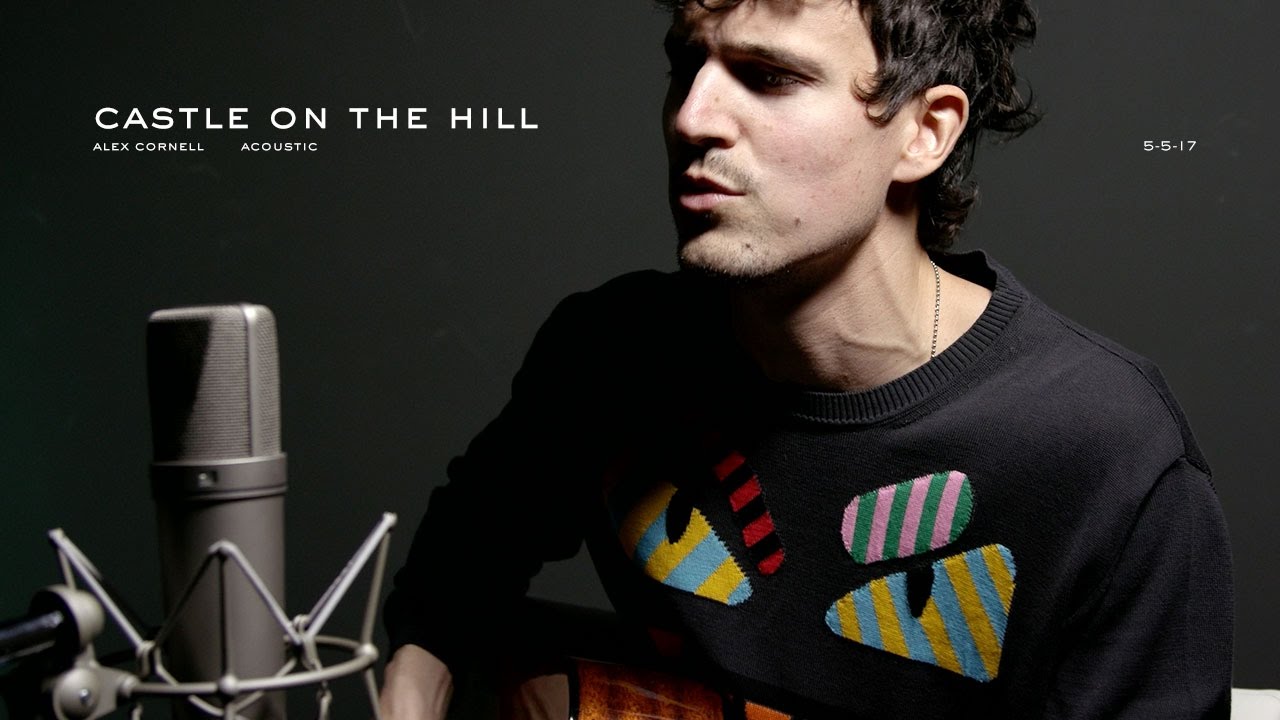
How to Record for Youtube: Process, Tutorial, and Gear

Alex Cornell walks through recording music and video for YouTube, covering gear like the Blue DragonFly microphone and Canon C100 camera, recording workflow in Logic, vocal comping, and editing in Premiere. Learn song selection, mic technique, color correction, and how to sync video to audio.
Chapters
This video is a walkthrough of how to record music and video for YouTube. I'll cover the writing process, the gear used, how to edit both audio and video, and the release process. This is meant to accompany a very long post which goes into a little bit more detail, which you can find at the link below. And before we dive into process, I want to talk a little bit about YouTube as a platform for musicians. Things have changed a lot since I started recording 8 years ago. First, audio and video technology has improved consistently. I started with a webcam-style one-take recording, then moved into HD with a 5D, and now record using a C100 with multiple angles. Now the overall landscape is varied. For many artists, a production-quality arms race continues to heat up. We've reached a point now where the videos of many YouTubers are indistinguishable from what you might see on MTV. For this video, we'll be focusing on my single operator setup, which falls somewhere in the middle on the production quality scale. Great audio and polished videos minus the Steadicam and lens flares. Most of my videos are cover songs, and the reason for this is because a cover song is a great way to introduce myself to new fans. People hear a song they're familiar with played in a new way. It makes identifying what's unique about me— my voice, my playing style— as the other variables remain constant and familiar. The COVID song is then the Trojan horse, a way for me to reach new listeners. Choosing which song to cover is crucial for success on YouTube. The more popular and current a song you choose, the better it will likely do. It's a trade-off though, as you risk melting your own brain while attempting to sing lyrics like 1, 2, 3, 1, 2, 3, drink. So one of my favorite things to do is to take a really popular and fast song and slow it way down, make it more appropriate for my singer-songwriter style. The aforementioned Chandelier by Sia is a good example of a song that would make this transition really well. The pop version versus my version would be very distinct, and that makes for an interesting cover. To do that, it typically involves incorporating a lot of major and minor 7 chord voicings and also changing the rhythm.
It might sound something like this.
I gonna swing from the chandelier. The chandelier.
So you get the idea. I'd probably transpose that down so it's a little bit more comfortable for my voice, the falsetto in particular. But in general, you have a cover version that's very distinct from the original, and that's what I find most interesting. So with the song chosen and an arrangement prepared, the next step would be to record the audio. With the audio, there are 3 basic components: the mic, The interface and the computer. First, to record vocals, I use a Blue DragonFly microphone. It's relatively expensive, or inexpensive depending on your experience, but it performs great for my voice. I mount the mic on a Rode articulating arm on my desk for easy access. For guitar, I've tried a number of different things, but I've never really been too pleased with my acoustic sounds. Probably my favorite was recorded live for this cover of In Your Atmosphere. Most often I will record with a mic near the sound hole, but recently I've taken to just using the same DragonFly and calling it a day for the sake of speed. Both the vocal and guitar mics use Mogami XLR cables to feed into the audio interface. A good audio interface is extremely important. I use an RME Fireface USB. I won't go into too much detail about what they do technically, but think of them as the translator between real-world sound and digital signal that your computer can understand. The better the interface, the less noise and hum you'll hear on your tracks. So once the signal has reached the computer, it's time to record that signal. To do that, you use a digital audio workstation. I personally love Logic. That's what I use. Almost every studio in the company uses Pro Tools. There are lots of options. It's best to experiment and figure out what you like best. I'm going to go into a little bit more detail about how I use Logic later in this video using a screencast. These days I use a C100 with autofocus to record my videos. I do this after I've recorded the audio, which means in the video I'm lip-syncing. So before you get all fussy, let me explain why. For one, the audience in large part doesn't really care and can't tell the difference. And 2, it's 100 times faster. Trying to get everything perfect in one take, both visually and musically is really difficult and can take forever. By recording the audio in advance, I speed up the entire process exponentially, and for me, that's worth it. The C100 is set up to shoot log mode at its native ISO of 850. I use the waveform on the back of the camera to make sure I'm getting proper exposure.
Focus is set automatically.
I'll usually try to record 3 to 4 angles and will play through the song with the camera in each position. Typically one close, one wide, some instrument shots. In each location, I set the camera on a tripod, pointed it where I'm sitting, and then trigger the final audio track to play along with. The C100 is recording a scratch audio track which I'll use to sync with later. So once the audio and the video are recorded, it's time to process and edit each. To start, I'm going to jump into Logic using a screencast.
Alright, so this is the Logic interface. What you're looking at is a song that is ready to go, already been recorded. You've got 2 piano tracks here, the same thing sent to both the left and the right channel, a primary vocal track, backup vocal track, and a lead guitar. So everything has come in here through the RME and is being processed by Logic. This piano is coming off of an electric piano, the ES6, Motif EX6, and that sounds like this. So very, very simple piano line for this song. I'm not going to focus too much on the piano for this because I want to show primarily in this screencast how I handle the vocals when I do a quick recording like this. So I'm going to unsolo the piano up here and I'm going to solo the vocal. We're going to go into the chorus. Apologies if it sounds strange.
Give you up, I'm never gonna let you down.
So this is a recording of the Never Gonna Give You Up classic Rick Astley song. And what I want to show is the way I record is I loop each section. In this case, it's about this long. I sing it about, in this case, 10 times, and then I go through and I choose the best recording of each part. And that sounds kind of complex, but listen to this section here. The blue is basically the active take.
I'm never gonna let you down.
So in that case, I really like the way I sang down, down, and it kind of trails off in a nice way. Listen by contrast to some of the other takes. They won't sound as good.
Never gonna turn up.
I'm never gonna let you down.
This is a different one.
I'm never gonna let you down. Never gonna— not bad, but I'm never gonna let you down.
So that one hits down a lot harder, and it, you know, it just kind of depends what you prefer. In my case, I like this one the best.
I'm never gonna let you down. Ever.
Hear it with the piano.
I'm never gonna let you down. Never gonna turn around and hurt you.
So it's basically a process of recording it a number of times. You loop it, you get used to singing it, you get in the vibe. Usually the good takes are right around 4 and 5 and 6. And then I'll go through and I'll select the piece of each take that I want. And you can see in some cases that actually involves splicing in on the word.
It gets pretty intense.
This is the dark magic that you hear so much about when you hear about pop stars and people saying music isn't real, but I assure you it's all about just getting the best recording. In this case, it doesn't take very long and it just ends up with a better final result. So that's quickly how the vocals get processed. But I do want to also show a little bit about the actual effects that I'm using. So in this case, I've got Maserati on, Altiverb on, Channel EQ on, a limiter by Waves on, and also a compressor. Now understand that I have absolutely no idea how any of these things work. It's all about twisting the knobs until it sounds pretty nice. I'm going to focus on the Altiverb for this recording just because that one is particularly good sounding. So let's listen to the vocal, isolate it, and I'll show you what the Altiverb is doing.
Never gonna make you cry, I'm never gonna say goodbye.
So that's the chorus. Listen again.
Never gonna make you cry, I'm never gonna say goodbye.
You can listen to it without Altiverb.
It's gonna sound really Never gonna make you cry, I'm never gonna say goodbye, never gonna—
So it's really dry, and that's actually what you want. You want as dry an input as you can so you can affect it exactly how you want to. In this case, this is an impulse response modeler based on the Alair Studios, which I actually interned at in New York. Super cool fun fact, amazing place. I worked right in the room pictured here. And so they actually go in there and figure out how the reverb of that room sounds, and you can basically then use it yourself. So I'm going to play it again with the reverb effect dialed way up.
Never going to make you cry. I'm never going to say goodbye.
That sounds like I'm in the bathroom. So you basically dial this into where you want it. Right now I actually have it directly on the track. A lot of people like to use this as a bus channel and then send it to the bus. This video I'm not going to cover that because it sounds boring.
Never gonna make you cry, I'm never gonna say goodbye.
So that sounds okay, it's right there at about 11%.
Never gonna make you cry, I'm never gonna say goodbye. Never gonna tell a lie and hurt you.
A little electric guitar coming in there at the end. So that electric guitar, blasphemy to any electric guitar players out there, that is actually a clean electric guitar coming into the amp effect in Logic. And holy crap, I don't even know anybody actually used this. I much prefer the sound of my actual Fender amp with real customized compressor pedals, and it sounds awesome.
This though, it's really fast, it gives me a clean, no noise, no nonsense recording. And like, it sounds good.
Anyway, now let's go take a look at Premiere. Okay, here we are in Premiere, and ever so briefly I want to show how this editing process works. I've got my clips, my video clips down down here and my processed audio from Logic here. So this is the final track that I would have exported, bounced down from Logic and imported into Premiere, synced with the scratch audio, and then now played back here.
What's going on in that beautiful mind? I'm on your magical mystery ride and I'm so dizzy.
So in this case, I pay attention really intensely to this vectorscope. So the raw clip when it came into Premiere looked like this, not that different. And then what I sent out looked like that. This is basically an extremely fast and dirty D-logging of the image. So when it does come in, it's basically attempting to be a very flat image. And what I'm trying to do is basically get back a little bit more of contrast into the image and a little bit more saturation. So in this case, I don't want it to clip, but I'm taking the fast color corrector, bringing that black level down right until it hits zero. You can see how when it touches the bottom, it kind of flattens out. That means the black is clipping and there's no information in— in this case, the piano area is where you lose the info. So I ride that little edge right there. Same thing with the highlights. I don't want anything to clip. You can see if I go too high You'll get a hot area here where the wall is clipping and there's no information there. So I kind of try to tuck it right in asymptotically to 100. And then now that image looks pretty good. You know, you could go into Resolve and do a lot more to it. But in the case of speed, which if you're picking up on the theme here, that is the goal, that is pretty much all I will do. Take it from that kind of muddy, flat image to something a little bit more Pretty like that. Anyway, so that is the color correction basically.
So I do want to show a little bit about multicam.
Multicam is a very powerful tool. In this case, I've recorded multiple angles. So instead of having to cut between all of these shots, what I have is I've synced up all of my shots using the tool in Premiere called multi-camera, and then I will watch back and I get to choose what I want to be on screen. And you'll see some of these ones I'm not even looking at the camera.
You can— I wanna make you understand. It's kind of chugging a little bit, but that I'm never gonna give you up.
So if I wanted to, I could make the final video play the piano area now. I'm like, actually, you know what, I want this one. And you can do this live.
I can't right now because my computer is really slow at the moment, but let you down, never gonna turn around and hurt you, never gonna make you cry.
So if you enjoyed this video, I would very much appreciate it if you would share it with everyone that you've ever met in your life.
That would be very helpful.
I would love that, and so would Twitter. You can tweet it out using whatever words or sentences that you like to convey your enthusiasm. I would love it if you would do that right now. Thank you.
More from Alex

Alex Cornell - How to present your designs and get buy-in for your ideas (Dive Club Ep. 58)


Alex Cornell | Choosing Idea Vessels For Your Creations | Awwwards Conference San Francisco


Alex Cornell: The Inner Monologue of an Insecure and Distracted Designer at Awwwards Conference L.A