How to Make Your Website Multilingual | Wix.com
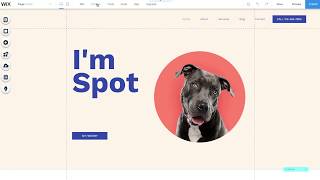
The video is a step‑by‑step tutorial that shows Wix users how to add and configure the Multilingual feature directly within the Wix editor. It begins by opening Settings → Multilingual, clicking Get Started, and selecting a main language and location. The user then adds a first additional language, chooses its flag, and can later add more languages. The language menu that appears on the site can be styled and positioned. In the editor, a language flag lets the user switch between languages to edit content. Text, buttons, and images can be translated by selecting the element and choosing Translate, with image translation allowing a new image to be set. Menus are localized via Menus and Pages → three‑dot menu → Rename. Any new content or design changes automatically propagate to all languages. The Preview mode lets the user switch languages to see the result, and the Manage Languages panel (accessed via the flag) lets users add or remove languages and control visibility. Finally, after the language is live, the site is published so visitors can view the multilingual version. The tutorial emphasizes that the process is repeatable and the video can be revisited for help.
Chapters
More from Cardinal





Chef Noah was tired of dull tools - so he made his own #cooking #knives #chef #fyp #kitchen #shorts


every day Chef Noah wakes up and chooses violence... professionally🔪 @forgetotable #knives #chef

Mother Nature knew what it was doing with these color combos #graphicdesign #design #designinspo


Trying Modern Bread & Bagel for the first time 🥯 #nyc #glutenfree #food #shorts #foodreview
