Make Better Trading Decisions With This Simple Print Lookup Trick!
Dave Barnhart shows how to use MobyTick's Print Lookup to analyze large block trades in SPY and other stocks. Filter trades by size and date, spot support and resistance from the biggest prints, and confirm entries with EMA crossovers for day trading.
Chapters
Hey there, in this video we're going to cover the print lookup and there's some new features that are quite helpful, so let's go ahead and have a look. Over here on the print lookup, let's select a ticker. I'm going to put in SPY for the S&P 500 and this instantly— what we see here is it loads the SPY and we have some information across the top. If you hover over the ticker, if you hover over the title, It actually tells you what the stock actually does by a description. Then we have the price and whether we're up or down on the day, next earnings, market cap, 52-week high and low, the open, high, low, and close, if there's any dividends, something like that. And then we have a daily chart here. And so what happens since we track block trades, this is putting the 10 largest trades in the last calendar year on the chart for you. So you can see right here at 6:04:37 is 12.9 million on December 18th. And we had quite a pullback on that day, uh, but we can see all of those different trades. So on the right-hand side here, we have the seasonality chart. So the red line is the current year and the green line is the 20-year average. So if there are 20 years available, then that gets averaged out. So if there's less Say for example, a stock's only been around for 5 years, then there's 5 years on average there. So here with the prints, if we scroll down here a little bit, I'm just gonna show you because now we have this and these were the largest ones here, March 28th, 12 million. Then we have 10 million, 10 million. And if we scroll back, we can actually see where all of this massive volume was. And this seems to be where they were buying. So accumulation here. Accumulation there. There was distribution here with all of these 12 million, 10, and 10, but that pulled us back to these older prints here, right? Which was also back to a point where we could take off again. We closed through these prints, pulled back and tested them, and then went up, right? So you can see that these are support and resistance lines, these really large trades. The other thing that we can do in looking at this is we can click on the prints. So if I click here, for example, 581.49, that actually shows on the chart on the day that it actually came in. So this is a new one because it's December 20th today, and I can adjust the share size. So say, for example, I wanted anything over a million. Now what these ones do— this one says, for example, this is 581.52. I'll click on that, and there's 1.9 million over 4 trades. So what we wind up doing is as the trades come in, they're here on the left-hand side as well, or through the block trade indicator. Anyway, Moby as a whole tracks these trades, and we can see them coming in here. 584, 16, and there's lots of trades today. It just happens to be triple or quadruple, which witching where different contracts and futures all expire at the same time. So there's, there are some volatility here, but we can see these sorts of trades. Now, if a price exists multiple times, so for example here, $581.16 for 127,350, and then again for 127,350. Well, based on what you've selected for your cumulative share size, if these together Add up to over a million, then they're counted. So here we have 58152, and there were four of them making over one million, right? So you could have say, for example, four or five hundred thousands, but that's that's the criteria. And then that gets added here. So here's one: 58661 is ten million. And look at this from the last couple days because we did have a massive pullback over two days. We got 12.9 million during the day and 10.2 million the previous day. So we're at 22 million now. So if we close above 604.37, 605, for example, then game on. I think we're gonna, we're gonna rally and we might pull back. So anyway, this is part of the technical analysis part. Now here, when we're looking at these trades on the left-hand side, we can also select The minimum share size that we want. Sometimes 50,000 is, which is the minimum. You want to cut through some of the noise, right? Because it's telling you here in the last 3 months, there's 1,300 almost. So if we switch this to say 400,000, then there's 101. And then we can also choose by calendar. So we can look at the calendar. We can do today, a week, a month, 60 days, 90 days, 6 months, a year. Or if we do all, that'll take us back to January of 2020. And you can see the share size. So the other thing that you can do here is all of these columns you can sort by. But if we wanted to see what the largest single share size was in a trade, we could click this. And the biggest that we got was February 28th, 2020. That was during COVID and there was one trade here for 4 million shares, which was $1 billion. Then number 2 was November 30th, of 2020, which is 3.6 million. So that's good for the research purposes sort of thing. And, um, so let's just go back to say 90 days here. This is by default market hours. You have trades that can occur pre-market and post-market. And so if we look at pre-market here, there's not many. But if we look at post-market, you're going to see a lot. And see, there's 570 here in 3 months, and we've gone over $400,000. So what we see here is we have conditions For the trades, closing prints, market center official close. These sorts of things we usually leave out because there's ETF rebalancing. There's lots of other things that where these trades, even though that they're large, they don't normally affect the trade price. It's just things that have to happen when the market actually closes. So when we're searching for market hours, which is the meat of these trades. The standard condition is that we filter out opening and closing trades. We can also filter by condition. So there's 59 conditions that are here, and you'll notice when you're looking at normal trades. If we go back, if we go back and say, for example, we'll pick bunched or average price. Another one is form T. Actually, the form T's Let me go and select Form T. So these ones here are kind of important because this, uh, Form T is something that doesn't affect the trade price, but it's kind of sneaky because it should have been reported. It's, it's actually reported late. You can see these usually pre-market and post-market, but there was this trade 58815 that was, uh, $750,000 reported at the close. But it was a prior reference price earlier in the day, and that's what that means. So if you want to know what any of these trade conditions are, because they can be quite important, I'll put this back to select all. I'll open a new tab just so we can go back to the main page without losing our work. I've opened another tab here by clicking this plus, and I'll just click on MobyTick, which takes us home. And if we look at the help section and we come down There's the trade types here. So if we wanted, for example, since we were discussing what a Form T is, we can click on it and it gives us more information. What is it? When does it occur? Impact on trading data? Why it matters? So look at this: price does not update the high, low, open, close for the regular trading session. So some of those you can get really large trades after market that, that don't affect it. Any of those statistics like the high, low, open, and the close, why it matters so that each of the 50+ trade types that we have, you can actually see that here. And when we're looking at the individual trades, then you can see that information. Now this on the right-hand side is an aggregate of these, like we actually said before. So you can sort by date like that to the newest. This has the exact same filters. You can disable. So if we wanted to get rid of them, we could clear the selection. We could put our own on there. And then you can select your individual columns if you don't want them all that are there as well. So another thing that I wanted to mention is you do have the watchlist. So that's another video is managing your watchlist. But if you have a watchlist created, you can choose one from the list. This one here, I have one called Insights December 16th. And so there's a whole bunch of them in here, and it gives me the ticker and then a whole bunch of information. And so if I click on one of these, so say IWM, that then becomes the chart. I can also select the columns here by— if I didn't want the open, the high, the low, but then I wanted, uh, the above and one target and below and one target. Then what I have here is I have the price with the change in the volume signals, and then I can see if any of the stocks that I have are above or below. And then so that's helpful there. If I hide the watchlist, then the chart becomes full screen. Now there's a few things that I wanted to show you about the chart as well. I can, I can switch the time frame here, say to a 5-minute. You can still see the prints, which is fantastic because if you're day trading and you see where you have support and resistance, and then you have actual prints, you can see how the stock actually behaves with those as well. Now, if we look at the options here, we do use something called Person's Pivots, and we have Camarilla Pivots as well. So they're quite helpful, and you can see that how the stock actually behaves where you see the support and resistance with these sorts So scrolling back here and even using the wheel mouse, you can see where those are quite important. And so these are set up there for the day, but you can manage those if you like. If we click on options, we can turn on all supports or off the resistances as well, turn on and off the pivot. So you don't have to use these. They're quite helpful by default. Uh, so I'll turn these back on with the support and the resistance, and then there would be the same for the Camarillas. So we could do support and resistance and leave the pivot. Now the other thing that's neat about these sorts of things is that you can set your colors and the line type. So if we look at the pivot, for example, by now— right now this is blue. I'm going to make this, uh, a horrendous color like this, and then I'm going to do a dashed with space and give it, say, a line width of 4. So now you can see this dotted purple line. Being the pivot. Now if I close that, then I have 5 supports, 5 resistances for both the pivots and cams. So that actually gives you like 20 different ones. And so you can set the lines, you can set the line thicknesses, types, and colors for those. And when we're looking for trades and mapping things out, when we start scrolling out like this We can see that there's an R1, an R2, an R3, and then there's actually an R4 and there's an R5 up here. So usually the R3s generally are, are very close to the end of the line because that's a big move for the day. So you can manage those. The other thing that we have are indicators. So for now we have the 4 and the 8 exponential moving average, and those are really good. Uh, if we're looking on, say for example, the daily timeframe, the 4 and the 8 moving average are dynamic moving averages where the 4 is a faster momentum move and the 8 is a little bit slower, more of an indication of the overall trend. Now we can see here that although there's a larger trend that's up, we can see that the trend is kind of going sideways here. But how we usually use these, if the 4 is above the 8 like this, then it's very, very strong. And usually it's like an elastic. It'll come back to test the 8, and then we get away from it and we come back. But we closed below like this, and then they start separating. So this is actually bearish, and then we come down, and then we come back up, and it becomes an elastic to it. But once this separates again, then that's bullish. So when we have The 4 and the 8, and the price is above those, or the price is breaking above the 8 anyway, which is the blue line, and we're crossing these prints again, those are great entry points for that. Now, these work on any time frame, so we'll switch this back to a 5-minute. So from the open, look, we— the 4 rode the 8 all the way to the top. When we start closing below it, and there's a print that's kind of bearish. So we came back up, we started moving down. So that's how those 2 are used. I'm going to choose Show Watchlist now, and if I choose Hide Chart, then what happens is if you don't want to see the chart and you just want to see the prints and the rest of the data, then you can see all of that information there. You can have as many charts as you like. I can duplicate what I'm looking at just by clicking the plus, and then whatever ticker that I have here will show up again, and then I can choose a different ticker, or I can change the timeframe, and that would be okay. And especially if I'm looking at something else, say from the dashboard, say I go to the dashboard and we see our trades, there's $23 million on CNC. It's triple witching, so that's probably options related. So let's see if I go over here and click on it, I get a new tab with all of this information that's there. So this is really helpful in trading and helping you map out your day trades and also seeing trend with the overlapping dark pool trades as well. So hopefully you find this, this information helpful. So don't forget to like and subscribe. If you have any ideas that you'd like for new features, please let us know in the comment section or contact us directly. And then if you're interested in a subscription, please subscribe to mobiticktrading.com. Happy trading, everyone!
More from Dave


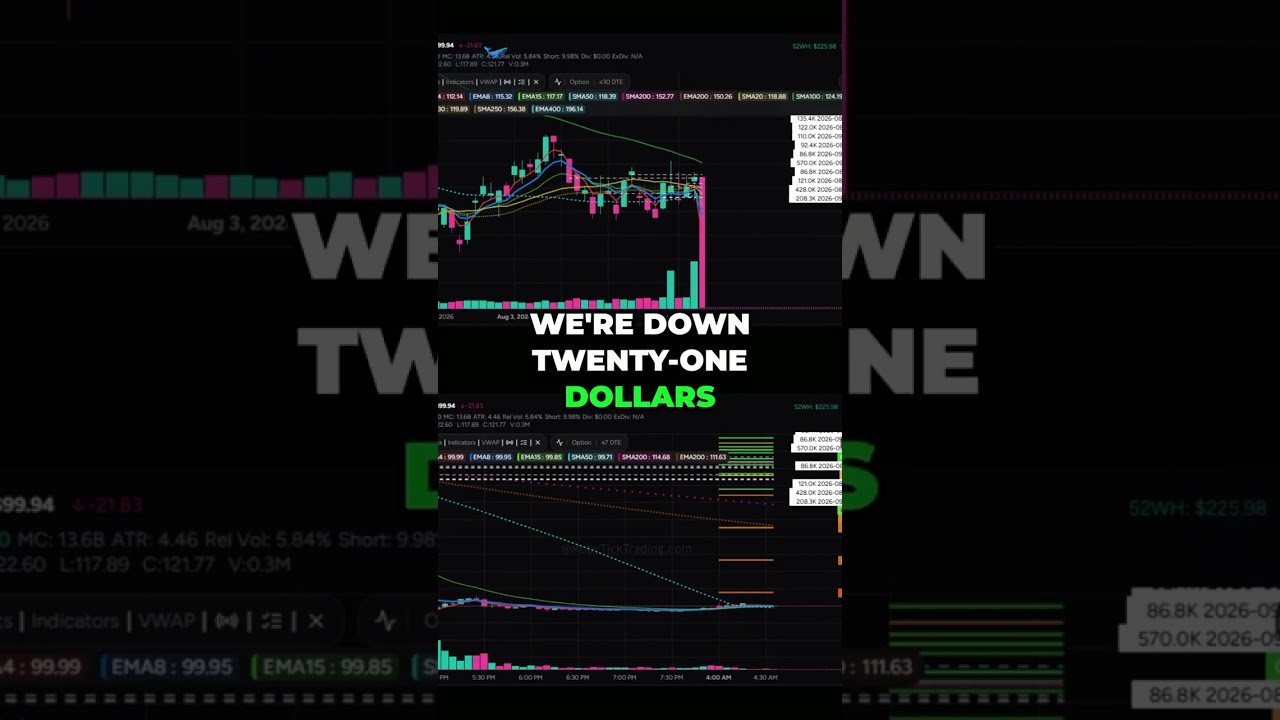
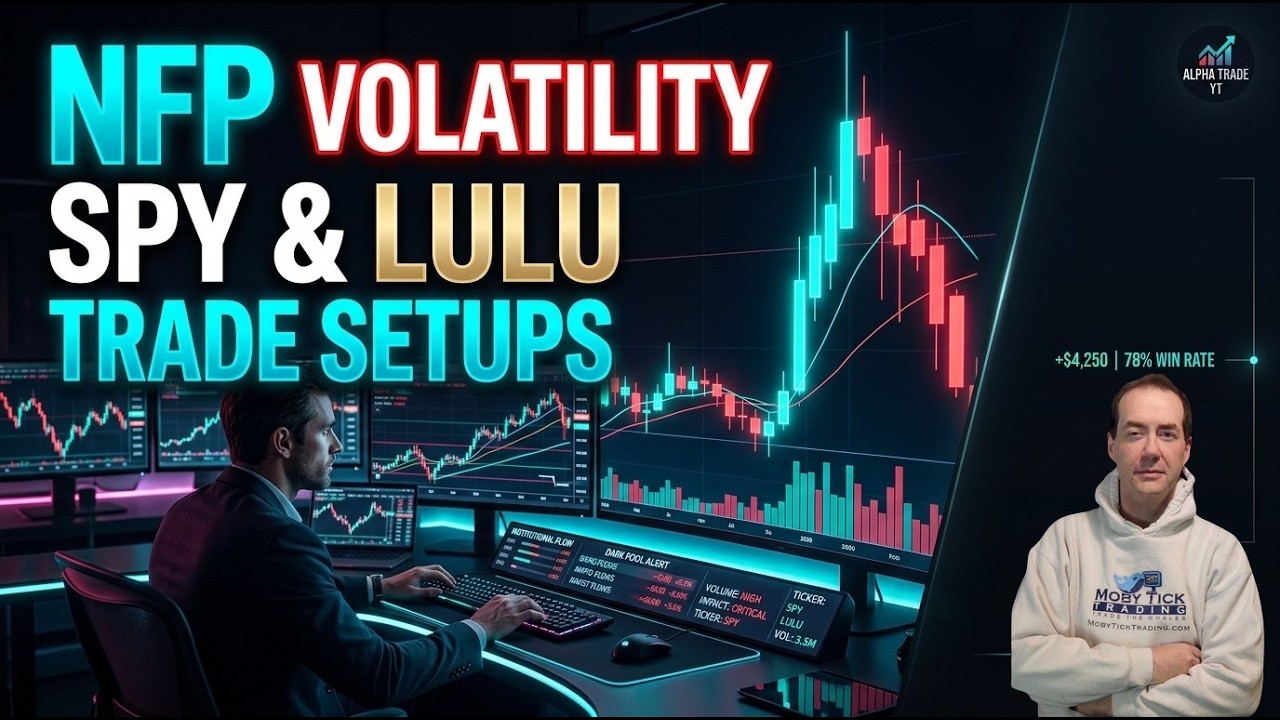
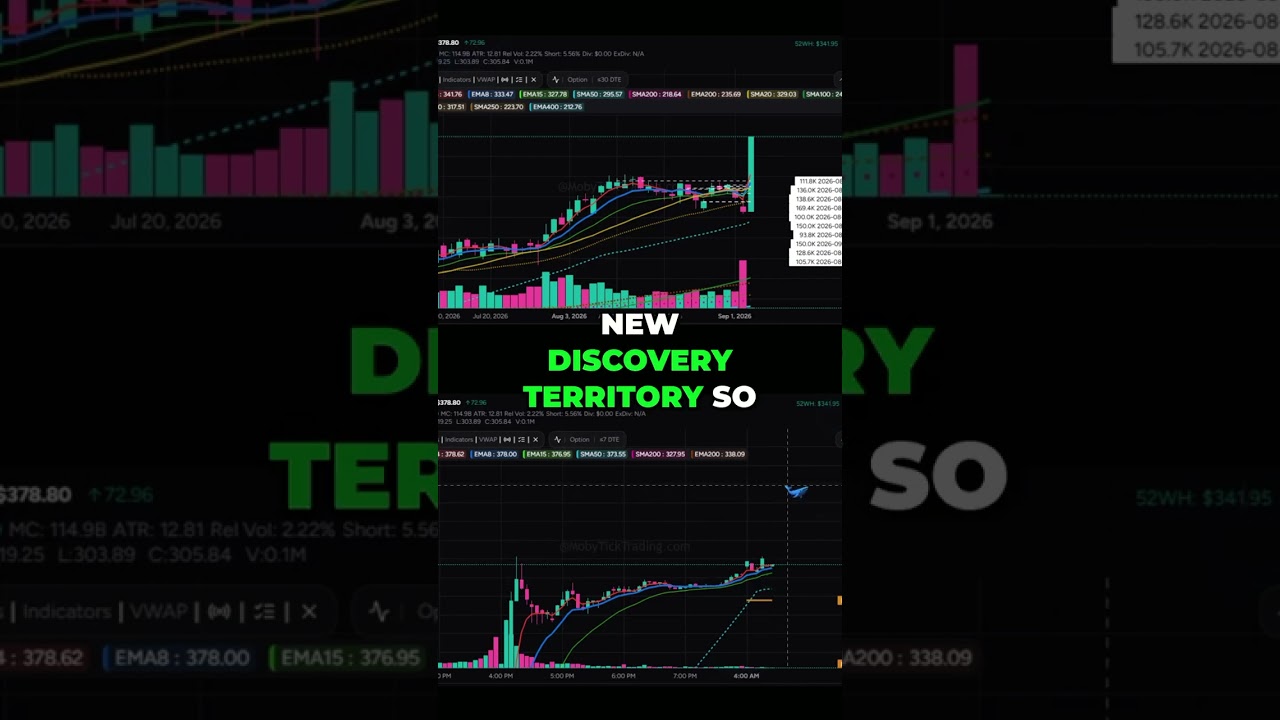
ServiceNow $SNOW & Hewlett Packard $HPE earnings trade setups following Institutional Positions
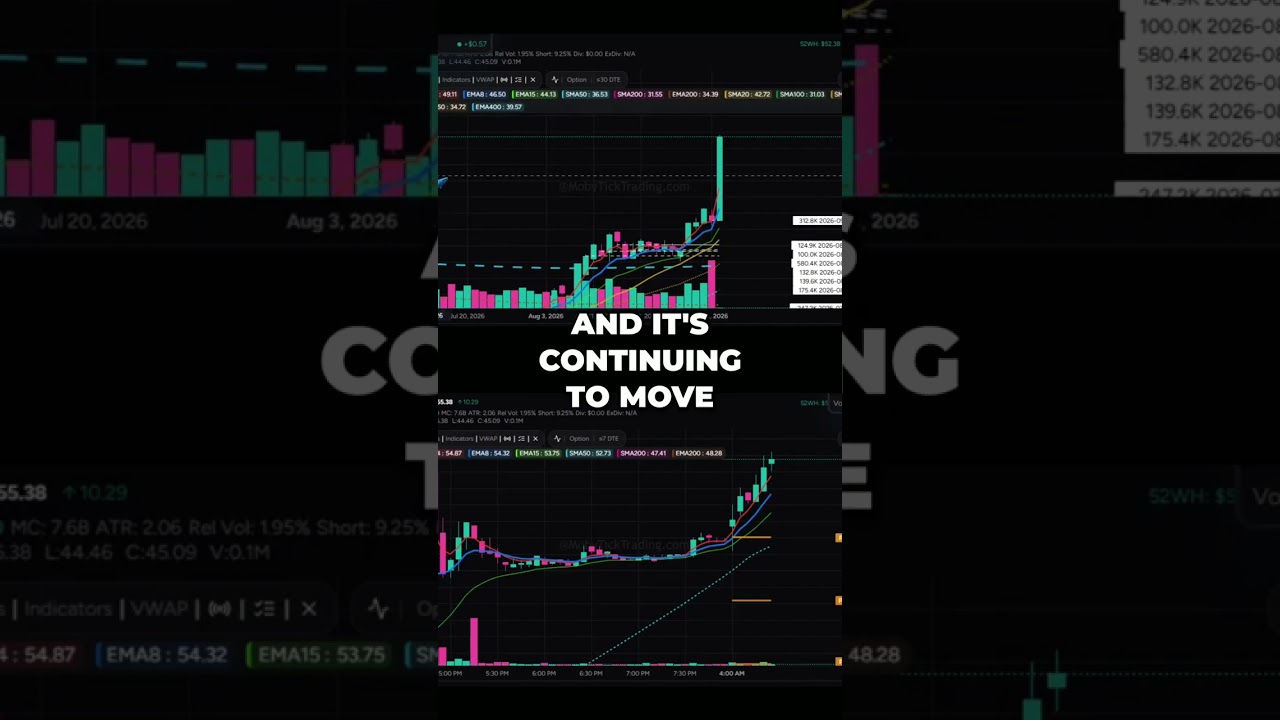

GTLB GitLab Explodes +$10.31 Breakout! vs CRDO Credo Technology Major Dark Pool Flush


Massive Dark Pool Prints on Nasdaq $QQQ and Gold $GLD! Smart Money Positions revealed
