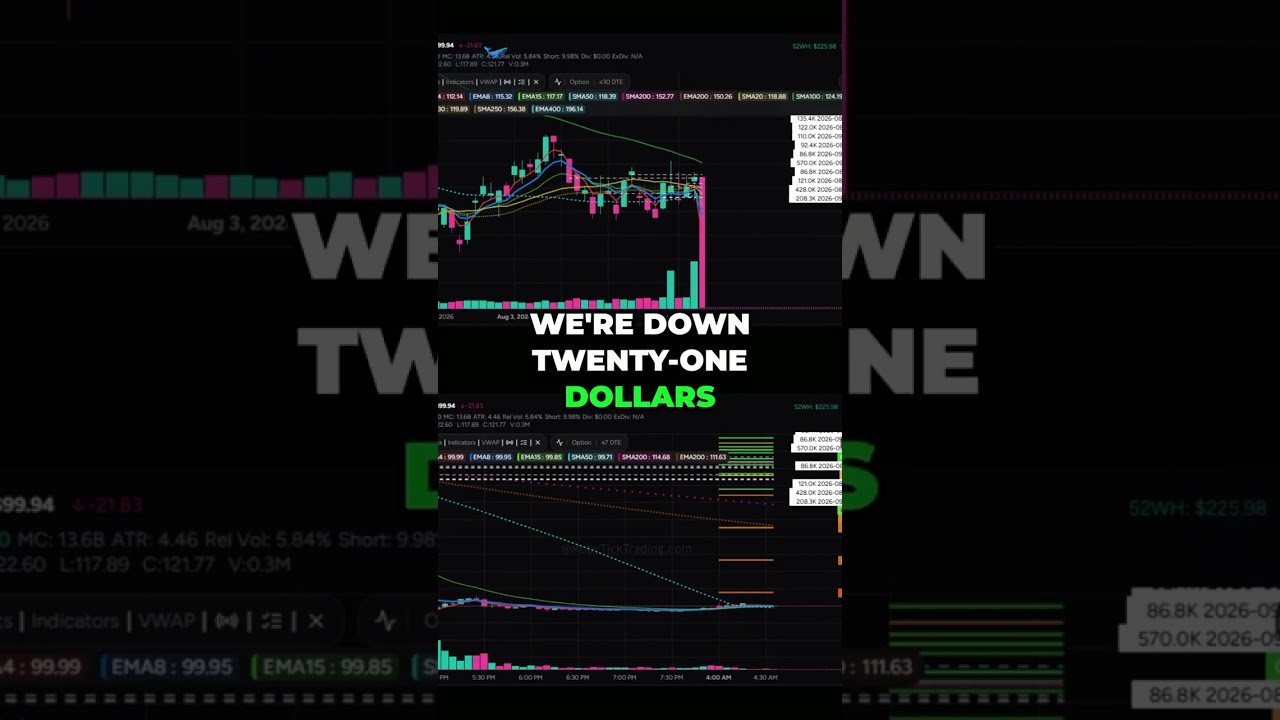
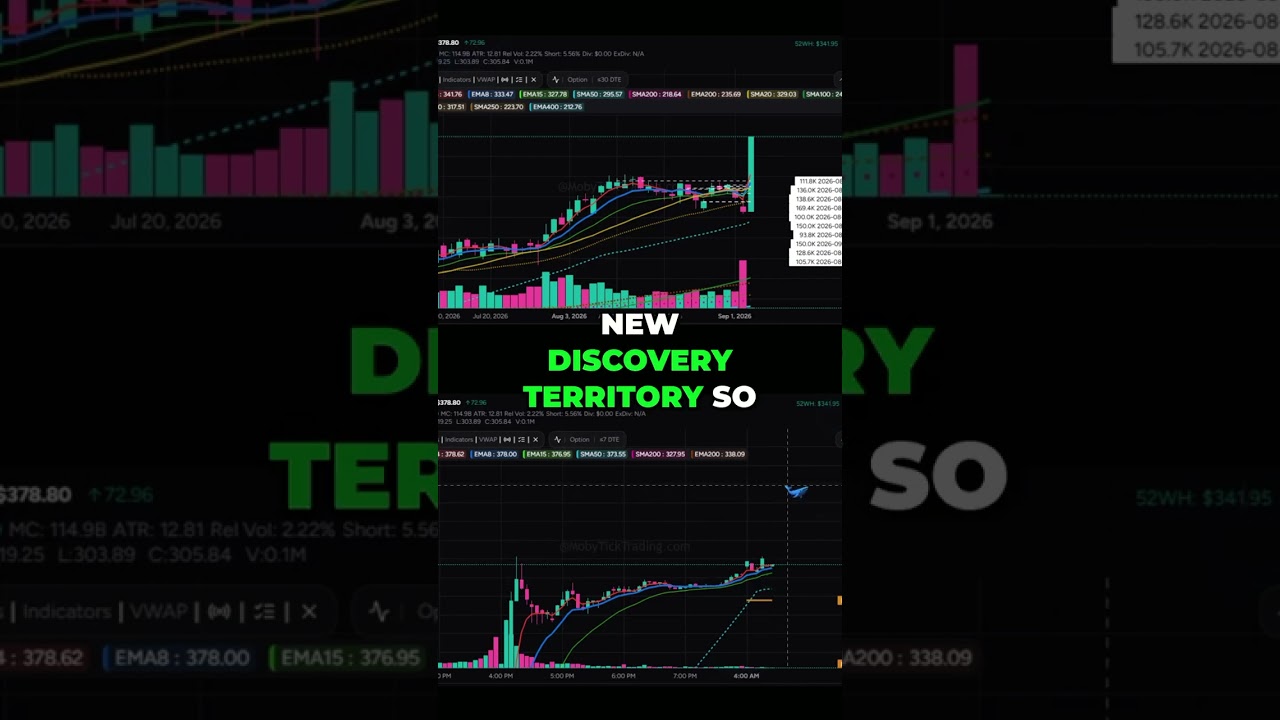
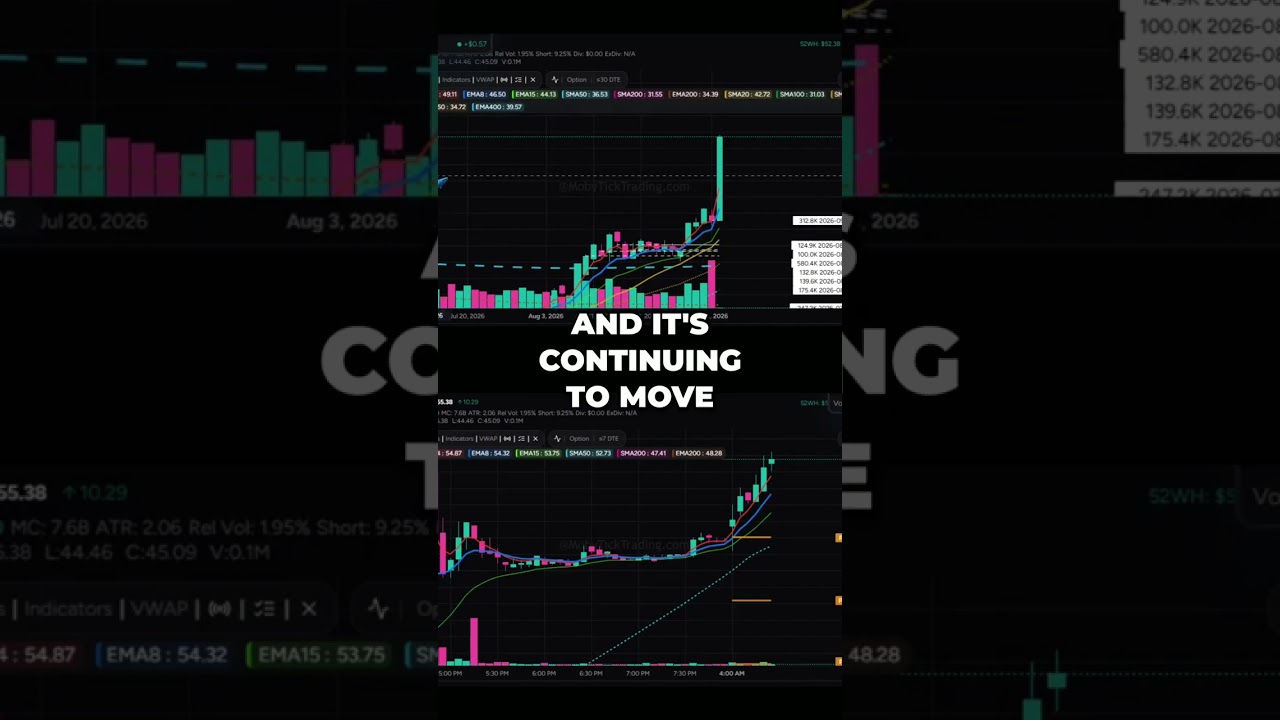
Dave Barnhart shows how to spot meaningful price levels by finding where dark pool trades and options positioning overlap. When institutional block trades and heavy options hedging cluster at the same strike, it signals a level worth watching. The confluence filter cuts dozens of noisy levels down to a few that matter.
Chapters
2 completely different groups of people. 2 completely different reasons for being there. 2 completely different corners of the market. And both of them just told you the same price matters. An institution moved a large block of stock at $100. Independently, heavy options positioning has built up at that same strike. Neither one knew about the other. They arrived at the same number anyway. That's confluence. It's the most useful thing in this entire series, and it's also the easiest idea to oversell, which is why the second half of this video is about when it means nothing. Quick framing: there are 2 separate conversations happening about every stock. On one side, the stock itself— institutions accumulating or distributing real shares, often in large blocks, frequently away from the public exchanges so they don't move price against themselves. That's the world of prints and blocks. On the other side, the options market— positioning building up at specific strikes and dealers hedging all of it with real shares, which is everything we've covered in the last 6 videos. Most traders watch one or the other. The interesting part is what happens where they overlap. Here's the logic, and it's simple: any single signal has a lot of noise in it. A big print might be a fund building a position, or it might be a portfolio rebalance that means nothing about direction. Heavy options positioning might be a directional bet, or it might be someone writing calls against stock they already own. Each one on its own carries real ambiguity. But when 2 sources that don't talk to each other, with different participants, different motivations, and different mechanics, both point at the same price, the odds that it's meaningless go down. Not to zero. Down. That's all confluence is. It isn't a new signal; it's a way of ranking the signals you already have. Let's make it concrete. Our stock is at 104. Down at 100, there's evidence that an institution moved a large block of shares. Also at 100, heavy put positioning has built up. 2 independent things are now true about that price: somebody with size transacted there, and dealer hedging is concentrated there, which means mechanical buying pressure activates as price approaches. That's a level worth more of your attention than a level with only one of those things. Same idea in reverse above price. A block print and heavy call positioning at the same strike overhead is a more meaningful ceiling than either alone. And there's a third layer worth knowing about— large block trades happen in the options market too, not just in shares. When an outsized options transaction lands on a strike that already has heavy positioning, that's the same confluence logic operating entirely within the options world. The practical benefit is subtraction, not addition. If you're watching prints, you get a lot of levels. If you're watching options positioning, you get a lot of levels. Put both on a chart and it's unreadable— everything is a level, so nothing is. Requiring agreement between them cuts that list down hard. You go from a dozen prices that might matter to 2 or 3 that have independent support. That's a workable number. You can actually build a plan around 2 or 3 levels. You can't around 12. Now, disagreement is also worth reading, and almost nobody talks about this. Say there's evidence of institutional accumulation just below a heavy call level. Those 2 things pull against each other. Real buying pressure pushing up into concentrated hedging that resists exactly there— that's not a signal to buy or sell. It's a heads-up that the price area is contested, which usually means chop, false breaks, and a harder time than the clean chart suggests. And remember from video 5, what happens if the buying eventually wins? Once price gets through that level, the hedging flips from resistance to fuel, and the move that follows tends to be fast. Contested levels are where the most violent resolutions come from. Knowing you're in one is worth something, even when you can't tell which way it resolves. Now, the part I want you to take more seriously than anything else in this video. The entire argument for confluence rests on the 2 sources being independent. And sometimes they aren't. Here's the most common way that breaks: a single institution buys a large block of stock and simultaneously hedges that position with options. One decision. One participant. But it shows up in both datasets— at the same price— looking exactly like 2 independent sources agreeing. It isn't agreement. It's one thing you're counting twice. There's a second version that's even more common. Both institutions and options traders gravitate to round numbers. Whole dollars, obvious technical levels, the prices everyone is already watching. So the 2 datasets overlap at round numbers constantly for reasons that have nothing to do with either one confirming the other. You cannot fully separate these from the outside. Nobody can. What you can do is stay skeptical of confluence at obvious round numbers, and give more weight to agreement at prices that aren't already the ones everybody's looking at. Treat confluence as a reason to look harder, never as a reason to skip the work. And one more, because this is where good analysis turns into bad results: none of this is an entry. A level is a price where something is more likely to happen, not an instruction, Not a direction, and not a trade. You still need a reason to be involved, a plan for being wrong, and a size that survives being wrong. Confluence tells you where to point the camera; it doesn't tell you when to press record. The traders who get hurt with this material aren't the ones who misunderstand the mechanics. They're the ones who understand the mechanics perfectly and then treat a good map as permission to skip risk management. Let's put the whole series together because it builds into one picture. A dealer takes the other side of your options trade and hedges it with real shares. Those contracts accumulate at specific strikes, and open interest tells you where. Delta sets the size of the hedge, and gamma sets how fast it changes, which is why hedging intensifies as price gets close. Whether that hedging chases price or leans against it determines whether the market trends or ranges. Levels hold until something bigger arrives, and when they break, the hedges flip and the move accelerates. Near expiry, heavy positioning can pin price to a strike, though not for the reasons most people say. And when all of that lines up with independent evidence from the stock itself, you've got a level worth building a plan around. That's the whole framework. 6 mechanisms and 1 filter. None of this predicts anything. That's not a disclaimer. It's the actual point. What it does is tell you where the friction is, where the fuel is, and which prices have more than one reason to matter. Everybody else is looking at the same chart you are. Very few of them know why price behaves differently at some prices than others. That's the edge. Not a signal, an understanding of the plumbing. Mobitick brings both sides together on one chart: institutional activity in the stock and options positioning across the chain, So you can see where they line up without watching 2 screens. That's the series. If you came in partway through, video 1 is where the whole thing starts. Everything else is built on top of it.