Dave Barnhart explains how dealer hedging creates option walls at heavily-loaded strikes, then breaks down five reasons they fail: overwhelming market flow, declining open interest, regime shifts, delta flips forcing rapid buying, or insufficient size relative to volume. A break with the wall still present signals strong conviction overcoming friction.
Chapters
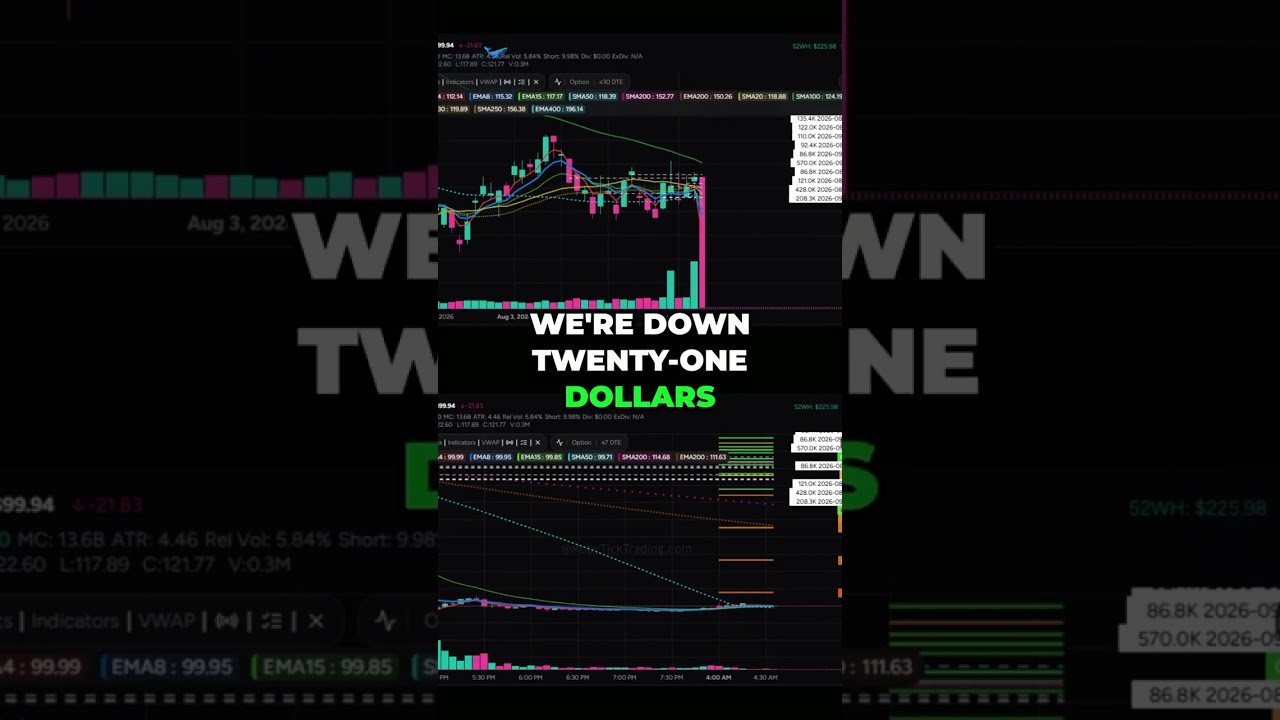
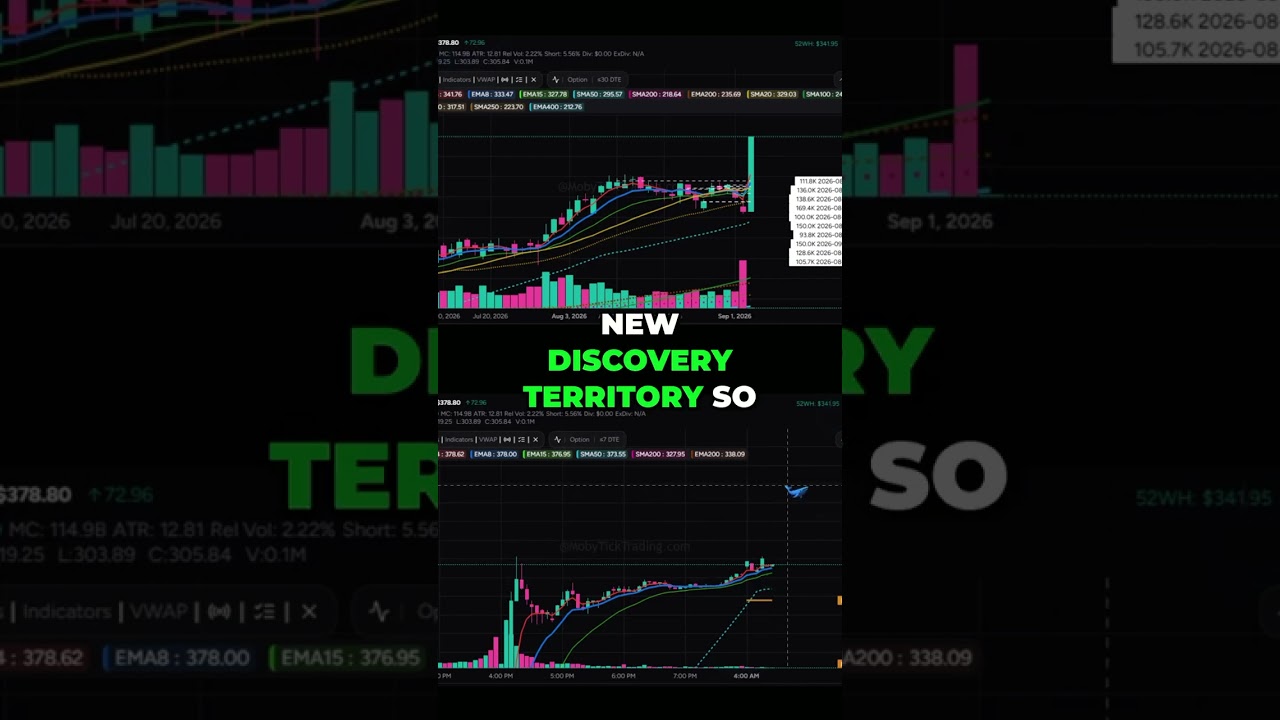
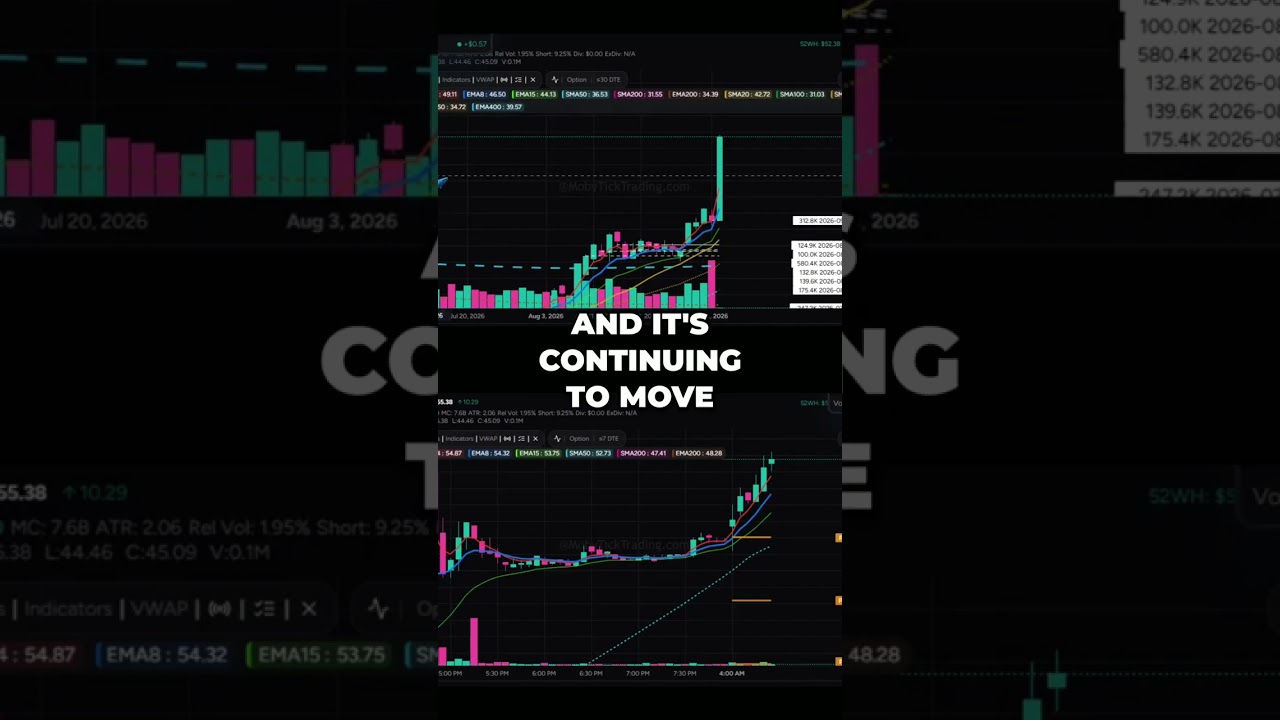
You've got a big level on your chart. Heavy positioning. Exactly where it should be. Price runs into it and stalls. Runs into it again and stalls again. Then on the third attempt, it goes straight through, and instead of drifting past, it accelerates. If you were short into that level, that's a bad afternoon. And the usual reaction is that the level was wrong, or the data was wrong, or the whole approach doesn't work. Usually none of those are true. Walls break for specific, understandable reasons, and the break itself is often more informative than the level holding would have been. Here are the 5 reasons and what to do about each one. Fast recap: Option contracts pile up at specific strikes. Every one of them has a dealer hedging it with real shares. As price approaches a heavily loaded strike, that hedging intensifies and concentrates Right there. That concentration is what makes a strike behave like a level instead of like empty chart. That's a wall. Notice what that is, though. It's a concentration of activity. It is not a barrier. Nothing about it prevents price from going anywhere. Which is exactly why it can break. Reason 1, and the simplest: something bigger arrived. Hedging pressure is meaningful, but it isn't unlimited. Real news, an earnings surprise, a fundamental repricing, or an institution that genuinely wants to accumulate a large position— any of those can put more size through the tape than the hedging around a strike. Think of a wall as a strong current, not a dam. A current will slow a swimmer down and push them off course. It won't stop a boat with an engine. When a level breaks on real information or real size, that's not the level failing. That's the level being correctly overwhelmed by something larger. Reason 2, and this one catches a lot of people: the wall had already drained. Open interest is a snapshot. Positions get closed. Traders roll from one strike to another as expiry approaches. A strike that was enormous last week can be a fraction of that size today, while the number sitting in your head is still the old one. So the level didn't break so much as dissolve. There was nothing left to hold it by the time price arrived. The fix is boring but effective. Check that the positioning is still there before you trade against it, rather than trusting a level you noted 3 days ago. Reason 3 ties directly to the last video. The same level does not behave the same way in both regimes. When hedging is dampening moves, a wall is genuinely sticky. Rallies into it get sold, dips into it get bought, and it tends to hold. When hedging is amplifying moves, that same level is much thinner protection. The prevailing flow is already chasing price, so a level that would have held on a calm day gets run through on a fast one. Same strike, same open interest— completely different odds of it holding, depending entirely on which regime you're standing in. Checking the level without checking the regime is doing half the job. Reason 4 is the most interesting because it explains the acceleration in the cold open. Remember delta. Below a call strike, those contracts act like relatively few shares, so the hedge is small. Once price pushes above that strike, the same contracts suddenly act like far more shares, and the dealer who is short them is now badly underhedged. So, they have to buy. A lot and quickly. That's why breaking through heavy positioning so often produces a fast, one-directional move rather than a gentle drift. The very concentration that was holding price back turns into fuel the moment price gets through it. The level didn't just fail; it flipped sides. Reason 5 is about scale, and it's the one people skip. A raw contract count means nothing on its own. It only matters relative to how much the stock actually trades. 50,000 contracts is 5 million shares of exposure. Against a stock that trades 100 million shares a day, But that's a speed bump. Against a stock that trades 2 million shares a day, that's the dominant force in the name. So the question isn't whether a number looks big; it's whether it's big compared to normal activity in that specific stock. A wall that looks impressive in isolation may simply have been irrelevant all along. Now, the reframe, because this is the useful part. If price pushes through a genuinely heavy level, one you've confirmed is still there, In a stock where it's big relative to normal volume, that break is a real signal. It means something with size and conviction went through resistance that was actively working against it. That's harder to fake than a breakout through empty chart, where nothing had to be absorbed at all. Traders who treat every broken level as a failed signal are throwing away the most informative event the level produces. The wall holding tells you the friction won. The wall breaking tells you something beat the friction. Both are worth knowing. The honest part, as always, none of this makes a level a prediction. Walls shift the odds of what happens at a price. They don't determine it, and there is no percentage anyone can honestly attach to a given level holding. They also expire. Once the contracts behind a level are gone, so is the level, regardless of how well it worked all month. And they're inferred from positioning data, not read off anyone's actual book. Use them the way you'd use knowing where the traffic is. It tells you where the friction is likely to be. It doesn't tell you where anybody is driving. So, 5 reasons walls break: something bigger arrived, the positioning had already drained, the regime was amplifying instead of dampening, the break created its own fuel as hedges flipped, or the level was never large enough to matter in that stock to begin with. Check that it's still there. Check the regime. Check the size relative to normal volume. And when a real one breaks anyway, pay attention, because something with conviction just went through resistance that was fighting it. MobyTick tracks how those levels change as positioning shifts, so you're working from what's there now rather than what was there last week. Next in the series, Max Payne. Whether it's a genuine magnet or the most overinterpreted number in options.