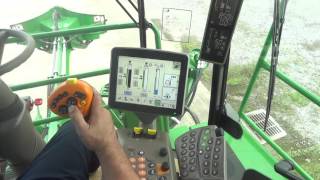
This is a YouTube video titled "CH570 Return to Cut Feature Setup and Adjustment" created on November 18, 2016. The content is a technical explanation by a single speaker (SPEAKER A) describing how to enable and adjust the Return to Cut feature on the CH570 vehicle, focusing on navigation through the interface and setting the cutting height parameters.
Going to do a short video clip explaining the Return to Cut feature on the CH570 vehicle. To enable the return to cut, you need to Go to your second home page, which is 2 out of 3. Go to your D Crop divider float button, then go to your second floating crop divider button. H To enable return to cut, you need to have this checkbox checked. So then if you go back to your your home page, this would be your return to cut target. So if you look at your actual height and your target height, you return to cut height. It would be 35. So you can set the return to cut height a couple different ways. One one way is to your machine down to your cut height and hit your capture button. You need to be within range if you have floating crop providers. So 46 is now my new cutting height. That's when I enter the field. That's what I'm going to try to achieve by entering the field. So you can also adjust it by simply hitting the up and down arrow. So if I exit the field and I go to enter the field, I hit the double D10 on the switch. It'll go to my return to cut height setting. Also you notice that when when you're in the return to cut mode that the base cutter icon will turn yellow. If you have contour base cutter height control, it'll go from yellow once it gets to your return to cut height to green, which is active contour based cut height.