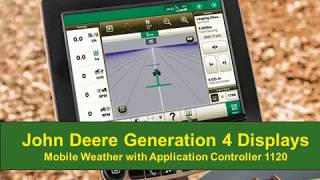
This is a YouTube video titled "Estação Meteorológica Móvel com Controladora de Aplicações 1120" created on November 25, 2019. The content is a detailed instructional walkthrough explaining how to set up a mobile weather system using a Universal Can Controller 2 with a John Deere Generation 4 display. The speaker guides viewers through various setup steps, including profile editing, alarm configurations, and diagnostics related to weather monitoring features. The video is a single-speaker tutorial focused on agricultural technology setup.
Hello. Today I will walk you through the setup of your mobile weather with a Universal Can Controller 2 using your John Deere Generation 4 display, we will start by clicking on the ISOBUS VT and then the Menu button, and then we'll scroll down to our Universal can controller. Once selected, let's start by clicking on the Activations tab on the top of the screen in this page. This will show you your current activation setup with your Universal can controller. Under the Diagnostics tab we can see the current versions of our hardware and software. Back in the Profile tab, let's go ahead and select where it says Profile MW Just to make sure we are on the profile of our Mobile weather. Now let's click the Edit button next to it where we can edit the name of our profile. This page will allow us to select the feature which we will need in order to complete the task in this profile. The next page will allow us to do things such as set up an alarm for the mast in folding positions while plying and the mast up while transporting. On the next page we can set up more alarms such as the Wind Speed alarm and the wind Direction alarm, in which we will get a notification if the wind speed is too high or too low for our applications. The next page will allow us to set more alarms for our high temperatures and our low temperatures during application, as well as the Delta T range. If we ever get confused during the setup, we can click on the question mark at the top right of the screen where we'll get an explanation of some of the icons and tools that are used throughout the setup process. The next page will allow us to adjust our alarm preferences and once we're satisfied we will click Next and now we have successfully created our mobile Weather profile. Now let's click on the Mobile Weather button on the right side of the screen. Here we can see our current readings such as temperature and wind direction. In the Setup tab we can see a full list of the alarms that we just created while we were making our Mobile Weather profile. The Diagnostics tab will give us a full list of the activation levels of the components that go into Mobile Weather. Thank you for watching this video on Mobile Weather.