How to Combine Orderflow and GEX
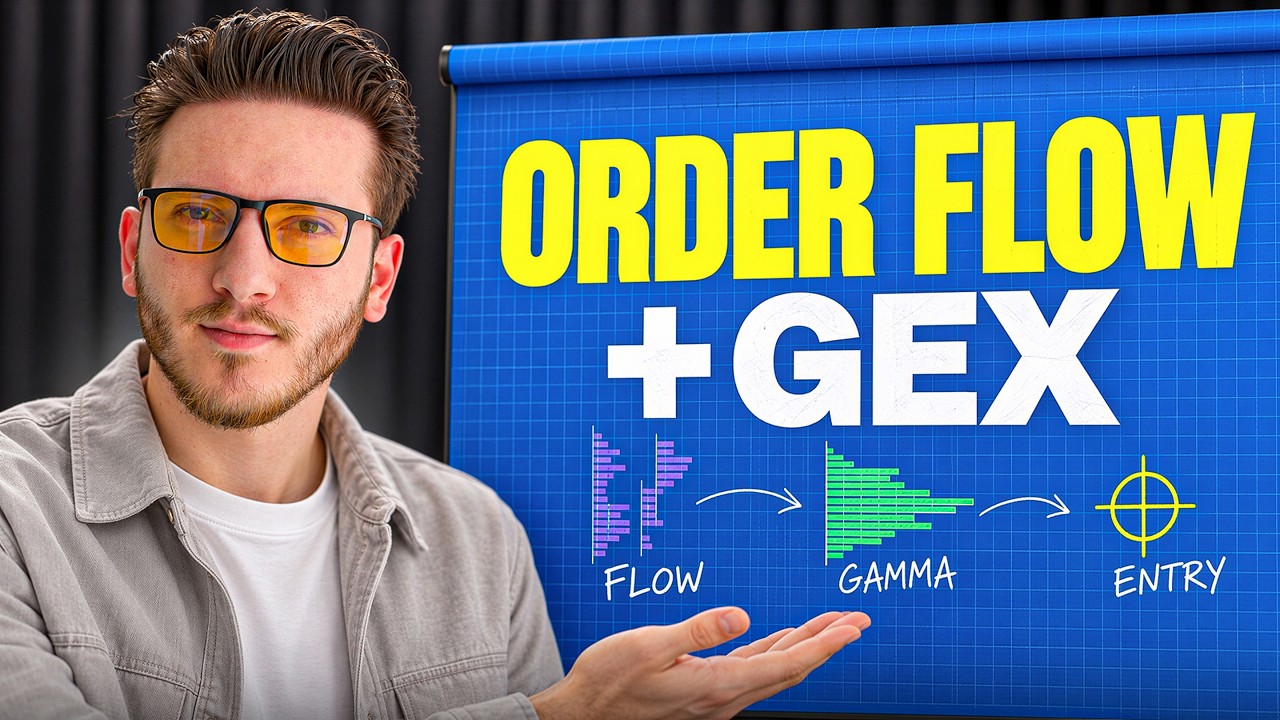
Learn to combine Level 2 order flow with gamma exposure (GEX) for intraday ES and NASDAQ trades. The method uses demand zones, footprint charts to spot aggressive sellers, and the DeepGamma Web tool to identify hidden long-gamma walls that signal where market makers buy dips or accelerate moves.
Chapters
In this video, we'll show you exactly how to combine order flow together with gamma exposure and option flow. We will see a trade idea that we've seen live with our DeepCharts community today that is simply a spectacular example of how you can use professional-level data like Level 2 data and gamma exposure to get a level of context awareness and precision for your entries that you simply cannot achieve through price action alone. This is the live trade as soon as we took it. So I will break it down again for you bit by bit so that you can see a practical implementation of both of These layers of data. The first layer is simple volume analysis, and if we see that the previous cash session was traded most of their contracts here, and during today London session we had a push outside of that value area, and by the way this happened because of a fundamental news, and we didn't just fade the news back, we consolidated there and agreed that that was the fair price. This is a first indication that we're already very bullish. We have the auction shifting on our side, also very close to this value area lows, and we have a fundamental. Narrative that could support bullish order flow. So the first step is I take yesterday's value area to qualify the possible support area, and I take it from the value area high to the nearest low volume node. And this is my demand zone. I'll typically put it around the low volume node and starting at the high volume node. I basically want to take this drop in volume into consideration as my main area of interest. And today what happened is we opened the session and right at that area, we saw sellers clustering a lot of effort and no candle being able to close Below this cluster, and this is the first thing that rings a bell. But to time this entry more precisely, I look at option flow. And this is how option flow of zero DTE gamma exposure looked like at the beginning of the session. Not really many areas, just a put wall keeping price at bay, and this call wall right above here. So I did not have much information to work around with. But then I noticed something that a lot of GEX traders are not familiar with. I went into my GEX heatmap, and I realized that the data source is GEX market makers. The option expiration is zero DTEs, but I did not activate the Include Carry on Open Interest toggle. And this is something that a lot of GEX platforms do not have, but it's crucial to get the full picture of the 0DTE Gamma Exposure heatmap calculated from market maker positions. And if you just activate that and apply and save, this is how it would look like. Just by activating a toggle, this huge long gamma level has appeared. So what exactly happened here? And by the way, if you're not familiar with Gamma Exposure, I just made a video explaining exactly how it works. And as I've explained, these long gamma levels is typically when I expect market makers to buy the dip. So the difference between the first 0 DTE gamma exposure and this one, which is 0 DTE including carry, what carry means is that if the market maker 90 days ago facilitated a trade on a 90 DTE option and that 90 DTE option was traded 89 days ago and it's expiring today, the carry takes it into consideration To calculate the zero DTE GEX. So this one basically takes into consideration only the zero DTE options that were traded today. This one over here takes into consideration older dated options that were traded and were born before today, but are still open, but are expiring today. So not just zero DTE traded today, zero DTE that were traded before, but that are expiring today. And just by adding this small piece of data, we saw the reason why price was. Really not able to pierce through this wall. This was a huge gamma wall that we were not seeing before. And right at that level is exactly where sellers got absorbed. And after a small failed auction below here, that's when we want to start taking a look at order flow to see if there's some potentially long ideas. And so we move on to the footprint chart. And exactly there, let's see what happened. Well, right below these lows, a huge inflow of aggressive sellers Started being poured in the market but was absorbed by passive buyers. You see this 600 and 500 over here. So this means that sellers are punching a wall of passive buyers. And immediately after, buyers taking control with high level of imbalance and a lot of volume, 6,300 contracts. And again, they keep pushing. They push through a wall of sellers once, they push through a wall of sellers twice. And here they punch another wall as soon as they're about to break out of the main area of the day, the opening range. And here is where we have the battle. We have buyers being absorbed over here, sellers being again absorbed over here, a very fast momentum ignition with these market orders that spike through the passive wall, and then buyers taking control. And this is my trigger. So in the session, I bought right after this. And here there's different ways to manage a position like this. You can either be super conservative and have it below the entire area, but taking out these highs was very probable. And if we see the IVB, we've just broke through the opening range breakout. So you can just put a stop loss below the invalidation level, which is potentially where these buyers, after absorbing, took control. And the initial target for this trade was the protection level. Slightly above the previous day high, we had the level that IVB automatically calculates as the most probable to be hit. But this is just a statistical reference point. If I were to look at where the money is, I would look at options and I could simply see that right up there, there was a call wall. So after the confirmation, the final target was that one. And exactly there is where you see price immediately reversing. This absorption here that kind of gave us the trigger was exactly at this put wall. Price bounced once and bounced off, went again there, bounced back, punched the put wall, moved all the way back up there, absorbed buyers, and now we're staying in within this limbo of put walls and call walls. But what also gave us confidence that this trade could keep moving higher was what was going on from the options side, because not only we had this huge long gamma level, We also had right after the breakout 3 completely negative gamma levels. At that point in time, we're kind of bigger. And what you can expect from these levels is that market makers will exacerbate volatility by buying the rip. So again, long gamma levels as areas of where you expect price to buy the dip and sell the rip, negative gamma areas as areas of acceleration instead. And this is exactly what happened. So we had the confidence to try and reach the other side, the call wall. So this is just one example that makes you understand how the ultimate level of understanding of the context and of market action for intraday traders and scalpers for ES and NASDAQ, the deepest level is this. It's really hard to get a more precise and more complete understanding of what the hell is going on behind the candlesticks. Than Option Flow Gamma Exposure from CBOE combined with CME Order Flow. And we've just released DeepGamma Web. So if you didn't still try DeepGamma on DeepChart, you can try the web version. So you don't even need to necessarily buy an order flow data feed on top, and you can use it very smoothly also on Mac. That is it for today's video, and I will see you in the next one.









