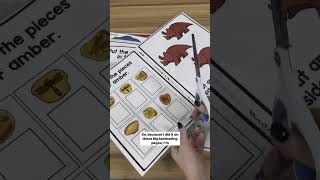
Watch the creator assemble DIY Easy Matching Weekly Workbooks from start to finish. She laminates printed pages two at a time using 3 mm menu-size sheets, cuts and trims them, hole-punches each page, and binds them manually with TruBind coils before adding Velcro closures.
Chapters
Come along with me as I prep Easy Matching Weekly Workbooks Dinosaur Edition. I got these printed at FedEx and I am ready to laminate for the first step. The first step is one of the longest steps. It's laminating all the pages. I recommend using these menu size 3mm pages because I can do 2 at a time and because it's long I've always got some Real Housewives or other trashy shows on the iPad while I laminate. Alright, the next step is cutting out all of the pages. So because I did it on these big laminating pages, I'm going to cut out each piece and then trim all of the extra laminating on each and every page. I've got all of the books cut up and ready to go. The pieces I haven't cut up yet, but first I'm going to bind everything before I Velcro. I'm going to hole punch every page in this TruBind coil binding, and then I will add the binding on. All right, the books are all hole punched. Now I'm going to add in my coil binding. This does have a feature to do it electronically, but honestly, I always just end up doing it like this by hand.