6 Skin Mistakes Causing Flaky, Patchy Makeup | Dr. Idriss' Expert Tips
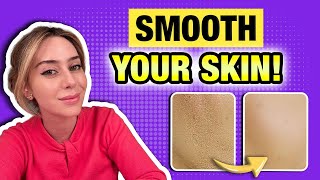
Dr. Shereene Idriss breaks down six skincare mistakes that cause flaky, patchy makeup. She covers exfoliation, hydration layering, and skin prep techniques that actually matter for a smooth base.
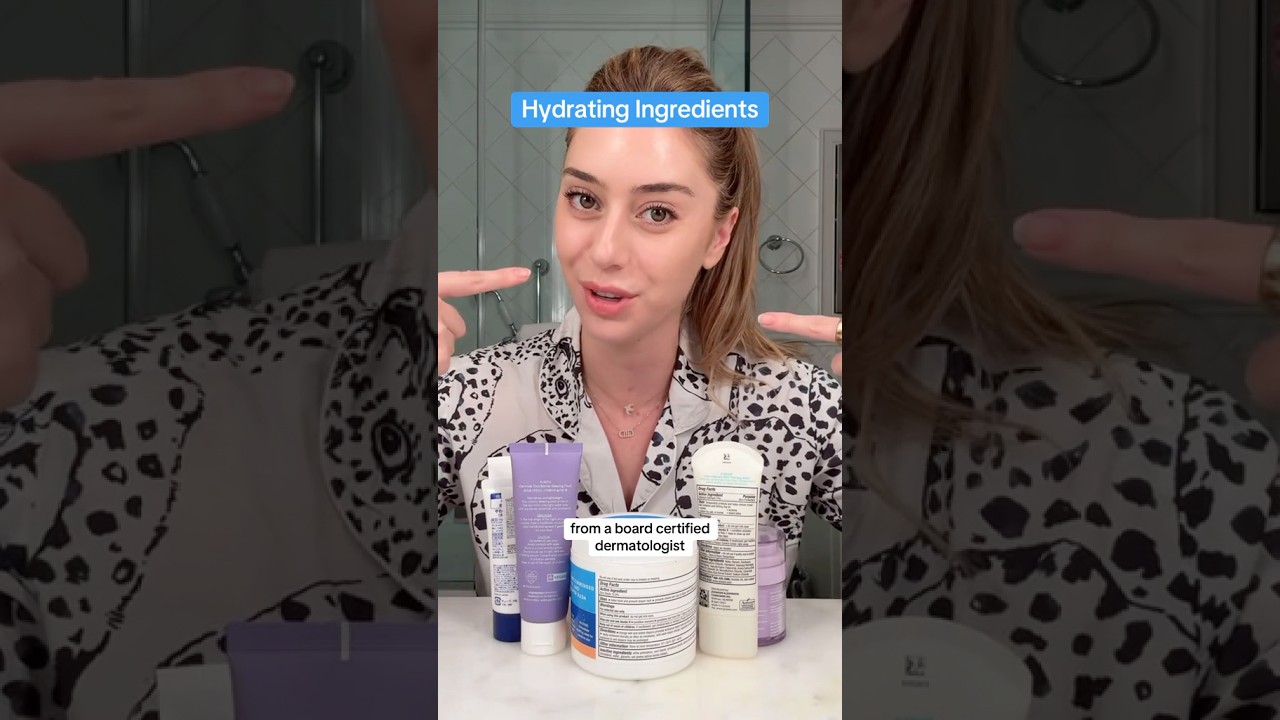
Welcome back, little nerds, to Pillow Talk Derm, where we do this thing every Saturday morning at 10am and today we are shifting gears and talking about flaky makeup and how to avoid looking like this. Flaky, patchy, cracked, and chapped. Just not pretty or good. Before I do that, I am in no way, shape, or form a makeup artist. I've only ever had one makeup lesson, and it was this past October. And a few of you have noticed that my makeup game has definitely strengthened over the past few months, and I attribute it to that lesson. But the reality is I've had the honor of being worked on by amazing makeup artists throughout the last few years, and they all tell me the same thing, which I know as a dermatologist, that the good makeup and the best makeup you will ever have is always based off of your skin and your skin prep. So today, without further ado, we're going to jump in into to prepping your skin in order to achieve flawless makeup. And if anybody is wondering, there is no fashion filter. This is exactly how my skin appears. Yes, there's good lighting in the bathroom, but no, there's no filter. So let's dive in. And it would not be fair to start this conversation by talking about our lips, because the lips are oftentimes the focal point of a makeup routine, and we hardly ever talk about prepping our lips. We're not going to talk about this video too long in terms of my newest launch, but I do want to bring it up because I'm about to prep my lips in order to apply my makeup right here, right now on this video. But we are going to baste our lips utilizing our lip basting duo, the newest launch from my skincare line. The first step of this prep is a lip peel. It is a peel made up of glucanolactone and mandelic acid to make sure that we are getting rid of all of the dead crusties on the surface of the lips while holding on to hydration through the use of glycerin. Now, I normally do this at night. Fun fact, it is nearly 11pm tonight, so I'm not going anywhere after this. But I do this at night, and I do it every night in the winter. I do not have history of cold sores. I don't have sensitivities that way, and so I'm able to tolerate it. It is very, very gentle and made for the gentleness of your lips. And then I seal it in with the lip based over a few days. You will notice that Your lips are going to be getting smoother and smoother. And if you shower in the morning, after your warm shower, your lips, if you just gently rub them like this, start to feel like a baby's B.O. i kid thee not. So this is how we apply the lip based on top. The lip base is not a normal lip balm. It is loaded in ceramide, squalane, colloidal oats, as well as shea butter and glycerin to hold on to that hydration. But as you guys can see, it preps your lips for a smooth foundation, followed by, I apply a lip color or a tint. Now, KJH has a beautiful blush, which is also an eye color, which is also a lip color. And so just like this, because I'm not a massive lipstick human, I just kind of go like this. And you guys have been asking me as of late, what color do I have on my lips? And this is exactly what I have been doing. I couldn't share because this was not launched yet, but this is how we prep our lips for a seamless lip application. Makeup routine number two. Let's talk about exfoliating, but exfoliating wisely. It's not just about getting rid of the dead skin cells on the surface of our faces, but it's about doing it in a way that our skin work for us. When it comes to exfoliating, I like to exfoliate at night, at the end of the day, getting the makeup off, getting the day off your face and then exfoliating before we apply our skin care, because that is going to set up our skin for success, especially the next day before we apply makeup. There is an exception to this rule. If there is a red carpet event, a wedding, a major life milestone, you can exfoliate before applying your makeup. Your makeup will go on so smoother because exfoliating, especially chemical exfoliating, is going to help break up and dissolve the bonds that hold the dead skin cells together and allow us to reveal a fresher, more uniform, more radiant base to our skin. If you don't exfoliate, you are just causing the buildup to get worse. Our makeup is going to be applied onto our skin that has never really been exfoliated in a patchy way. So we're going to have clumps of makeup sticking to dead skin, skin cells. We're going to look cakey, and we may be even flaky over time because again, if you're not helping your skin cells exfoliate and break up, it may kind of stick behind fun fact, our skin cells renew themselves every 28 days. Ish. But as we get older, that cellular turnover slows down. So our skin cells do not really renew themselves as often and it can even go up to 45, 50 days. So if we're not exfoliating, we are just looking more dull in the process. And last, if we don't exfoliate, we're going to have an uneven absorption of our skin care. When I'm talking about exfoliation, I quickly, I quickly, I quickly hinted at it. I was referring to chemical exfoliants over physical ones. Physical ones, like the traditional apricot scrubs, walnut scrubs are just not my jam because it can lead to further inflammation and irritation. And chemical ones can be much more elegant targeting a specific problem for you without overdoing it. So if you are somebody who has dry skin and you're looking to hold on to moisture, glycolic acid is number one, two and three. If you're somebody who has brown spots, sunspots, etc. Lactic acid helps to brighten. If you're oily, salicylic acid is going to be your best friend. If you're very sensitive, a polyhydroxy acid like glucanolactone, what's in here? Or even mandelic acid, which is the most gentle of the AHAs, which is also in here, can also be helpful as well. So you kind of have to understand where you fall on the spectrum and what type of acid you are going to be gravitating toward. Best advice, start with a low concentration. Don't try to go too strong and don't try to do it every night. When it comes to your face, several times a week in the wintertime when the UV index is low, like three to four times a week is great, especially when it is dry because you're going to help with that cellular turnover. In the summer when the UV index is higher, you can go less in terms of exfoliating because you don't want to be too sensitive to the sun. And just make sure if you are exfoliating the next day, you make sure to protect your skin with sunscreen. Tip number three, it is all about layering. Hydration. Think of your skin like a sponge. When it is dry, it is going to be rough, it is going to be stiff, it's going to have visible cracks. Whereas when it is hydrated it can look soft, plump, smooth, perfection. The only key here though is how you layer your hydrating products. Because if you put something that is heavy with an oil underneath, a water based product, and then you apply a foundation on top of that. Hello, flake pill city. And so you have to layer the products wisely and slowly. So it is about creating a smooth surface onto which your makeup can adhere to seamlessly and evenly without any sort of patchiness when it comes to your foundation or to your color corrector. So the key is, how do we layer? We start with the lightest, I. E. An essence, a mist or a hydrating toner. I like to put these in a sort of electric. Mr. My battery is unfortunately dead, but I like to mist with this because it goes on much more uniformly than a where you feel like you're getting spit on as you are applying your mist. Following the mist or the essence, you then go into a very lightweight hydrating serum. The serums are going to be gentler, they're going to be easier on the skin, they're going to absorb more easily instead of sitting on the surface of your skin. And after the serums, you apply your thicker moisturizers. In terms of moisturizers, you have gel moisturizers which are lighter. You have creamy moisturizers which are slightly thicker. And then you have almost like thick, rich ointments. In terms of like the difference, I will show you guys consistently what that looks like. So the active seal by myself is technically a gel moisturizer. As you can see, it is a lightweight moisturizer meant to just get absorbed onto your skin very easily and, and not have any residual impact. Then you have a creamy moisturizer, kind of like the Kiehl's Ultra facial cream, which I have in front of me over here. Let's open this baby up. And this is a thicker moisturizer. Oh, it's a fresh one. Don't mind me. Yeah, that happened. Is a thicker moisturizer. It does have more grip to it than a gel moisturizer. Okay. Although they call it lightweight, it is definitely thicker in consistency. And then we have our thicker, richer moisturizers, like their overnight hydrating one, which is basically a thick, rich balm, kind of like a buttercream icing. And so there are different weights to moisturizers. And it's important that you understand that, that not all moisturizers are created equal. I will plug below my hydrating skincare video and how to, how to layer them because I do go more in depth in that video. But a bonus to any time you are trying to layer hydration onto your skin is get yourself a humidifier because if your air is Very dry, and you are just applying, you know, hydrating serum over hydrating serum over hydrating serum, it's going to evaporate relatively fast, and you're not going to be getting the benefits of those moisturizers for your skin. Tip number four, and this is a favorite one of mine, it's apply your skin care wisely. Meaning the order in which you apply your skincare has to be done systematically so that you are absorbing correctly without wasting time and waiting there for it to get absorbed. So what do I do before I do my makeup? I wake up first. I wake up and then I shower. When I come out of the shower, that is when I start applying my skincare, I'm still in my towel. I apply my skincare onto my face. I go, I put on my underwear. I come back, I apply my sunscreen. I go and I get dressed. I come back, and by the time I come back, my skincare, my sunscreen have settled and my skin is nice and absorbed. And now I can apply my makeup. If I rushed from applying my skincare to applying my foundation and I just started layering, layering, layering, putting things on top of one another, I would look cakey, I would look flaky, and I would not look as fresh and seamless. So it's really important to apply your skincare in a stepwise fashion, but build it into your morning routine in between you getting dressed so you're not sitting there wasting time staring at yourself in a mirror, waiting for your moisturizer to dry off instead of getting dressed or putting on your underwear, etc. Etc. Number five, in the same way that you are layering on your skincare, you apply your makeup in thin layers. Now, this I learned from makeup artists. I am not a makeup artist. I have no idea how to apply makeup, except for what I learned. And what I learned is you want to go in thin layers. Now, interestingly, in the past, right, I used to do my skincare. I'd get dressed, I'd come back, I'd do my makeup. I would wear, like, a tinted spf, like this one by Laura Mercier, and I would apply it first all over my face, and then I would do my eyes, and then I would do my eyebrows, brows. But the order in which you apply your makeup also does make a difference. So once we've done our skincare, I come back fully closed, and my first thing I do is I apply my eyebrows. After my eyebrows, I go in and I do my eyes, I put my eyeliner, I put my eyeshadow I do not put my mascara. That is the last thing I do. But after I do my eyeliner and my eyes, I go in with a color corrector, which I apply in very light, in a light fashion. And the best tip I have, and as you can see, there's a little tint of makeup on the back of my hand, is I first apply this to the back of my hand to warm the product up. I used to think that was and just like, fancy schmancy that nobody has time for, but the reality is, it does make a difference. And then I take this flat brush, and I go like this, like this, like this, tapping it on the back of my hands, making sure the product is evenly dispersed, and then I go into the areas that need to be brightened. Now, the reason why it's important to keep tapping, especially after you've applied your skincare and you're applying your makeup, is so that it doesn't build up and build into the creases and look like it is creased underneath your eyes. So I start with a color corrector that way. And then if you are somebody who wears foundation, I do the same thing. If the days. On the days that I'm wearing foundation, I will take this. I will literally just use this much for my whole face. But this I just tap, tap, tap, tap, tap, tap, tap, tap, tap, tap, tap, tap, tap to get the product on evenly on the brush. And then it's sort of like, oops. This we just kind of tap, tap, tap, tap, tap, tap, tap, tap, tap, depending on where you're looking to get coverage and how you're looking to get it applied onto your face. Now I'm just applying it a little bit over the makeup that I already have, just to demonstrate it for you guys, because you guys have asked me in several videos, but literally, that is how I apply this on my face. And at the very end, you put the concealer. I used to put the concealer first before the sunscreen, the Laura Mercier. But it's at the end that you apply your concealer. And in the same way, I put this to the back of my hand just like that. Some makeup artists will put it in the palm of their hands. I actually think it might be better to put it here because it gets less messy. But I have it now is a habit we have to kind of retrain ourselves. And I take this tiny little brush, so I have three brushes, and I work this foundation, this concealer into this brush, and then I go in and I tap it, always tapping Tapping, tapping. I don't really use powders. I don't really use all that fancy schmancy like primers. I just do my skincare and I apply my makeup right it on top. Now, the technique definitely does help ensure that buildup doesn't happen. It does ensure that you look smoother, it does ensure that it doesn't crease into your fine lines, and it does ensure that you look more even and smooth. So this I learned from my own makeup lesson. If you don't have brushes, you can use your fingers, but the same thing applies. You want to make sure you're tapping, tapping, tapping, tapping, warming it up so that it's evenly distributed on your finger before you decide to apply it to your face. Because this way you're making sure that it is much more uniform in application. Et voila. That's the best way to layer your makeup product. And then the final tip, which is my own personal favorite little kind of added tip, is as we are layering the different layers from the color corrector to the foundation to even the concealer, or even if it's just skin care to, let's say a color correcting moisturizer. Just one simple thing or skincare to foundation. I like to mist this, which was the first step of our skincare routine. This is that glycerin mist. It is currently dead, but I missed the glycerin mist in between applications. Or if you don't want to buy glycerin and make a mist. One thing that I was turned on to by my medical assistant is this morphe jumbo setting spray. It is a continuous prep and set spray. Katie Jews taught me that you spray up and you let it fall on your face so that this way at least it's not creasing on your eyes and causing your eye makeup to move around. E Voila. That is how you have a flawless makeup application. It really does. Start with your skin prep, followed by your skin products and how you are layering them, followed by how you layer your makeup in addition to setting your makeup and using mists and sprays in between your different steps. Now, if you guys have any questions, as always, leave them below. I am not sponsored by any of these companies. This is all stuff that I've learned throughout the years in terms of makeup artists putting makeup on my own face. But I definitely hope it is helpful and I hope you guys learned a thing or two. And again, this is now my makeup on on top of makeup, because I was showing you guys, but there is no filter here. It is more a question of how you prep your skin to get the best application for you. I hope you guys have a beautiful Saturday. And I will see you guys next week. And yeah, don't forget to baste. Let's get pasted.
More from Shereene





3 Ways I Prevent Post-Menopause Skin Issues + What Really Helps Elasticity After 50