4 Steps To Better Carving | Carving Drill For Intermediate/Advanced Skiers - In Riggers
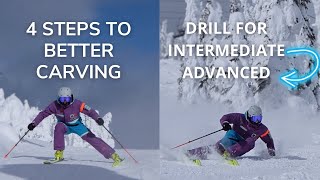
Tom Gellie teaches a carving drill called the in-rigger, where you slide your inside foot flat while bending that leg and keeping the outside leg straight. This builds progressive edging and the long-outside, short-inside leg mechanics that let you carve at higher angles without twisting or skidding.
Chapters
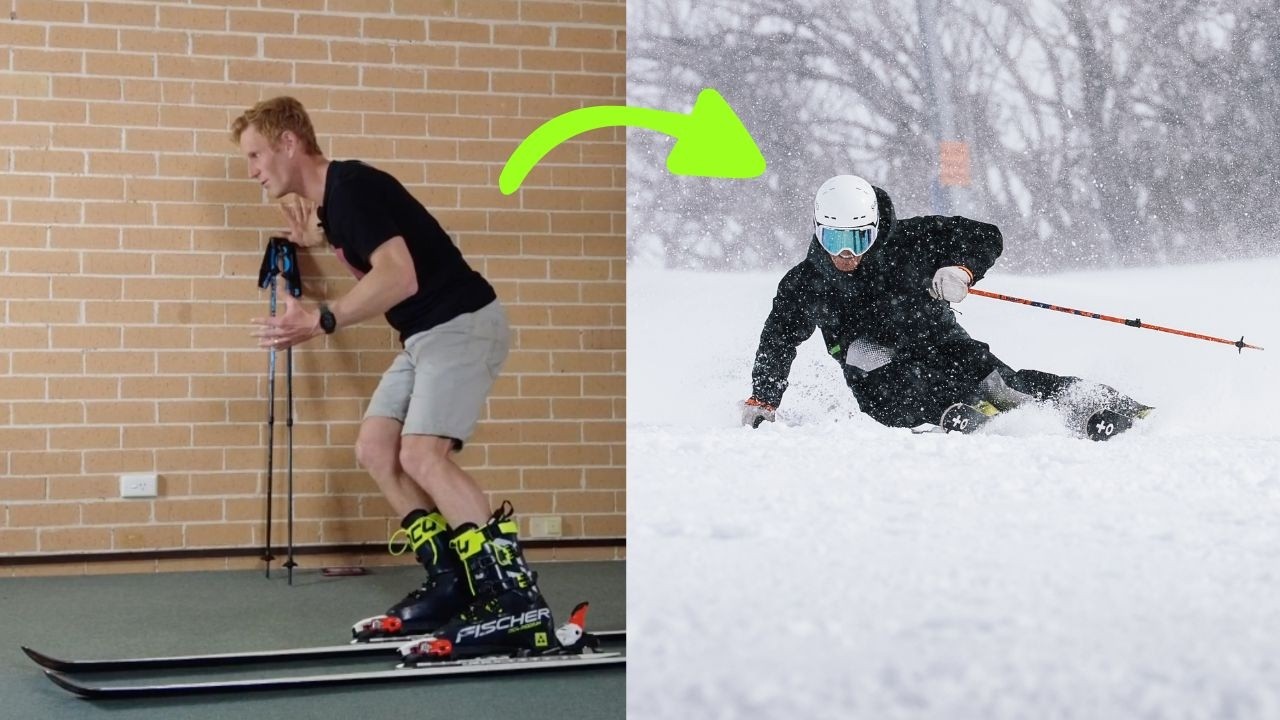
Hey, I'm Tom Gellie from Big Picture Skiing. I absolutely love carving and I love teaching carving. Today I want to give you a few things that are going to help you ski more like this, like this, and like this. The sensations you get, the feelings, the G-forces, the feeling of the ski gripping and the snow flying off, absolutely sensational. So if you tune in, listen to these little steps, I think they're going to give you some of the pieces on your way to becoming the best skier you can be. Okay, so the first step is understanding what progressive edging is, and the easiest way is to just show you. I'm going to do a traverse turn here, and I'm going to put my ski on edge. It's not going to skid, it's going to rail across the mountain, but I'm not going to progressively edge it. I'm going to set it at this amount of edge angle.
Leave it.
So I've left a rail turn, now I'm going to progressively edge, so the edge angle I'm going to try and gradually or progressively increase it through the turn. So same starting spot, go. So the difference is progressive edging made the ski turn more because it bends with more edge angle. There was staying the same, this was progressive edging. So if you can progressively increase the edge angle, you can sharpen your turn without needing to skid it, but just purely carve it. I'm going to show the exercise to help feel and work on progressive edging now. So the exercise for progressive edging is using something I call an in-rigger. So standing across the slope, I'm going to slide my inside foot flat across the snow while I bend my inside leg. I'm going to keep my outside straight, and now you'll see the edge angle progressively increases. So you just want to test for yourself, can you do this? Because you might catch an edge, or you might kind of stretch out both. It's bending one, straightening the other, noticing that you can progressively edge the ski. Here, slide across, I can feel this progressive edging giving me a bending ski, helping me to carve a shorter radius turn.
The start of this progression works on the end of the turn first, so you're using a traverse be careful, look up the hill before you go. But working on the end of the turn really helps you not worry about speed control, and breaking it down, doing one turn at a time, I highly recommend. So you're gradually adding more speed, so you can really feel as you tip that ski over, the ski starts to bend and turn on its own the more it's tipped over. So really get the sensation of increasing the edge angle constantly throughout this single J-turn before we move on to the next step.
Great spot for this, you can just now get a little more speed, just get used to the sensation of the more you tip the ski over, the more it turns, that is what is going to control your speed and control your radius. Both sides, and now let's move on to the next step. So the next step is learning to not only carve the end of the turn, but learning to feel the ski roll on edge, not twist it, and carve the top of the turn. The great thing is you can use the exercise you've already learnt, the in-rigger, but just to work on that outside ski carving the top of the turn. The new different sensation is instead of sliding my inside ski up, I'm actually going to be sliding my inside ski down the hill and leaving this one where it is rolling onto the edge. So the new feeling is sliding the inside ski down the hill so you can roll the outside ski on edge, not twist it, and just feel the progressive edging at the top part. So I go across, widen my stance, this ski catches, I'm just going to let it ride I want to learn that I can now start the turn with progressive edging, no skidding. So at this point, what I'm trying to teach you is to roll the ski on edge, this outside ski at the top, trust that the edging is going to turn you. The common problem most people have with trying to carve the top of the turn is they will twist and skid the ski to get it turning. The track in the snow is completely different, it just looks like a washed-out skid. The one you want is a rail, like that. The new sensation is this ski on foot does not turn, it just tips, and this leg is shortening to help allow this leg to tip. You want to practice this on really easy terrain, get the sensation of locking that ski on edge, be sure to look back and check your tracks, or your friends if you are working on this with a friend, to get it right, it might take a little bit of time.
Yeah, so take your time here, you are really working on the top of the turn, which often is missed, especially if you ski at higher speeds and on terrain that is above your kind of ability to carve on. So we're going to slow things down, really make sure the top of the turn has a really clean edge to it, and we're just working on the outside ski only. Don't worry that we're in a big A-frame, wide stance, doesn't matter. One ski at a time. This top view I think is great for seeing this patience in rolling the ski on edge, not being in a rush to twist it, and just trusting that the ski will start turning on its own through tilting it on its edge. I'm progressively doing it more and more through the turn. I take a moment to chill just here and then practice rolling on that edge through shortening that inside leg, stretching the outside one, and still using the same little ankle roll to help the ski get on the edge. Once you get going, you can start picking up a little more speed and taking it more down the hill, but Still working on the top of the turn, really feeling a clean arc left in the snow, and that inside leg shortening, and that turn progressively edging and really carrying you around the corner with some great sensations like being slung out of a slingshot.
You're up to the really fun part now. So as I'm linking on this really gentle terrain here, you're going to get the sensation of that outside ski really gripping in the snow and pushing you around the corner. It's going to feel like your outside leg is under a lot of load and it wants to get squashed. Just enjoy the ride. So I'm going to do my inriggers, not worry about the inside ski carving, just the outside one from top to bottom in the turn.
Now just so you know I'm not leading you down the wrong path here, I'm going to show you some turns on a steeper blue run where I'm doing basically the the exact same movements of the inside leg, outside leg, and playing with progressive edging, and really trying to link turns that are carved from top to bottom. So the same movements can be practiced at a much slower pace using the inrigger, and when you go to slightly steeper terrain, just stepping it up a little bit by a little bit, you'll find these feelings cross over and help give you the same sort of alignment positioning, and smoothness that make awesome turns like this. I mean, doing this down the run, just watching it again now, just makes me have goosebumps. I just absolutely love it. Now don't get me wrong, it takes a lot of time, but there are great drills like this in-rigger that can really fast-track your progress and give you the feelings of that long leg-short leg progressive edging and bending the ski to bring your turn shape around.
So up to this point, you should be feeling some really fun carving turns with the outside ski. We're ready to talk about this long outside leg, short inside leg now, and how that is going to help you transition from one turn to another, and also help you with that progressive edging. So you're probably noticing this already, you're feeling a long leg and a short leg. I'm just going to swap that over to transition from one turn to the next and just be really kind of aware in my mind that that action is what is helping me to progressively increase the edge. If both my legs are staying at the same length like this, I'm more likely going to tip in and lose my balance. I'm also going to find I can't keep progressively edging, and at higher edge angles right here, I'm going to lose that outside ski. I need this one to be shorter, the outside one to be longer, in order to do that. So you've really got a go-down leg and a stay-strong leg. They have different roles. So this one, my focus is strength all the way through the inside edge of my arch, so I'm feeling the ball of the foot and the inside edge of my heel, that's going to carve the ski, I'm going to feel the strength straighter here, this one is a softer go down, just like a pistol squat movement. So now you're just ready to take notice of this as you start linking these in-rigger turns a little further.
So you've already been doing this if you've been following along correctly, but now we're just focusing on it. So these feelings you really want to pay attention to— of a stretching long outside leg being strong to deal with forces, a bending softening inside leg, that go-down leg. You notice in higher edge angles it's not a movement just inside the turn, but the inside leg is really softening and shortening so your mass can lower down and you can incline and get into position so that outside leg is in line with the turning forces. It's worth mentioning at this point that inside leg, that go-down leg, needs some mobility. So you should be working on a pistol squat or being able to flex and squat all the way to the ground if you want to be able to do high edge angle turns really well. As that inside leg bends, that knee goes through a big range of motion, so does the hip. So you need those joints to be working really well and communicate with the ankle joint in a way that allows you to stay quite centered on that inside leg. There is just no way around that hip going behind your inside foot. It is just the way you fold up on the inside half of your body. So if you can work on a pistol squat where you can stay centered all the way down, that is going to drastically help your chances of getting high edge angle turns and not getting in the back seat as that inside leg shortens. Now don't be scared away at this point if your mobility is not as great as the demonstration. Everything helps, I'm just pointing out that mobility is definitely a key factor to great skiing, so work at it off snow, it's really going to help you when you get on snow, and even just a little bit more range will give you more access to more angles.
So we don't want to be skiing around in this big, wide flying cowboy stance, we do want to get eventually to skying parallel. So how do we get there? Well, if you've followed everything right to this point and you start maybe picking up the speed on slightly steeper terrain, you're actually going to feel that that inside ski, it's actually difficult to keep it here. It'll start to become lighter, this will become heavier, you almost feel like it wants to migrate closer to the outside ski. So the real key is when you start feeling Enough speed, enough forces, and really good carving with the outside, this one should naturally start to be able to be placed really close very easily because it's light and it's more effort to keep it here. So I'm going to transition from my in-rigger carved turns, build up some forces, and start getting my feet closer and closer and more parallel.
The key thing to be focused on here is trying to feel more forces build up. More forces mean you're building something to stand against, a platform for your outside leg and your whole body to balance against. And so that will allow the inside leg to feel very free. That freedom should allow you to just match the edge angles so effortlessly. So that's the key feeling here, it's going to feel effortless to make the ski edge angles similar, but the crucial part is that the forces must come first with that outside leg, and that's why we worked this whole time on building edge angles, progressive edging, and that ski pure carving all the way around, so we can use that to hold us up, balance, and make really great symmetrically edged turns.
So there we have it, a progression, a small piece that you can use to train and start getting better at your carving. Quick summary: Step 1 was learning that progressive edging on a railing ski helps the ski bend and turn, so you're looking for that progressive edging. Step 2 was making sure you have that from the top of the turn all the way around, because that's the hardest part. Most common problem is, you'll want to turn the ski or twist it instead of rolling it on the edge. Both of these are fantastic to use this inrigger leg as a support because you can do it at much slower speeds. The third step was just noticing that as you do that, there's this real long leg and short leg sensation, a down leg and a strong leg, they have different roles, so start noticing that action. When I'm making really good turns, That's what I feel with my legs is happening. So work on those. Now, I'll emphasize, this is a small piece of the big picture of skiing. Really, there's so much more, and you can find out a bunch more information through the hundreds of videos on bigpictureskiing.com. You can go find out details on mogul skiing if that's something you're into, more carving, short turns, I try and cover everything. I love teaching skiing, I'd love to try and help you get better.
If you enjoyed this video, then we have more free content available for you. There is a full advanced carving series in the description below and a link right here. If you click that, there's no credit card required, a full carving series will be sent to you to learn more great skiing stuff. Thanks for watching and good luck out there.
More from Tom


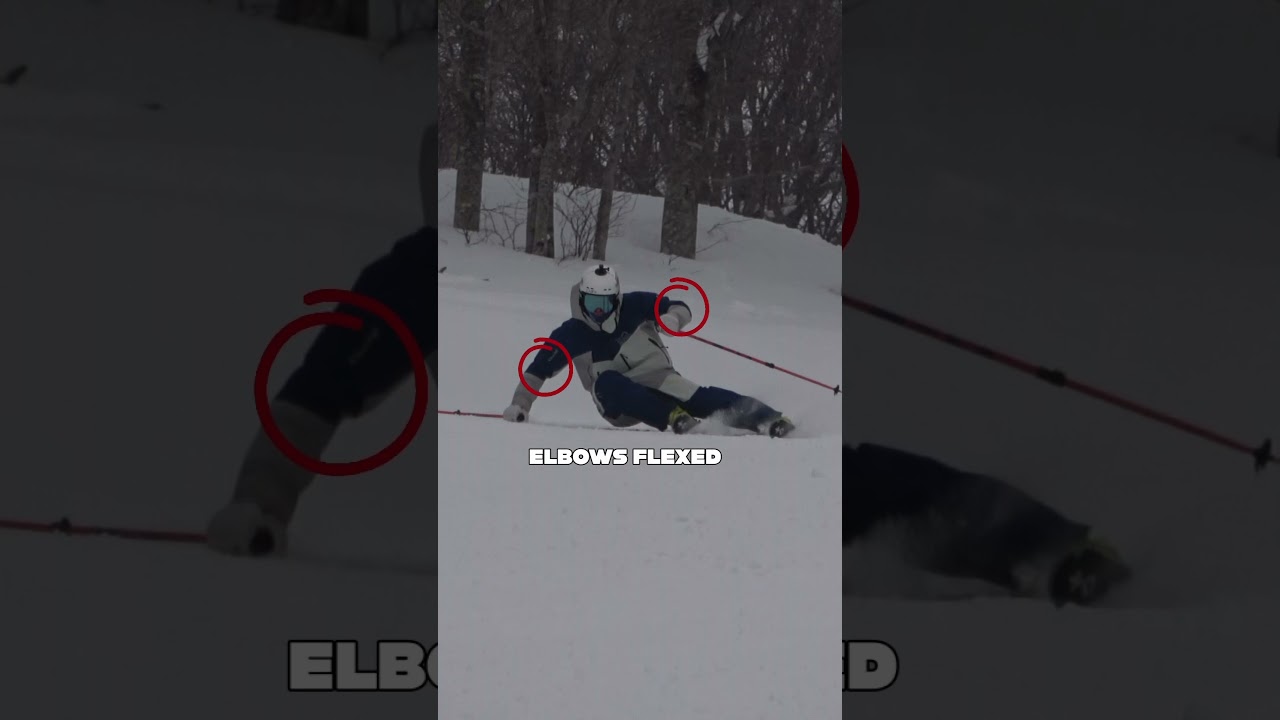
Most skiers overlook how they use their poles. Try these five pointers next time you’re skiing.