DIY Punching a ski boot
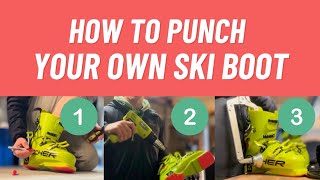
Tom Gellie shows how to punch out a painful pressure point in a ski boot using a heat gun and DIY punch tool. He marks the sore spot, heats the shell to 99-106°C, then uses a micro-dial punch to gently expand it outward. After cooling overnight, he tests the fit and does small reheating passes to smooth the curve.
Chapters
I just got back from skiing my first 3 days in Australia, and I've got some pain. It's not too bad, but I can tell if I go back and I ski another week, it's going to develop into something really sore. A little bit of discomfort on the side of my foot, right about—
so it's this little spot right here, and if I run my finger along, I can feel where the bone sort of sticks out right there.
So I'm just going to show you what I would do to help create a little bit of less pressure on that spot, make it more comfortable. Taking my liner out, taking my footbed out, got my shell. I'm going to put the footbed I'm using in here to simulate being at the right height when the liner goes back in. I'm going to step in and I'm going to mark the spot that is uncomfortable for the side of my foot so I know then where to heat and then put a little bit of a stretch in to that spot to relieve the pressure.
And so there's this kind of bump transition. Finger in, some soft tissue bumps out around here, and I have a look inside my boot and I can kind of tell the shape along there doesn't match. Like, so I just need to push out a fraction where the end of my fingernail is pointing just there down low, so I get the same perfect kind of shape of my foot inside the shell. Because again, I really want a snug fit, but I want the pressure evenly distributed. So I'm trying to shape the shell as best as I can to the shape of my foot.
So I'm going to put my footbed in the shell, put my foot in.
So the spot was back about here somewhere, right about there. And I can— this is what I do, I kind of tap along, so I tap the shell against the spot. Yep, that's where, where it is right there. I've got a permanent marker. You can use something that's less permanent, but you need to mark the spot right there. That's the epicenter.
I don't mind that it sort of is a little bit permanent, but yeah, you might want to use something that you can wipe off. So I've got this spot marked, epicenter of it. And then I'm going to heat it up, stretch it. So DIY tools-wise, I've just got a heat gun from the local hardware store, and then I've got this Patriot Footbeds DIY boot punch. And the one he's got now is even nicer than this, it's all black anodized, it sort of holds together a little better. But really handy tool, you can do a bunch of different places. So that's all you're going to need to be able to do this yourself. So the heat gun part is probably the trickiest part really. All plastics have a slightly different temperature that they get to where the punch will hold, because I need to get it hot enough that when I stretch it and I leave it, the plastic doesn't rebound back too much, but not too hot that I melt the plastic, not, yeah, so finding that Goldilocks amount. So what I do is I have a hand on the inside of the shell as I heat. And I heat up the spot, and it takes a while, and I keep moving the heat gun around like this. And I'm looking for the point where my fingers on the inside basically can't bear the heat, so I have to like take them off. And, and I don't mind if the plastic starts to get a little bit shiny, because that's what will happen when it starts transform. And it's, it's like right before it bubbles is basically where you want to get it to. This is your first go at it, be more cautious and just take your time. Might take you, you know, an hour and a half to get it right, but I would recommend going less than more. If you can find a secondhand boot to practice on, even better. But yeah, I'm just going to keep circling around because if you keep it on the spot like this, that's when you more likely to bubble it. You keep moving it, it's going to evenly heat the spot. So I'm just going to work on this until I'm at the right temperature, and I'll be right back with you. So I've been going for about 2 minutes already, slowly moving around, and I can just start to feel my inside fingers, uh, getting some warmth. And something I'd recommend if you want to really get this right is get a temperature gun. So you do this, turn it off, get the temperature gun, shoot it at the spot, see what temperature the plastic comes back at. Like, let it kind of, you know, sitting at the air temperature, check it. And then you can also maybe write down for your own boot what the right sort of temperature is. You know, I did it at 99 degrees Celsius, didn't quite get it right, did it at 100, 106, That seems to be the sweet spot. Um, and yeah, here we go. Here's an interesting thing. I've stopped this now and I can actually feel my inside fingers getting much hotter. So it's taken some while. The heat is now gradually going through this thicker part of the plastic to where my fingers are. So I'm, I'm getting close and I can actually even sort of push with my fingers almost a little bit into the plastic. So I'm going to go a little bit longer. And then I'm going to start testing the spot where the punch goes. So what I like to do now, so I get the punching tool into the spot, and this is not going to be my— I'm probably not going to permanently press at this point. I'm going to experiment and just see to get the right amount of pressure. So what I mean is when I close the, the jaws here, that's going to be how much this pushes out. And this is a really subtle spot, so I don't want it to push out much. So I'm going to look down in here and see how much the plastic kind of pushes out. See if I can give you a look at that. So here's inside, got my spot. Can you see how that plastic kind of moves a bit? That's what I'm looking for, and I'm figuring out whether, whether it's enough. And so how, depending on how much pressure you've got on that side of your foot, is how much you'll push that in. But You could see right there I'm gauging that, that amount before I do my punch. So I just adjust with this micro dial here in or out, and that makes it either punch more or less. And I think I've got it at about the right spot. Make sure I've got my mark in there. Yep, happy with that. So now what I'm going to do is I'm actually going to heat it once more to make sure that the plastic is right, because it's going to, it's going to hold a lot of heat still. It will have spread out. So then this second heat time, that's my time that I go right. I know exactly where I want it to be. I'm going to get the plastic to the right temperature, and then I'm going to put my punch in and leave it. So I've punched my spot. I'm happy with it. Now it's time to just leave this somewhere cool and leave it for you know, as long as you can. If you can leave it overnight, great. Sometimes I don't have time for that, so I would just leave it for, you know, as long as I can. But I definitely try and get over at least, you know, a couple of hours for it to really take place and hold. Then I'm going to check it, see if it feels better. Okay, we are done. So there's now a nice little bit of shape here for the side of my foot. I'm going to now put the footbed back in, put it— put my foot in and make some movements and just check it's in the right spot. I will say I did a little bit of what I was— what I would call massaging, where you take this and you sort of like do it multiple times. You actually tighten it a little bit more, don't heat the plastic quite as much, and you massage. So you stretch, stretch, stretch, stretch the side of the shell to sort of make a, a more even curve because there was a bit of a like more of a prominent bit and I just wanted to to spread it out and make it smoother. So I massaged this section by tightening this a little bit more and just pressing in, taking away, pressing in, taking away.
So back in, making some movements this way. I could, I could really feel a pressure point. Now what I feel when I tip sideways here is it's very even all the way along, so I feel contact when I press into the side of the boot, even this way. And that's the same thing I aim for in this direction. And that's why there's this punch here and some internal grinding to match that. So when I press here, evenly pressured. Press here, evenly pressured.
So there you go, using a DIY punch tool, a heat gun, and marking the spot carefully in your boots you can make some modifications that will really make your feet more comfortable and then ultimately lead to better performance. Just remember, a little goes a long way. You can always do a bit more. Take your time with it, and yeah, I think you'll get some results.
More from Tom


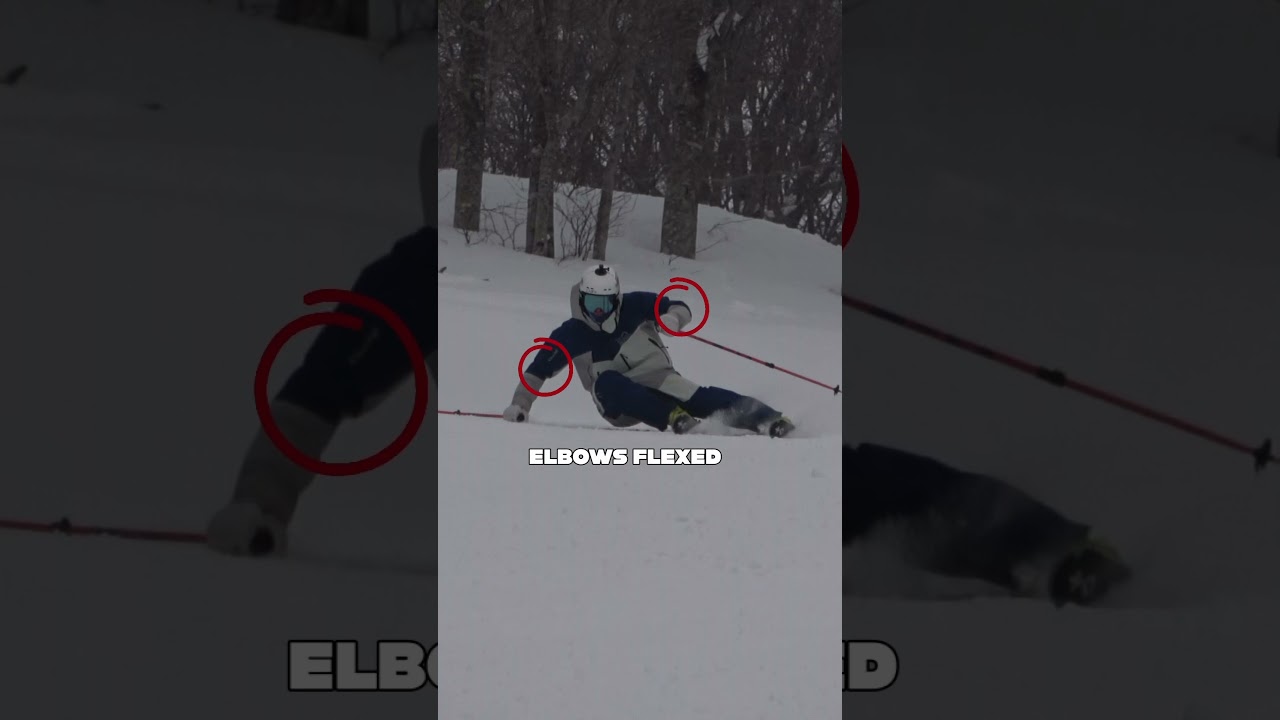
Most skiers overlook how they use their poles. Try these five pointers next time you’re skiing.