How To Ski Moguls: Tips & Drills for Intermediate and Advanced Skiers
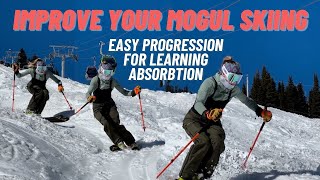
Demelza Clay and Tom Gellie teach a progressive mogul drill that starts with single-bump extensions from standstill, then moves to ultra-slow linked turns. The key is getting low enough by flexing at the shin, knee, hip, and waist, then extending on the backside of each bump to control speed.
Chapters
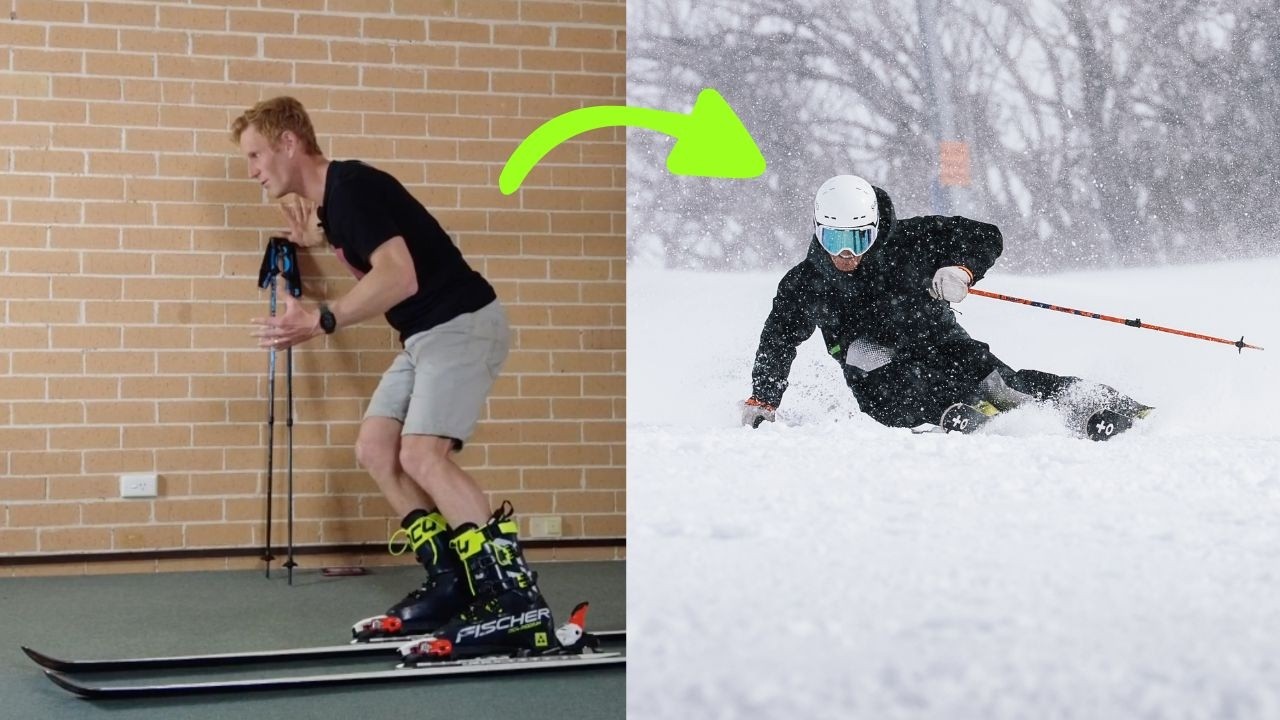
What we're going to teach you today is how to ski moguls using absorption and extension. We're going to do this by teaching you how to do a retraction-extension turn, really slow speed retraction-extension turn, and a strategy that's going to help you navigate pretty much any mogul field that you might find in any resort so you can practice your mogul skiing in a really confidence-building environment. This is a drill that I've had success with, with all ages, both men and women, all levels of confidence. And the number one reason why this works so well is because everyone who's tried to ski moguls and not been successful, everyone thinks that they're absorbing the moguls and getting down really low into flexion, but they're actually not. Usually these people are skiing moguls with really stiff legs. So this whole progression has been designed to help you explore just how low you can go and how long your legs can get so that you can do as much absorption as needed for the moguls that you're skiing. So the first step is a single bump extension. Then we're going to link single bump extensions, and then we're going to move into ultra slow mogul skiing, which is one of the reasons why it works so well. We're going to be skiing those moguls really slowly. There's a little side progression of retraction extension pivot slips that will really help you explore your range on groomed terrain. So let's get started. So the hardest thing with mogul skiing for most people is that we think we're getting really low and absorbing the moguls when really we're not. Our mind's eye plays tricks on us. So the first step is to explore, be in that position, pretend like we've been frozen in time as we ski moguls, get down really, really low, and then I'm going to push myself off and extend my legs away from my center of mass as the ground drops away from my skis. Here we go.
When you get people to get low to drop off the wall, a lot of people don't get low enough. Correct. So show me, show me, we'll show from here how low did most people are they probably going to go at first. Yeah, how low do you want to go?
Yeah, all the way down here, as low as you can, right?
Yeah, because that's going to make the drop off the wall less and you've got more range to actually feel the extension.
Yeah, and extend— a quick note on getting low, there's 3 joints involved in the getting low. And first of all, I'm putting my shin on the front of the boot, I'm bending my knee, but as much as I bend my knee, I have to bend at the waist to keep my center of mass. If it's sitting here in front of my tummy, bring it outside of my body and over my knees so that I can remain in the middle of my ski. A lot of people, when they get low, they might do a bit of this, or they go like this.
Yeah, yeah, yeah, yeah. But the main one is just people probably don't get low enough. So you've got to feel like your legs are burning.
Yes, pull your toes up towards your knees a little bit, bend your knees, bend your hip, and then you're going to be nice and low in this position that you need to be.
So the advice here is practice from a dead standstill, get as low as you possibly can, make a turn, and slowly extend. The goal is simple: get used to being as low as you can, flexed up, and starting a turn from this position, and I suggest you get some video to see how you're going with this.
Okay, so a really good thing to feel when you're doing this, getting low, lots of flexion, maybe you feel your pants stretching over your glutes, head next to your hand, as you push yourself off you're going to shorten your hamstrings and almost do this before you extend.
Pull your heels back to your butt.
Yep, last minute Flexion, up. Okay, so here's another one. The pole right down there is where I'm going to stop, so I'm going to demonstrate for you here just how gradual the extension needs to be. Extend my legs away from my center of mass gradually. Okay, so here I go again. Get as low as you can, exaggerate this movement You'll feel your head close to your hand with your pole here. Gradual extension. Okay, so common problem is that people will rush the extension and it's going to look like this when you do that. Getting down low, here I go and push myself off, but I've extended too early and you can see how my head has risen up. Now I'm going to do it where I extend my legs away from my center of mass at the rate at which the ground drops away from my feet. And what I've just noticed within my own body when I do this, I get low, I push myself off, I contract my hamstrings, and I actually pull my legs up underneath me just that little bit more. Here we go.
In the competitive world of moguls, This is usually known as holding on to your absorption. So you could think of it this way: stay compressed for longer, hold on to that absorption, and then gradually let those legs extend.
All right, so you're going to need to go out and practice this literally 100 times on each side. And the reason why is because it's going to help you get used to being really low. Your mass is going to have less vertical distance to drop than if you're standing up really high. Key point here is to stay really, really low and start exploring your range.
So watch how Demelza goes and practices these single bump extensions. She always starts from a standstill, gets really low so she can exaggerate that new feeling of being really flexed and starting the turn from a much lower position and gradually extending. We always encourage our students to find the biggest bumps they can so they can exaggerate the feeling and exercise.
After you've nailed that, we're going to take you out of the bumps onto something smooth or groomed And we're going to do a retraction extension pivot slip so that you can practice the retracting of your legs that follows after the extension that you've just been practicing.
Oof, alright. With this drill, it's great to try and stay in a narrow corridor, not going side to side much. Make sure you get low first before you change edges, just like you'd start on the bumps we just did. Stay low as you change the edges and start your new turn., and then gradually extend to come to a stop before you repeat and get down again. This exercise will feel the opposite of the movement pattern you're used to, so here's a demo of what not to practice, just in case. Notice Demelza stands up to help change edges and flexes at the end, which is the opposite to the new movement pattern we're trying to help bring into your skiing. I want to emphasize this extension up and forward movement is not the wrong thing to do. This is a very useful movement pattern and natural for the body to do. However, we're trying to build new skills, make you more versatile, so just be aware that this new retraction-extension motion will feel like it's the reverse and opposite to what you're used to doing.
Okay, so now I've got some really good feelings from the pivot slip exercise, I'm now going to start linking turns in the moguls, and the goal here is to try and ski as slow as possible, getting really low, letting the skis pivot underneath me, changing edges and extending down the backside of the bump. Here we go. I'm huffing and puffing a bit. This is going to take a little bit of athleticism, so if this is something you think you need to train towards, make sure you hit up the body prep videos in the Big Picture Skiing Library before the season. So the next step after this, what Once you're getting really comfortable with your foot on the brake, low and slow in the moguls, let's just say you're skiing down and you see 3 or 4 moguls positioned perfectly so you can link them together. Have a go, ski them more in the fall line, see if you can maintain speed control. If you don't, pull out, get back into the moguls, start off low and slow. Eventually you'll find linking of moguls, you'll link 4, 6, 10. Eventually you'll be able to link the whole run with speed control and nice retraction and extension turns. Key points with this whole progression: the goal is to try and increase the amount of range you have in retraction and extension. The goal is also to get you in the moguls feeling safe, feeling confident, and enjoying mogul skiing rather than avoiding it. Lastly, it's giving you some tools and a strategy so that you can start to link together consecutive sequences of bumps so that eventually one day you can ski top-to-bottom mogul runs and feel great at the end of it. Another thing to remember is that this is a drill, this is a mobility drill designed to help you overdo the amount of retraction and extension you would normally use in your mogul skiing. Exaggeration is how we learn, so I really encourage you to exaggerate as much as you can. How low can I get? How long and extended can I get? You'll notice when Tom and I are skiing moguls, we're not using this much retraction-extension all the time. There are a lot of other skills that go into high-end mogul skiing, but this is the best place to get you started in the moguls feeling confident and actually having fun. Okay, once you get this, I can recommend that you go check out the Highline video. And if you have any questions or comments about this progression, please make sure you leave them below. Thanks very much for watching. I'm Demelza Clay, and I'll see you next time.
More from Tom


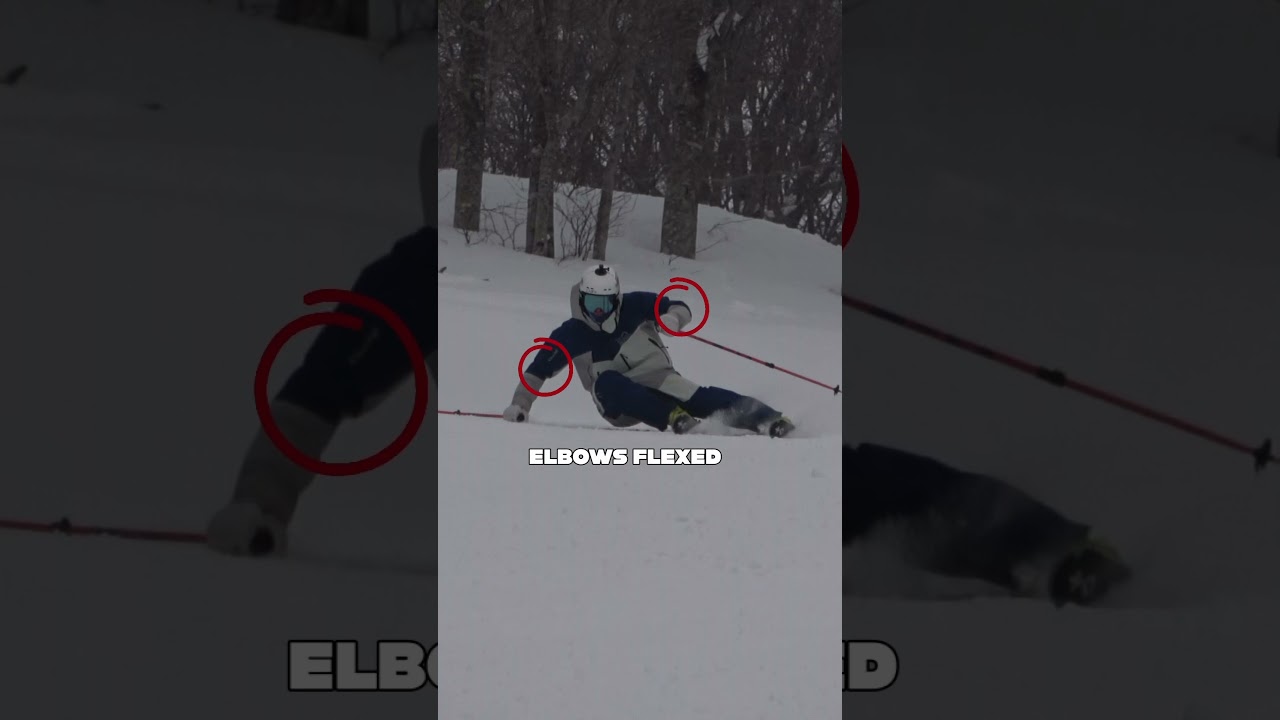
Most skiers overlook how they use their poles. Try these five pointers next time you’re skiing.