[2024 Tutorial] Reset Your Website’s File & Folder Permissions with xCloud’s Rescue Site
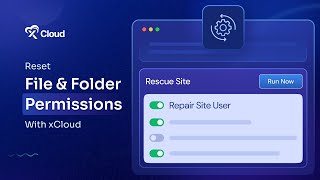
A short tutorial demonstrating how to reset file and folder permissions and user isolation for a website using xCloud’s Rescue Site feature. The speaker walks through logging into the xCloud dashboard, enabling Rescue Site options (Repair Site User Update, directory configuration, Regenerate, nginx Configuration), running the repair, and checking site logs (WordPress, debug, nginx access/error) via Site Monitoring.
Chapters
More from M

How to Deploy EmDash CMS in One Click on xCloud: A Fast, Lightweight WordPress Alternative

Self-Host OpenPanel in One Click on xCloud: A Privacy-Friendly Google Analytics Alternative

xCloud September 2026 Release Notes: Site Security Pro, AI Caching, Docker Backups & More | xCloud







xCloud August 2026 Recap: App-First Deployment, 250+ One-Click Apps & DeepSeek Harness Hosting

Deploy Vaultwarden Password Managed on xCloud (Self-Hosted Open Source Password Manager)