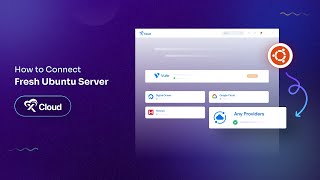
M Asif Rahman walks through connecting an Ubuntu server to xCloud using DigitalOcean as an example. The guide covers server integration and SSH authentication methods to get you connected.
Chapters
Welcome to our tutorial to learn how you can connect your Ubuntu server on Xcloud regardless of your provider, let's dive right in. The process is so easy, like butter on bread. Let's start by logging into your Xcloud dashboard. There you'll notice an Add new button. Click on it. Here you'll see various options for integrating or managing servers. For this tutorial, select any to proceed with connecting an existing Ubuntu server. If you're looking to integrate a server beyond the ones listed, this option also allows for that flexibility as well. To connect your Ubuntu server, you'll need to input the server name and its IP address. You'll need a server provider to host a Ubuntu server there. For this tutorial, we are using DigitalOcean. You can proceed with any other server provider if you want to. So here when you login to DigitalOcean, your IPv4 address will be displayed prominently. Simply copy this address. Similarly, you can host the Ubuntu server in any other server provider. Get back to your xCloud dashboard and paste the copied IP address into the designated IP address field. For server integration, SSH authentication is crucial. You have two options public key or password. In this tutorial, we'll opt for the public key method for its simplicity and security. Click on Copy to copy the public key, then return to your DigitalOcean server dashboard to paste the SSH public key. Once there, access the console. A command prompt window will appear. Paste the copied key here and allow a few moments for the process to complete. Afterward, you can minimize the window. Let's get back on the Xcloud Dashboard. Ensure you have checked the box confirming the creation of a new server on your provider. Scroll down and click Next. Patiently wait as the server setup finalizes. Congratulations. You have successfully connected your existing Ubuntu server to Xcloud. This relatively simple process ensures you can integrate your server from any provider with ease. Thank you for following along with this tutorial. We hope it has made the process clear and manageable. See you in the next video.